Set up authorization with Permit.io
Permit.io is an authorization platform that provides fine-grained access control for applications. You can use Logto in conjunction with Permit.io to manage user authentication and authorization.
To understand the key differences between authentication and authorization, see Authentication vs. authorization.
This guide will show you how to connect Logto with Permit.io to implement authorization in your application.
Prerequisites
- A Logto Cloud account or a self-hosted Logto.
- A Next.js application with Logto authentication already set up (follow our Next.js guide if you haven't)
- A Permit.io account. Follow the official Permit.io quickstart guide to set up your Permit.io project before proceeding.
Integration
Install Permit.io SDK
Add the Permit.io SDK to your application:
npm install permitio
Create a Permit.io project
- Sign up for a free account at permit.io
- Create a new project and obtain your API key
- Add the API key to your environment variables:
PERMIT_API_KEY=your-permit-api-key
Set up Permit.io client
Create a file to handle the Permit.io integration:
// libraries/permit.js
const { Permit } = require('permitio');

// Initialize the Permit.io client
const permit = new Permit({
  pdp: 'https://cloudpdp.api.permit.io',
  token: 'your-permitio-api-key',
});

// Sync a user with Permit.io
export const syncUserToPermit = async (userId, email, firstName, lastName, role = 'viewer') => {
  // First, sync the user
  await permit.api.syncUser({
    key: userId,
    email: email || undefined,
    first_name: firstName || undefined,
    last_name: lastName || undefined,
  });

  // Then assign a role to the user
  await permit.api.assignRole({
    user: userId,
    role: role,
    tenant: 'default',
  });

  return true;
};
Create a Logto webhook for user registration
Logto provides webhooks that can notify your application when events occur. We'll use the PostRegister webhook to sync users to Permit.io when they sign up.
Create a webhook endpoint in your application:
// pages/api/webhooks/logto.js
import { syncUserToPermit } from '../../../libraries/permit';

export default async function handler(req, res) {
  // Log the webhook payload for debugging
  console.log('Webhook payload:', req.body);

  const { event, user } = req.body;

  // Process user registration events
  if (event === 'PostRegister') {
    try {
      // Determine the user's role (you can implement your own logic here)
      let role = 'viewer'; // Default role

      // Sync the user to Permit.io
      await syncUserToPermit(user.id, user.primaryEmail, user.name, undefined, role);

      return res.status(200).json({ success: true });
    } catch (error) {
      console.error('Error syncing user:', error);
      return res.status(500).json({ error: 'Failed to sync user' });
    }
  }

  return res.status(200).json({ message: 'Event ignored' });
}
Configure the webhook in Logto Console
- Go to the Webhooks section in your Logto Console
- Click "Create Webhook"
- Give your webhook a name
- Enter your endpoint URL (e.g.,
https://your-app.com/api/webhooks/logto) - Select the
PostRegisterevent - Save the webhook
For local development, you can use tools like ngrok to expose your local server to the internet.
Test user sync
To test that users are being synced correctly:
- Create a new user account in your application
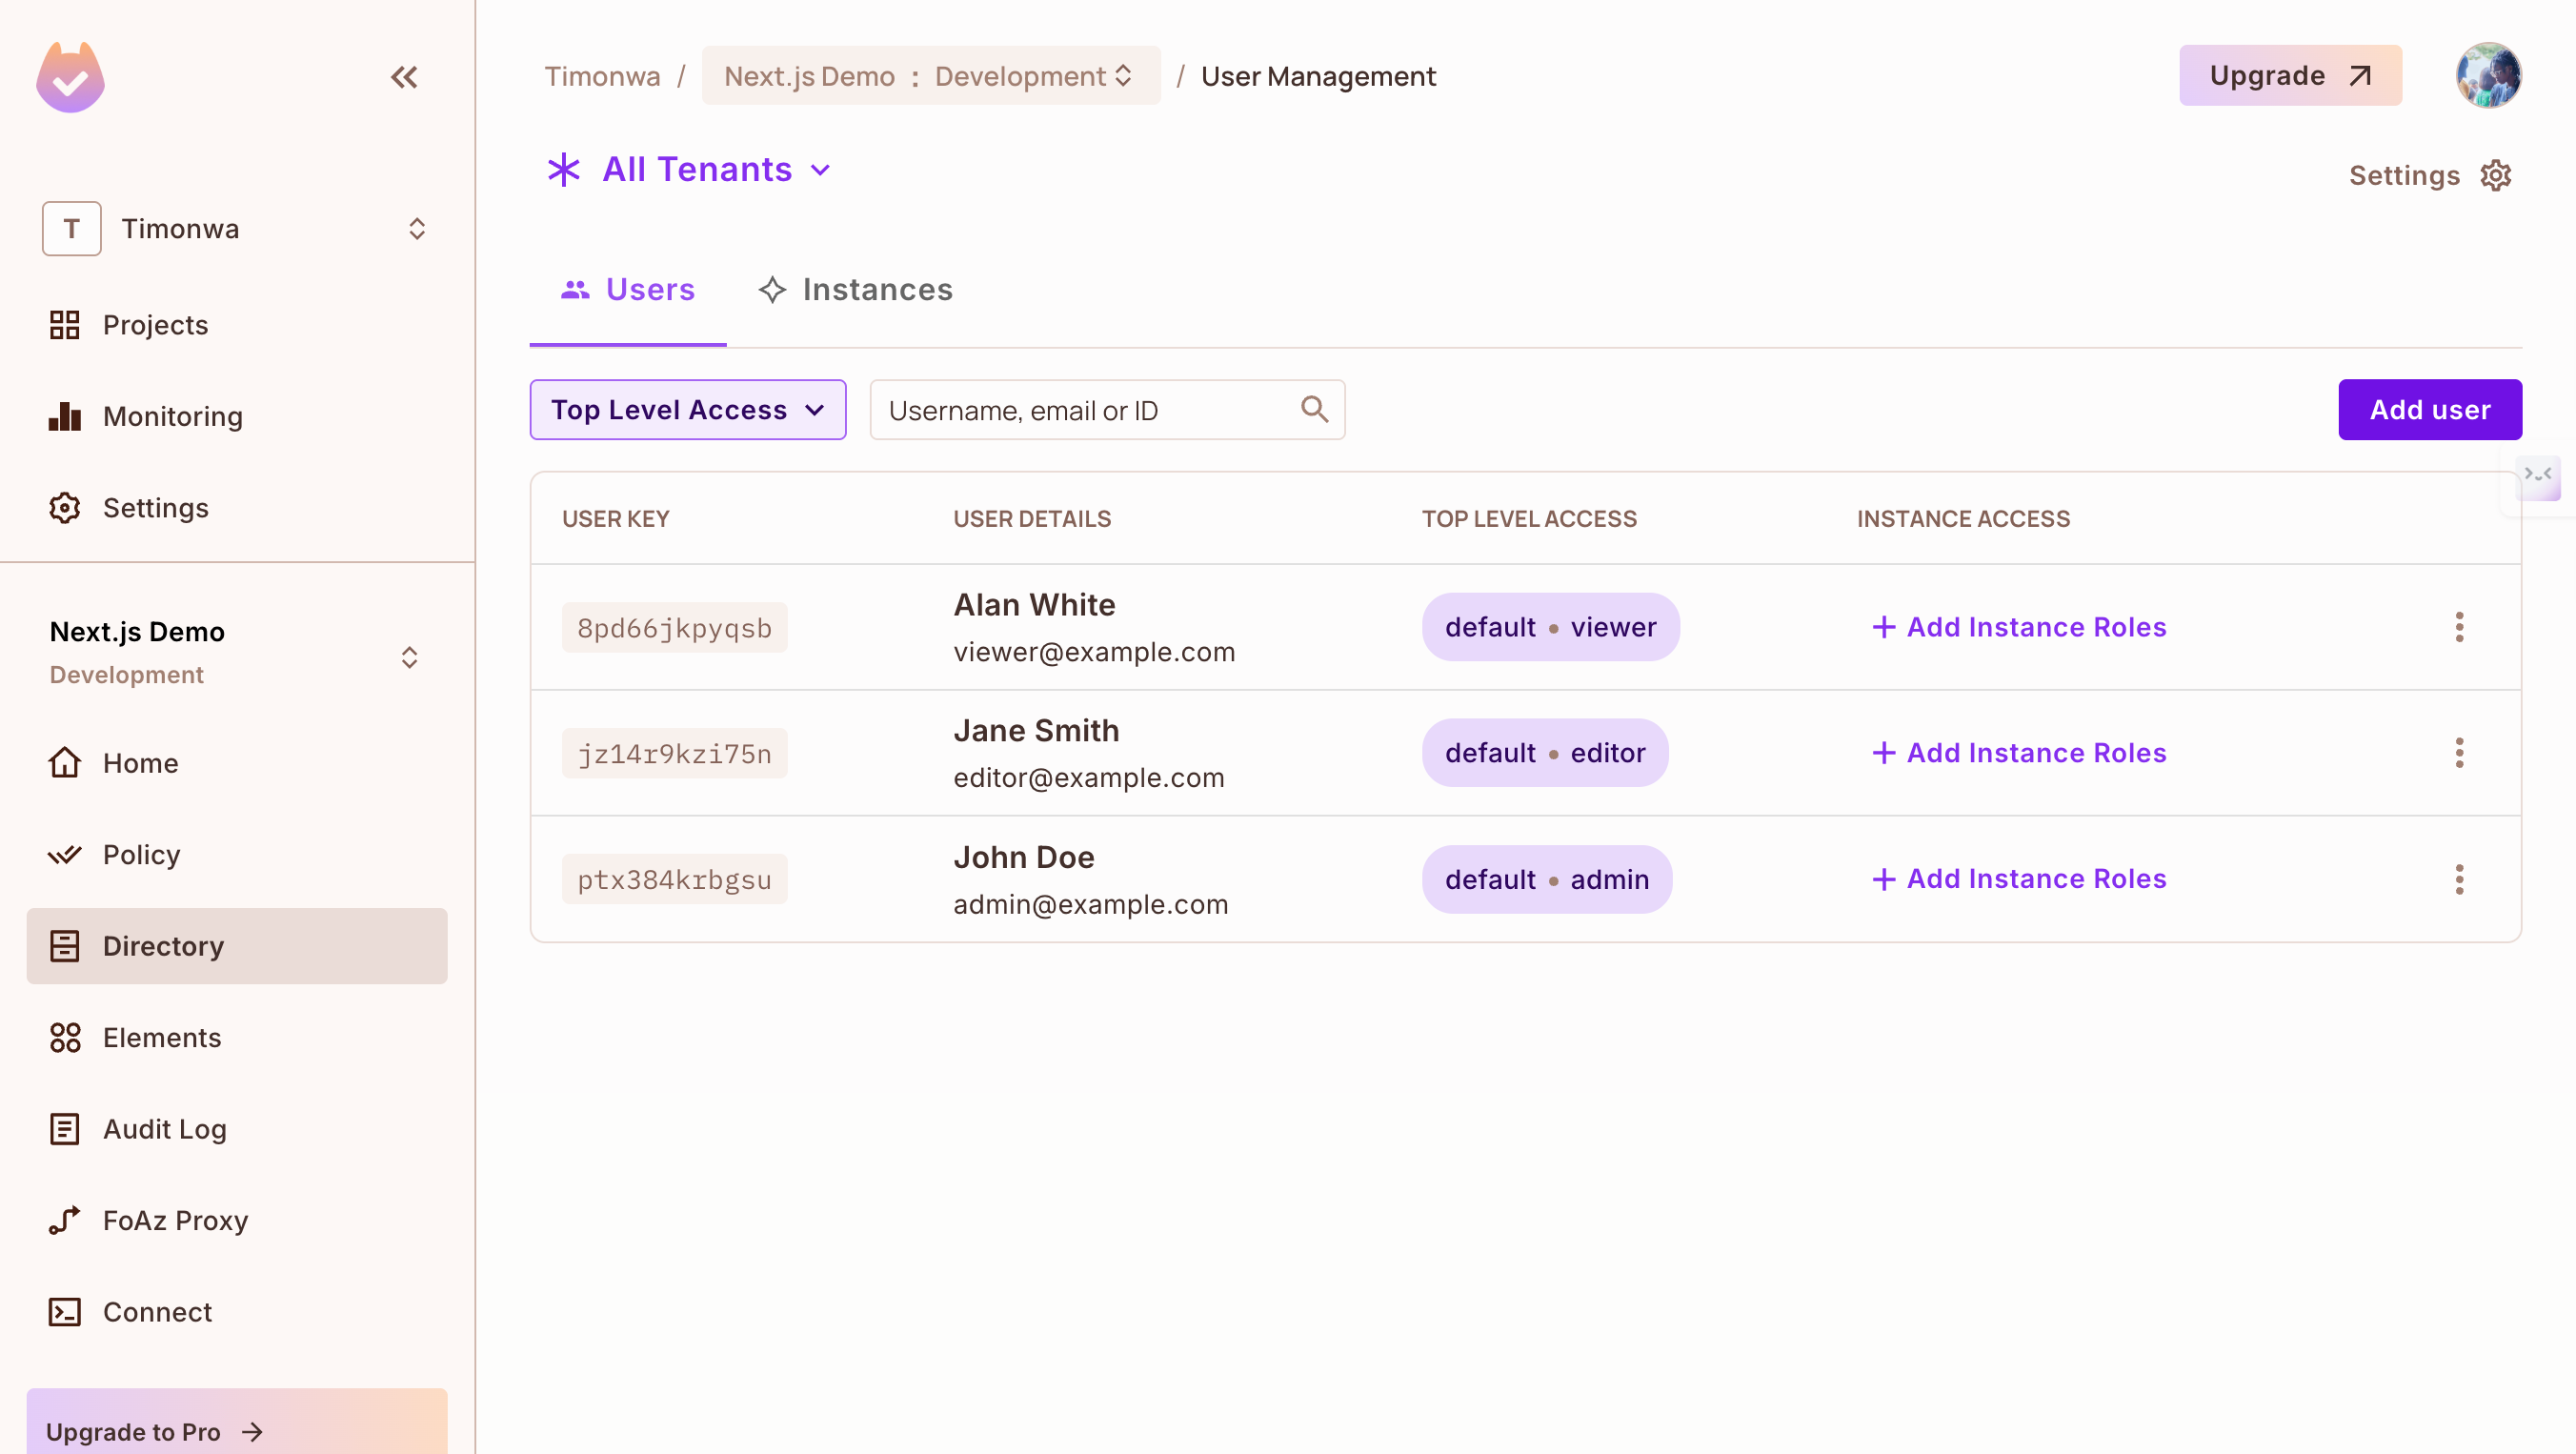
- Check the Permit.io dashboard under "Directory" → "Users" to verify the user was synced
- Verify that the correct role was assigned to the user upon sign-up
Use Permit.io for authorization
Once users are synced, you can use Permit.io to check permissions:
// Example of checking a permission
const isPermitted = await permit.check(userId, 'view', 'reports');

if (isPermitted) {
  // User is allowed to view resources
  // Show the resources UI
} else {
  // User is not allowed to view resources
  // Show an access denied message
}
Conclusion
You've successfully connected Logto with Permit.io to automatically sync users and implement authorization in your application. With this integration:
- Users authenticate through Logto
- New users are automatically synced to Permit.io via webhooks
- You can use Permit.io to check permissions and implement access control
This setup provides a strong foundation for implementing more advanced authorization patterns as your application grows.
For more advanced authorization use cases, explore Permit.io's documentation on creating policies, enforcing permissions, and implementing role-based access control.