Set up social login with Apple
The official Logto connector for Apple social sign-in.
This guide assumes you have basic understanding of Logto Connectors. For those unfamiliar, please refer to the Connectors guide to get started.
Get started
If you don't know the concept of the connector or don't know how to add this connector to your Sign-in experience, please see Logto tutorial.
Apple sign-in is required for AppStore if you have other social sign-in methods in your app. Having Apple sign-in on Android devices is great if you also provide an Android app.
You need to enroll Apple Developer Program before continuing.
Enable Sign in with Apple for your app
Even if you want to implement Sign in with Apple on a web app only, you still need to have an existing app that embraces the AppStore ecosystem (i.e., have a valid App ID).
You can do it via Xcode -> Project settings -> Signing & Capabilities, or visit Certificates, Identifiers & Profiles.

See the "Enable an App ID" section in Apple official docs for more info.
Create an identifier
- Visit Certificates, Identifiers & Profiles, then click the "+" button next to "Identifier".
- In the "Register a new identifier" page, choose "Services IDs" and click "Continue".
- Fill out "Description" and "Identifier" (E.g.,
Logto Testandio.logto.test), then click "Continue". - Double-check the info and click "Register".
Enable Sign in with Apple for your identifier
Click the identifier you just created. Check "Sign in with Apple" on the details page and click "Configure".

In the opening modal, select the App ID you just enabled Sign in with Apple.
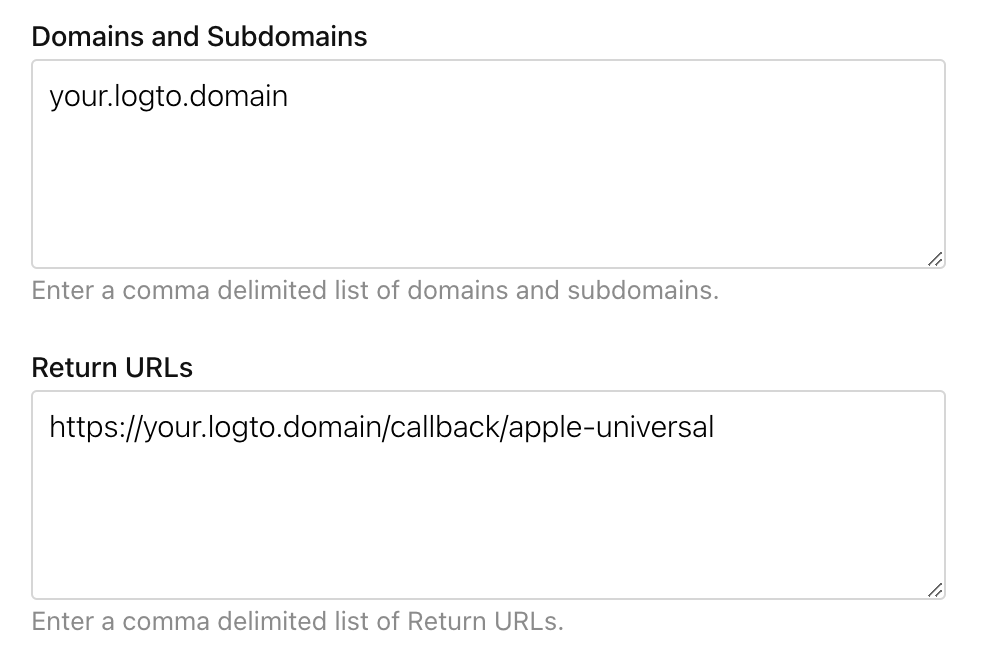
Enter the domain of your Logto instance without protocol and port, e.g., your.logto.domain; then enter the "Return URL" (i.e., Redirect URI), which is the Logto URL with /callback/${connector_id}, e.g., https://your.logto.domain/callback/apple-universal. You can get the randomly generated connector_id after creating Apple connector in Admin Console.

Click "Next" then "Done" to close the modal. Click "Continue" on the top-right corner, then click "Save" to save your configuration.
Apple does NOT allow Return URLs with HTTP protocol and localhost domain.
If you want to test locally, you need to edit /etc/hosts file to map localhost to a custom domain and set up a local HTTPS environment. mkcert can help you for setting up local HTTPS.
Configure scope
To get user's email from Apple, you need to configure the scope to include email. For both email and name, you can use name email as the scope. See Apple official docs for more info.
The user may choose to hide their email address from your app. In this case, you will not be able to retrieve the real email address. An email address like [email protected] will be returned instead.
Pitfalls of configuring scope
If you have configured your app to request users' email addresses after they have already signed in with Apple, you will not be able to retrieve the email addresses for those existing users, even if they sign in again using Apple ID. To address this, you need to instruct your users to visit the Apple ID account management page and remove your application from the "Sign in with Apple" section. This can be done by selecting "Stop using Apple Sign In" on your app's detail page.
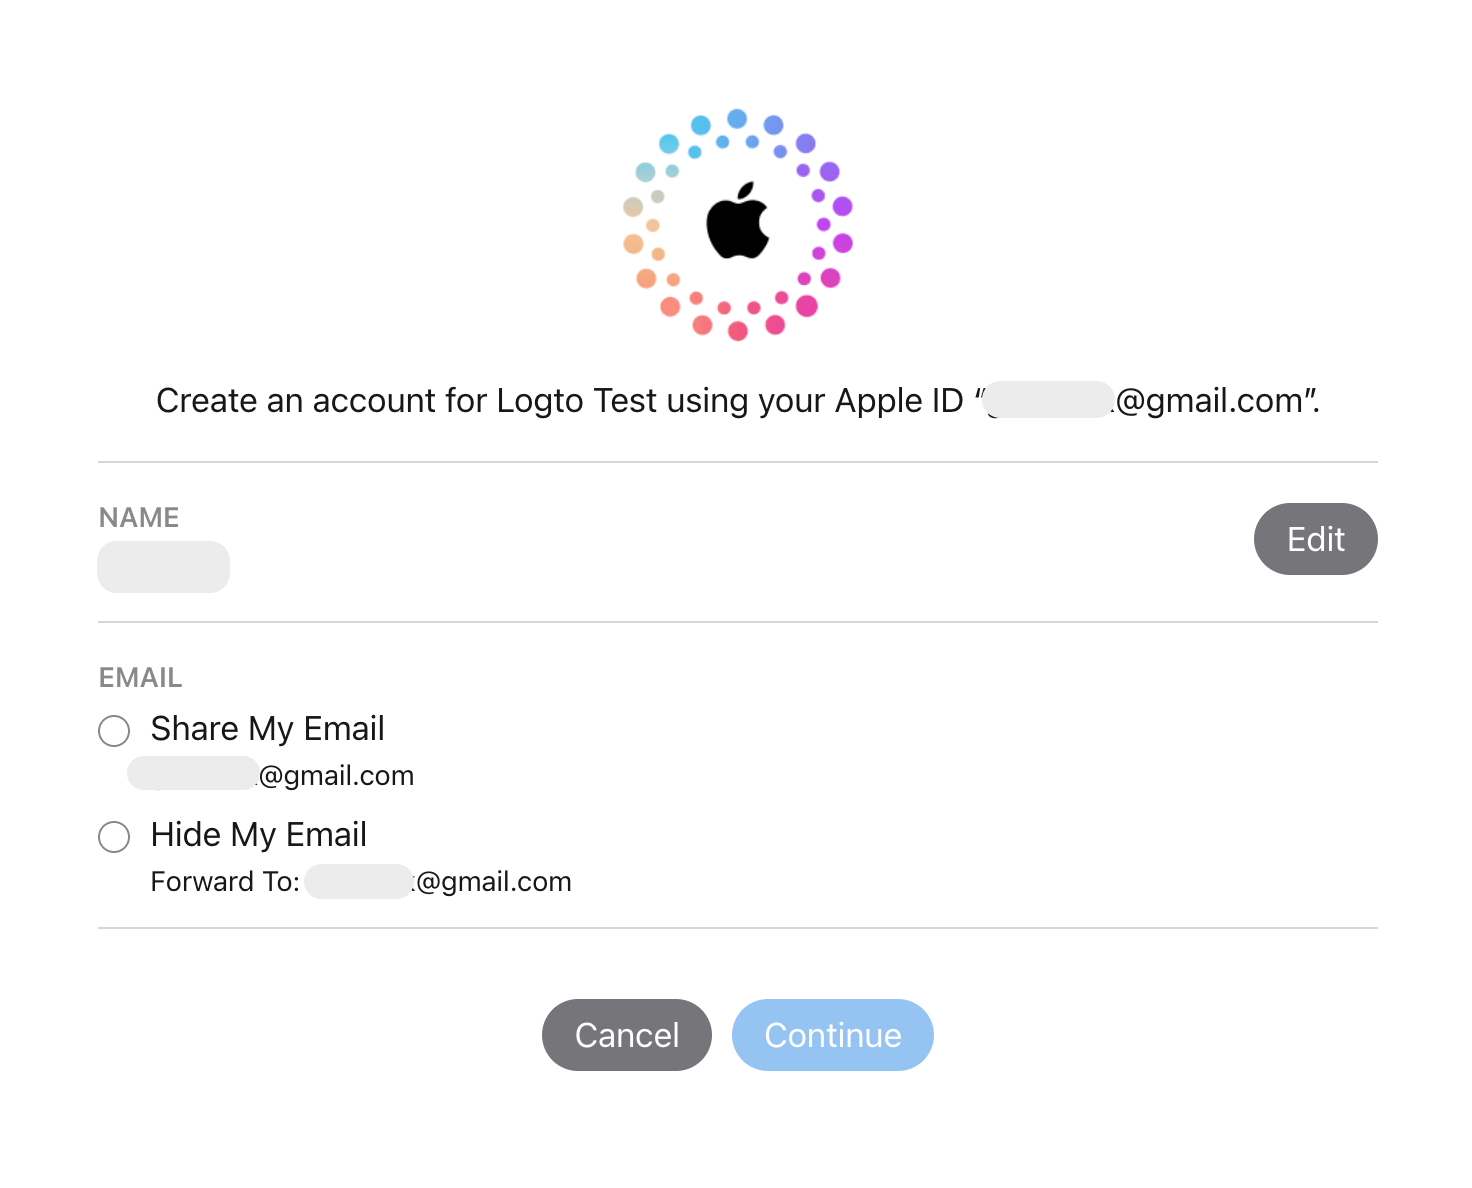
For instance, if your app requests both the users' email and name (email name scope), the consent screen that new users see during their first sign-in should look similar to this:

See developer discussion here.
Test Apple connector
That's it. The Apple connector should be available in both web and native apps. Don't forget to Enable social connector in sign-in experience.