使用 Permit.io 設定授權 (Authorization)
Permit.io 是一個授權 (Authorization) 平台,為應用程式提供細緻的存取控制。你可以將 Logto 與 Permit.io 結合,統一管理使用者驗證 (Authentication) 與授權 (Authorization)。
提示:
想了解驗證 (Authentication) 與授權 (Authorization) 的主要差異,請參閱驗證 (Authentication) vs. 授權 (Authorization)。
本指南將帶你將 Logto 與 Permit.io 連接,實現在應用程式中的授權 (Authorization)。
先決條件
- 一個 Logto Cloud 帳號或 自行架設 Logto。
- 已完成 Logto 驗證 (Authentication) 設定的 Next.js 應用程式(若尚未設定,請參考我們的 Next.js 指南)
- 一個 Permit.io 帳號。請依照官方 Permit.io 快速入門指南 先建立你的 Permit.io 專案。
整合步驟
安裝 Permit.io SDK
將 Permit.io SDK 加入你的應用程式:
npm install permitio
建立 Permit.io 專案
- 前往 permit.io 註冊免費帳號
- 建立新專案並取得你的 API 金鑰
- 將 API 金鑰加入環境變數:
PERMIT_API_KEY=your-permit-api-key
設定 Permit.io 客戶端
建立一個檔案來處理 Permit.io 整合:
// libraries/permit.js
const { Permit } = require('permitio');

// 初始化 Permit.io 客戶端
const permit = new Permit({
  pdp: 'https://cloudpdp.api.permit.io',
  token: 'your-permitio-api-key',
});

// 將使用者同步到 Permit.io
export const syncUserToPermit = async (userId, email, firstName, lastName, role = 'viewer') => {
  // 首先,同步使用者
  await permit.api.syncUser({
    key: userId,
    email: email || undefined,
    first_name: firstName || undefined,
    last_name: lastName || undefined,
  });

  // 然後指派角色給使用者
  await permit.api.assignRole({
    user: userId,
    role: role,
    tenant: 'default',
  });

  return true;
};
為使用者註冊建立 Logto Webhook
Logto 提供Webhook,可在事件發生時通知你的應用程式。我們將使用 PostRegister webhook,於使用者註冊時同步使用者到 Permit.io。
在你的應用程式中建立 webhook endpoint:
// pages/api/webhooks/logto.js
import { syncUserToPermit } from '../../../libraries/permit';

export default async function handler(req, res) {
  // 記錄 webhook payload 以便除錯
  console.log('Webhook payload:', req.body);

  const { event, user } = req.body;

  // 處理使用者註冊事件
  if (event === 'PostRegister') {
    try {
      // 決定使用者角色(你可以在此自訂邏輯)
      let role = 'viewer'; // 預設角色

      // 同步使用者到 Permit.io
      await syncUserToPermit(user.id, user.primaryEmail, user.name, undefined, role);

      return res.status(200).json({ success: true });
    } catch (error) {
      console.error('Error syncing user:', error);
      return res.status(500).json({ error: 'Failed to sync user' });
    }
  }

  return res.status(200).json({ message: 'Event ignored' });
}
在 Logto Console 設定 Webhook
- 進入 Logto Console 的 Webhooks 區段
- 點擊「Create Webhook」
- 為你的 webhook 命名
- 輸入 endpoint URL(例如
https://your-app.com/api/webhooks/logto) - 選擇
PostRegister事件 - 儲存 webhook
備註:
本地開發時,你可以使用 ngrok 等工具將本地伺服器暴露到網際網路。
測試使用者同步
測試使用者是否正確同步:
- 在你的應用程式中建立新使用者帳號
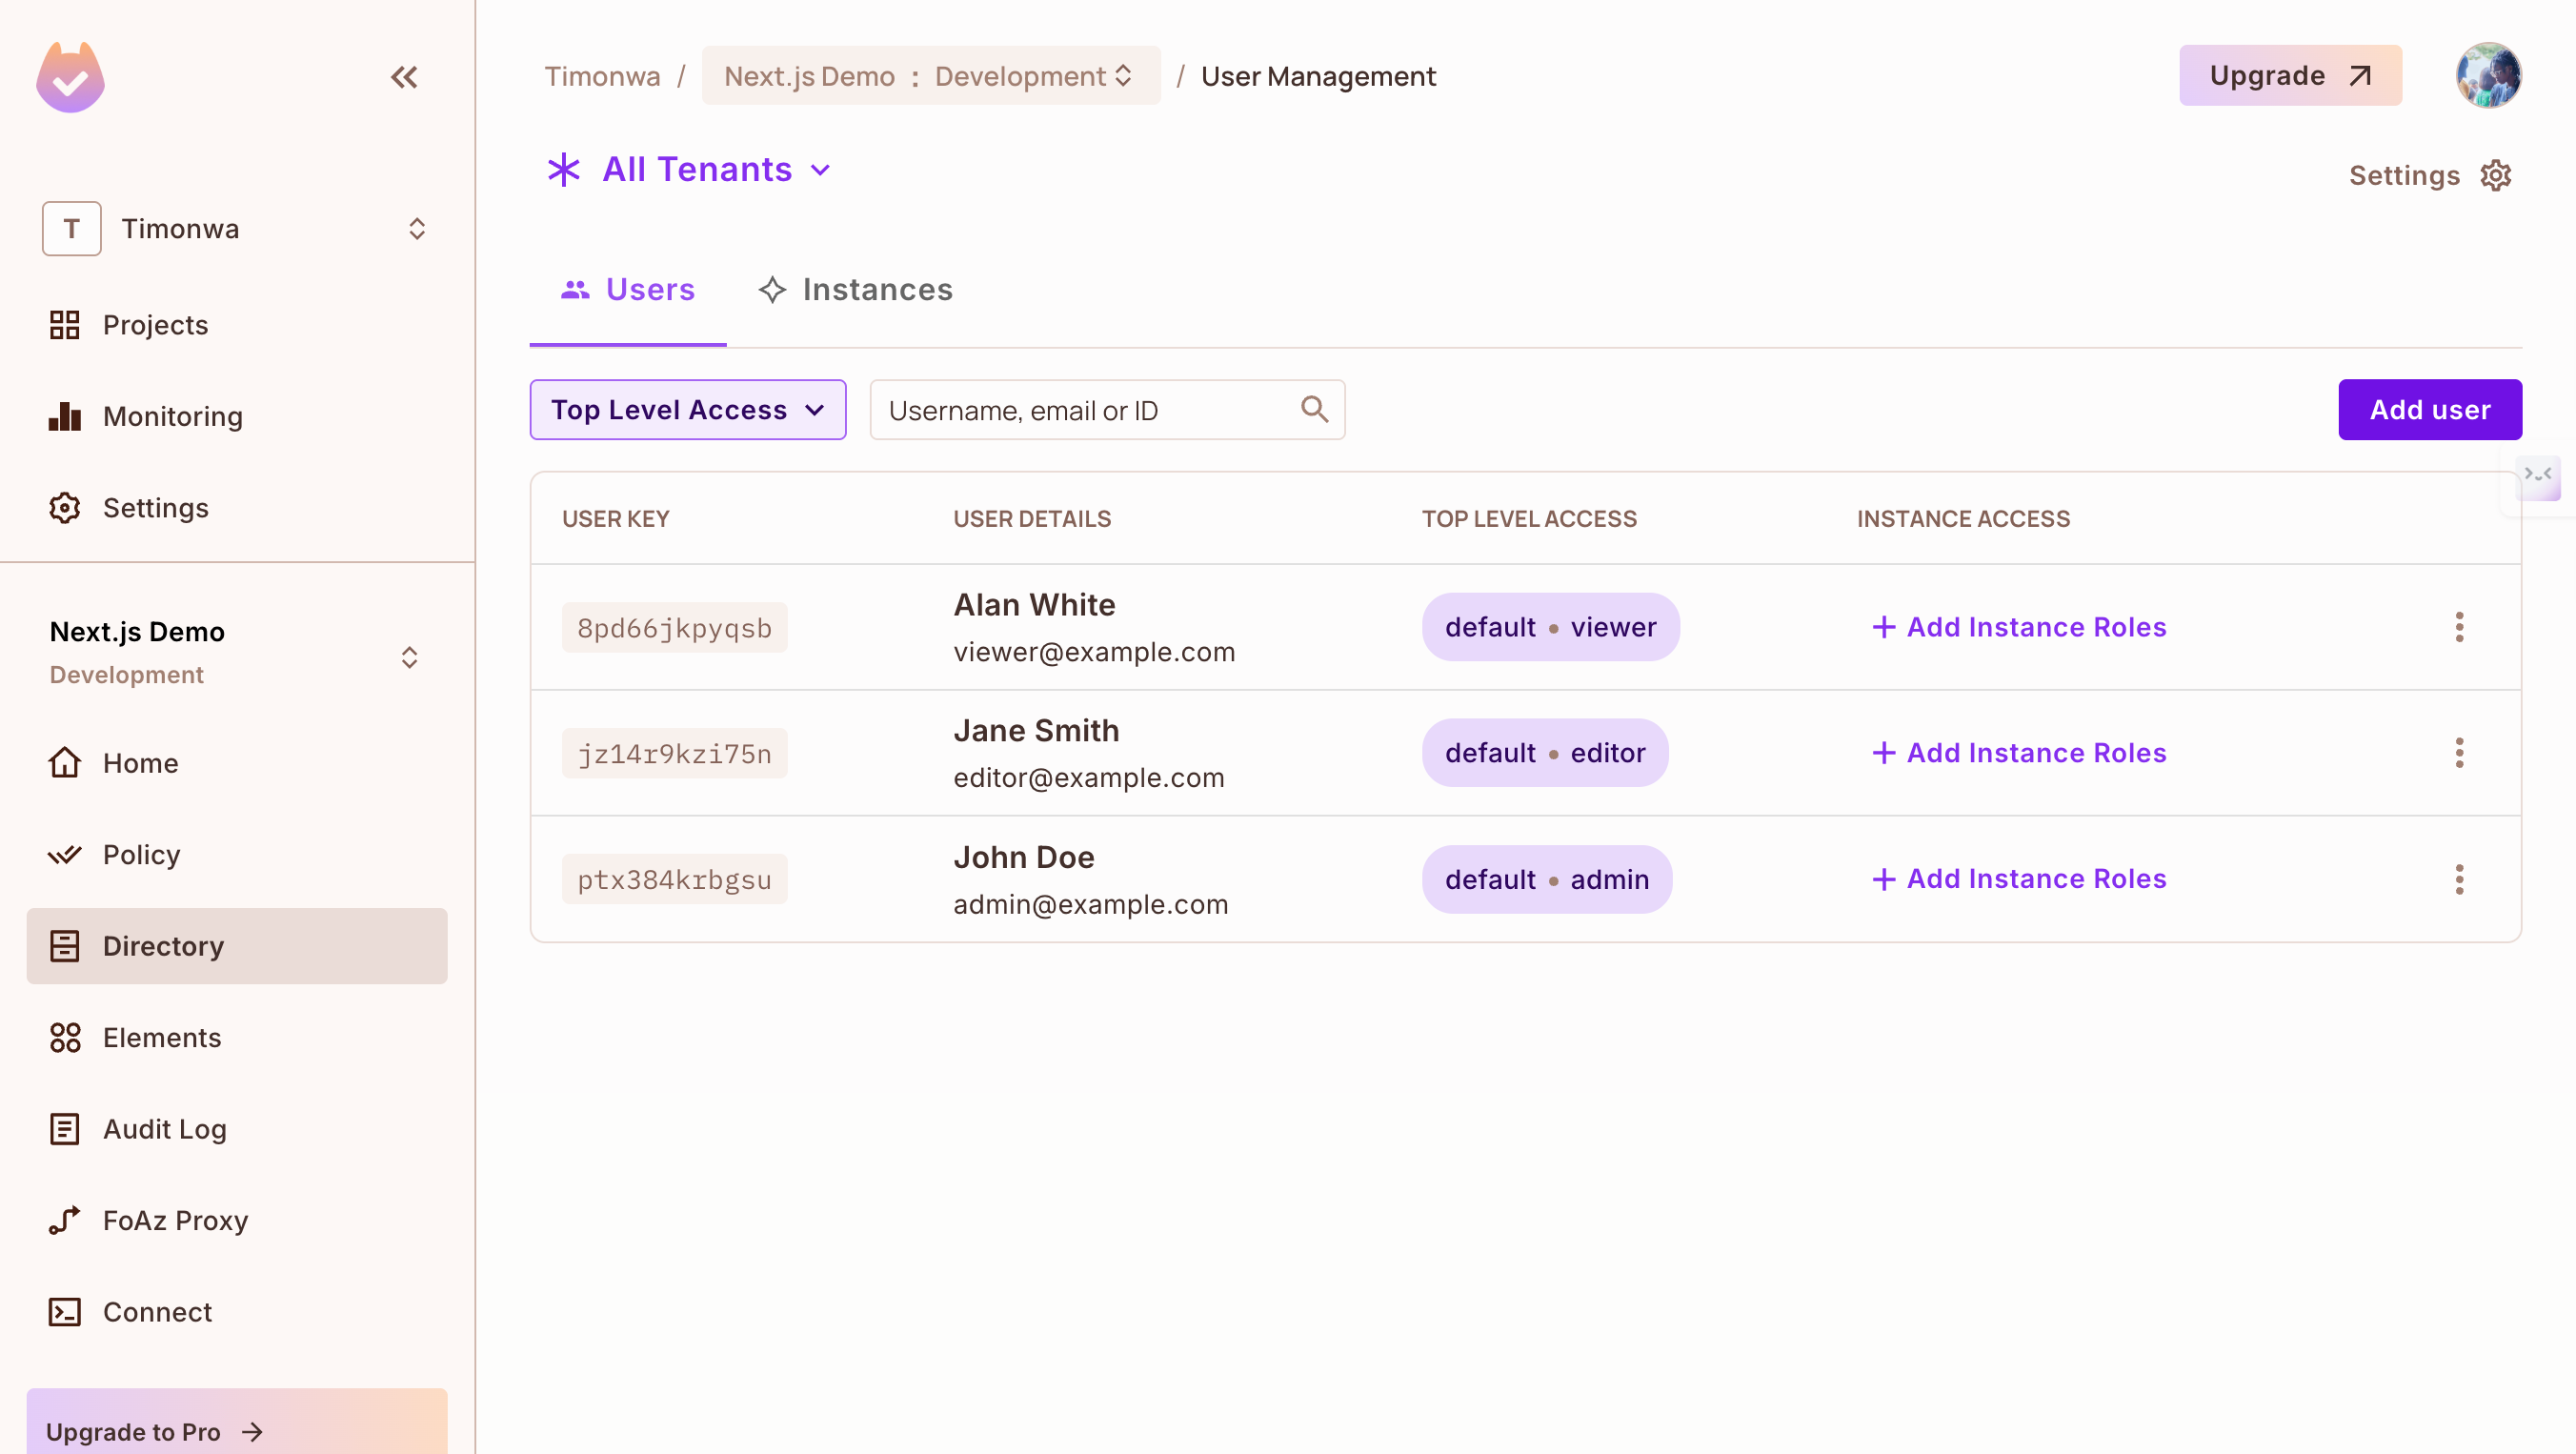
- 前往 Permit.io 後台「Directory」→「Users」確認使用者已同步
- 驗證註冊時是否指派正確角色給使用者
使用 Permit.io 進行授權 (Authorization)
使用者同步後,你可以透過 Permit.io 檢查權限:
// 權限檢查範例
const isPermitted = await permit.check(userId, 'view', 'reports');

if (isPermitted) {
  // 使用者允許檢視資源
  // 顯示資源 UI
} else {
  // 使用者無權檢視資源
  // 顯示存取被拒訊息
}
結論
你已成功將 Logto 與 Permit.io 連接,實現自動同步使用者並在應用程式中實作授權 (Authorization)。此整合流程如下:
- 使用者透過 Logto 驗證 (Authentication)
- 新使用者經由 webhook 自動同步到 Permit.io
- 你可以利用 Permit.io 檢查權限並實作存取控制
這樣的架構為未來擴展更進階的授權 (Authorization) 模式打下堅實基礎。
如需進階授權 (Authorization) 應用,請參閱 Permit.io 文件,了解如何建立政策、強制權限與實作角色型存取控制 (RBAC, Role-based Access Control)。