Set up Single Sign-On with Okta
With minimal configuration efforts, this connector allows integration with Okta for enterprise SSO.
For more information about SSO and how to configure SSO in Logto, please check out the Enterprise SSO (SAML & OIDC) documentation to get started.
Step 1: Create an OIDC application on Okta admin portal
- Visit the Okta admin portal and sign in as an administrator.
- Navigate to the
Applications/Applicationspage using the side menu. - Click the
Create App Integrationbutton to create a new OIDC application. - Select the
OIDC - OpenID Connectoption as theSign-in method. - Select the
Web Applicationoption as theApplication type.
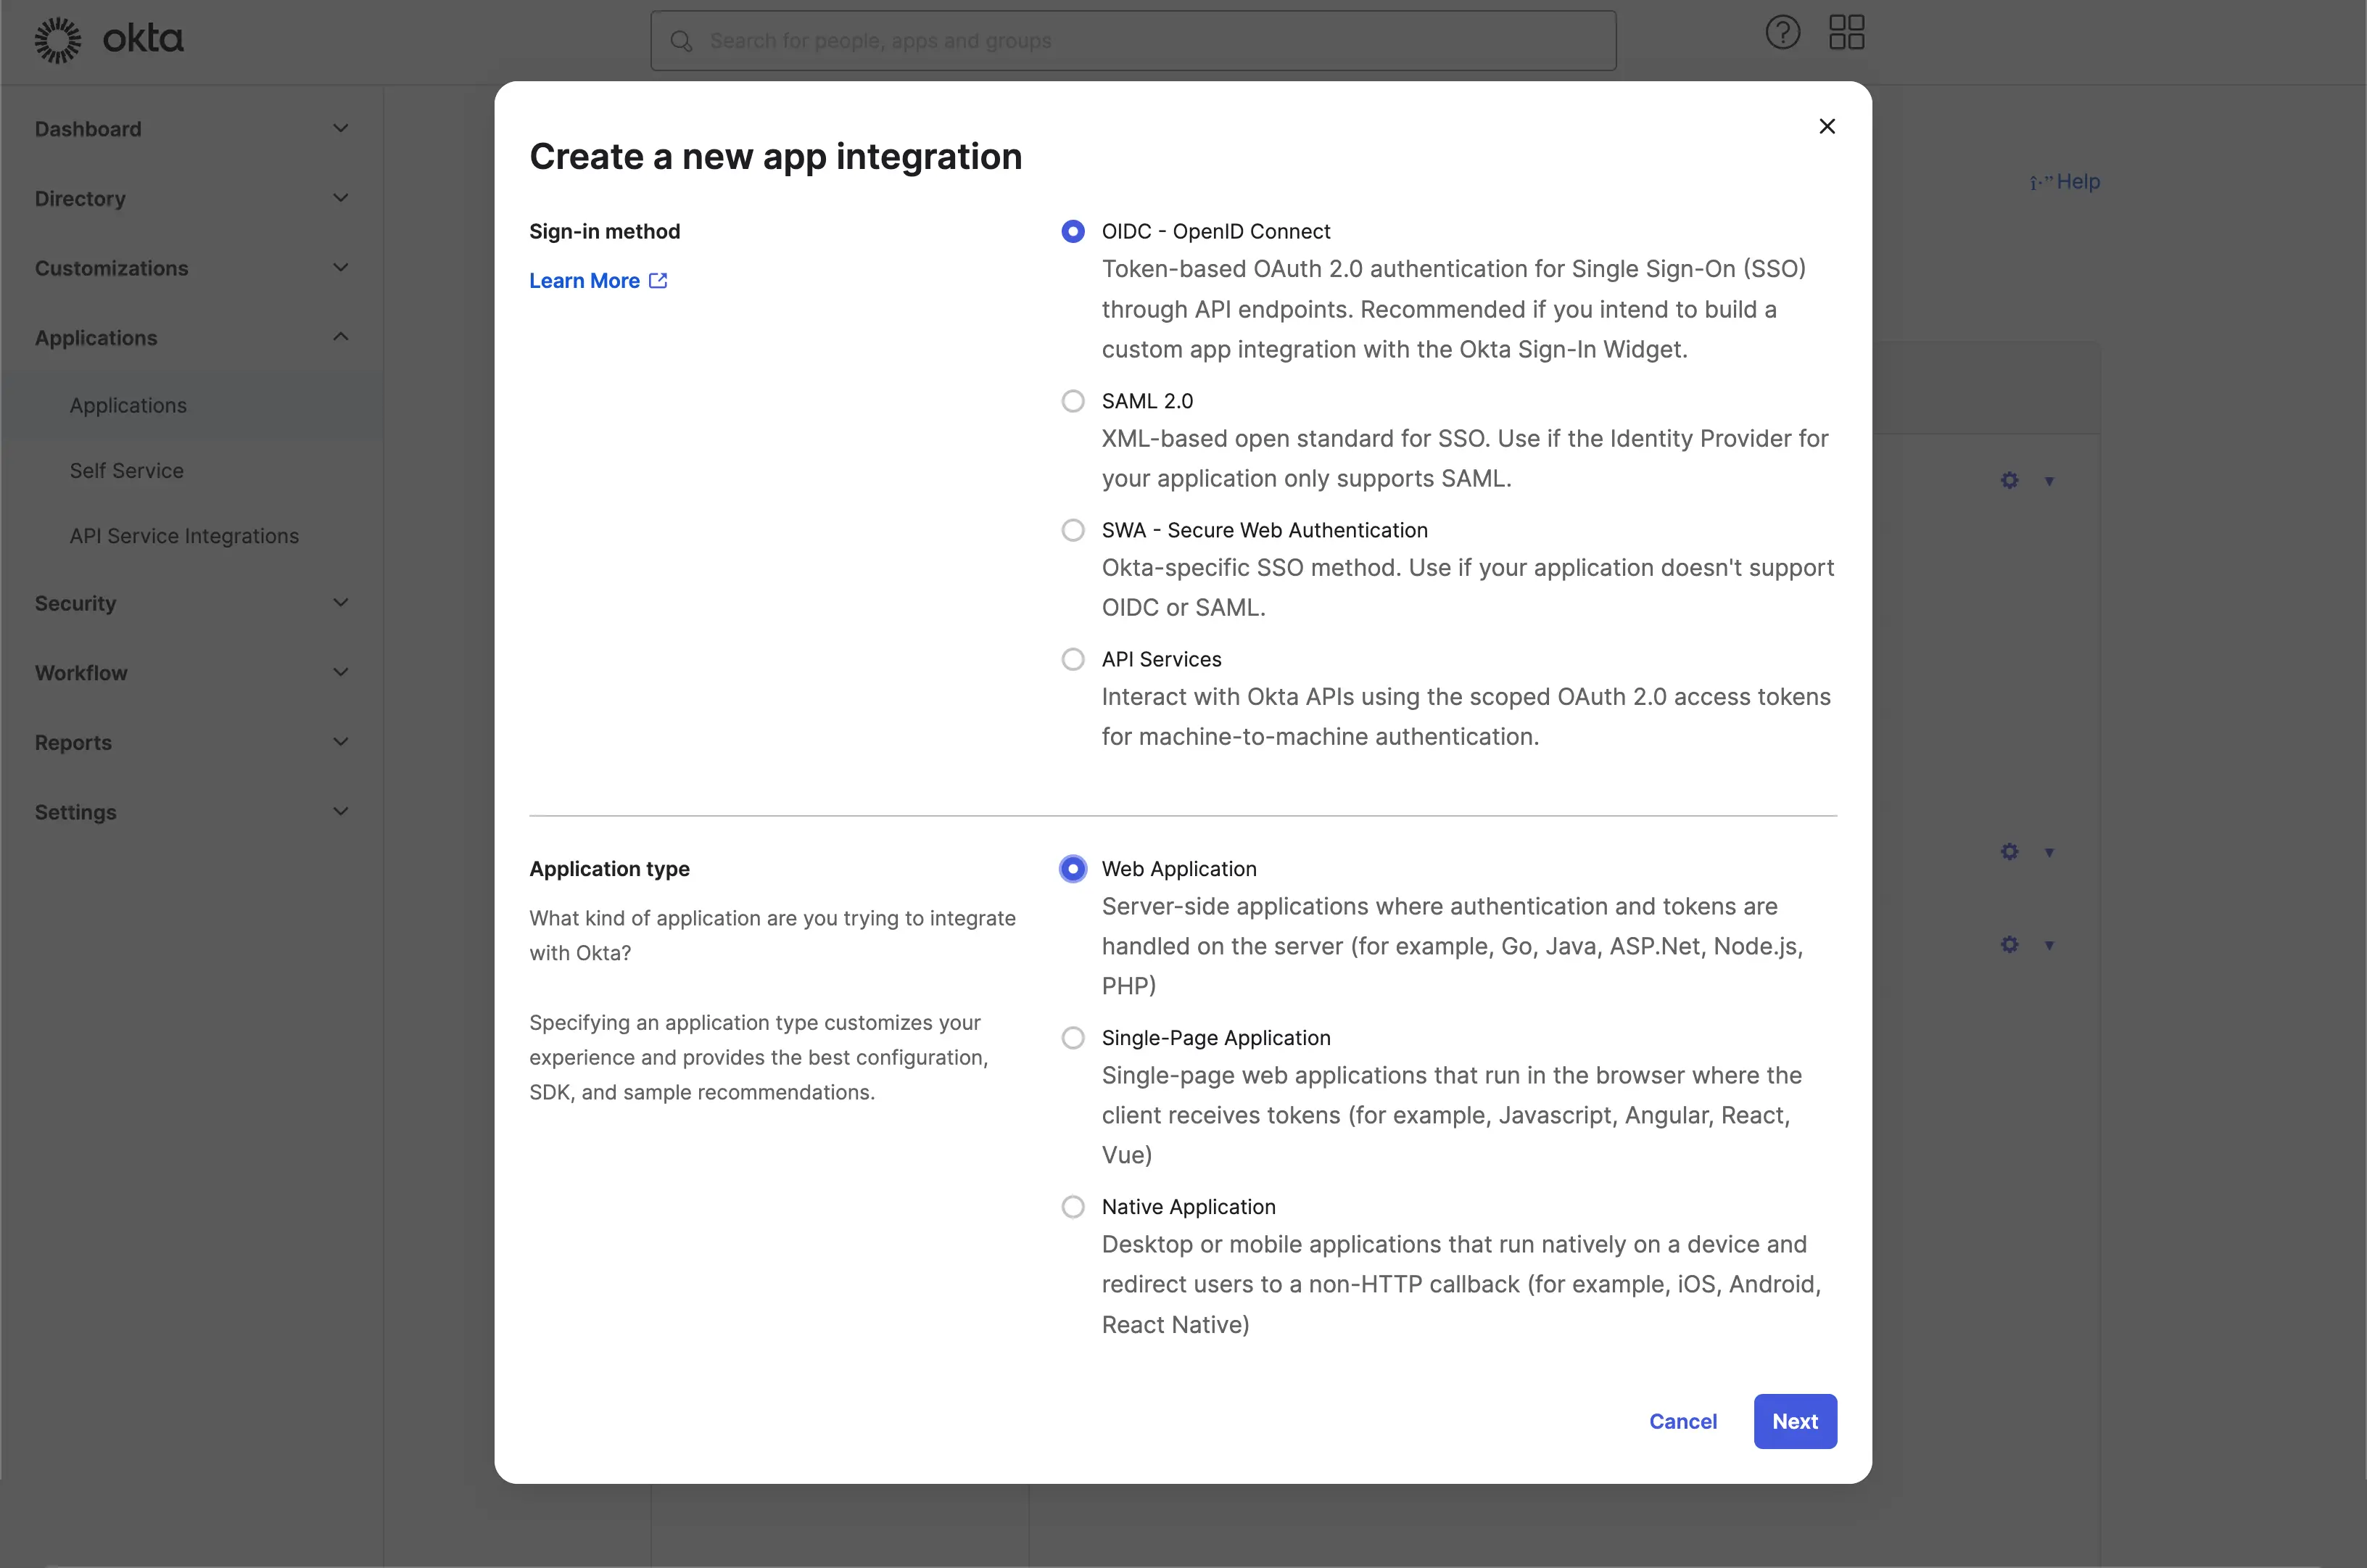
Click the Next button to continue.
Step 2: Configure the application settings
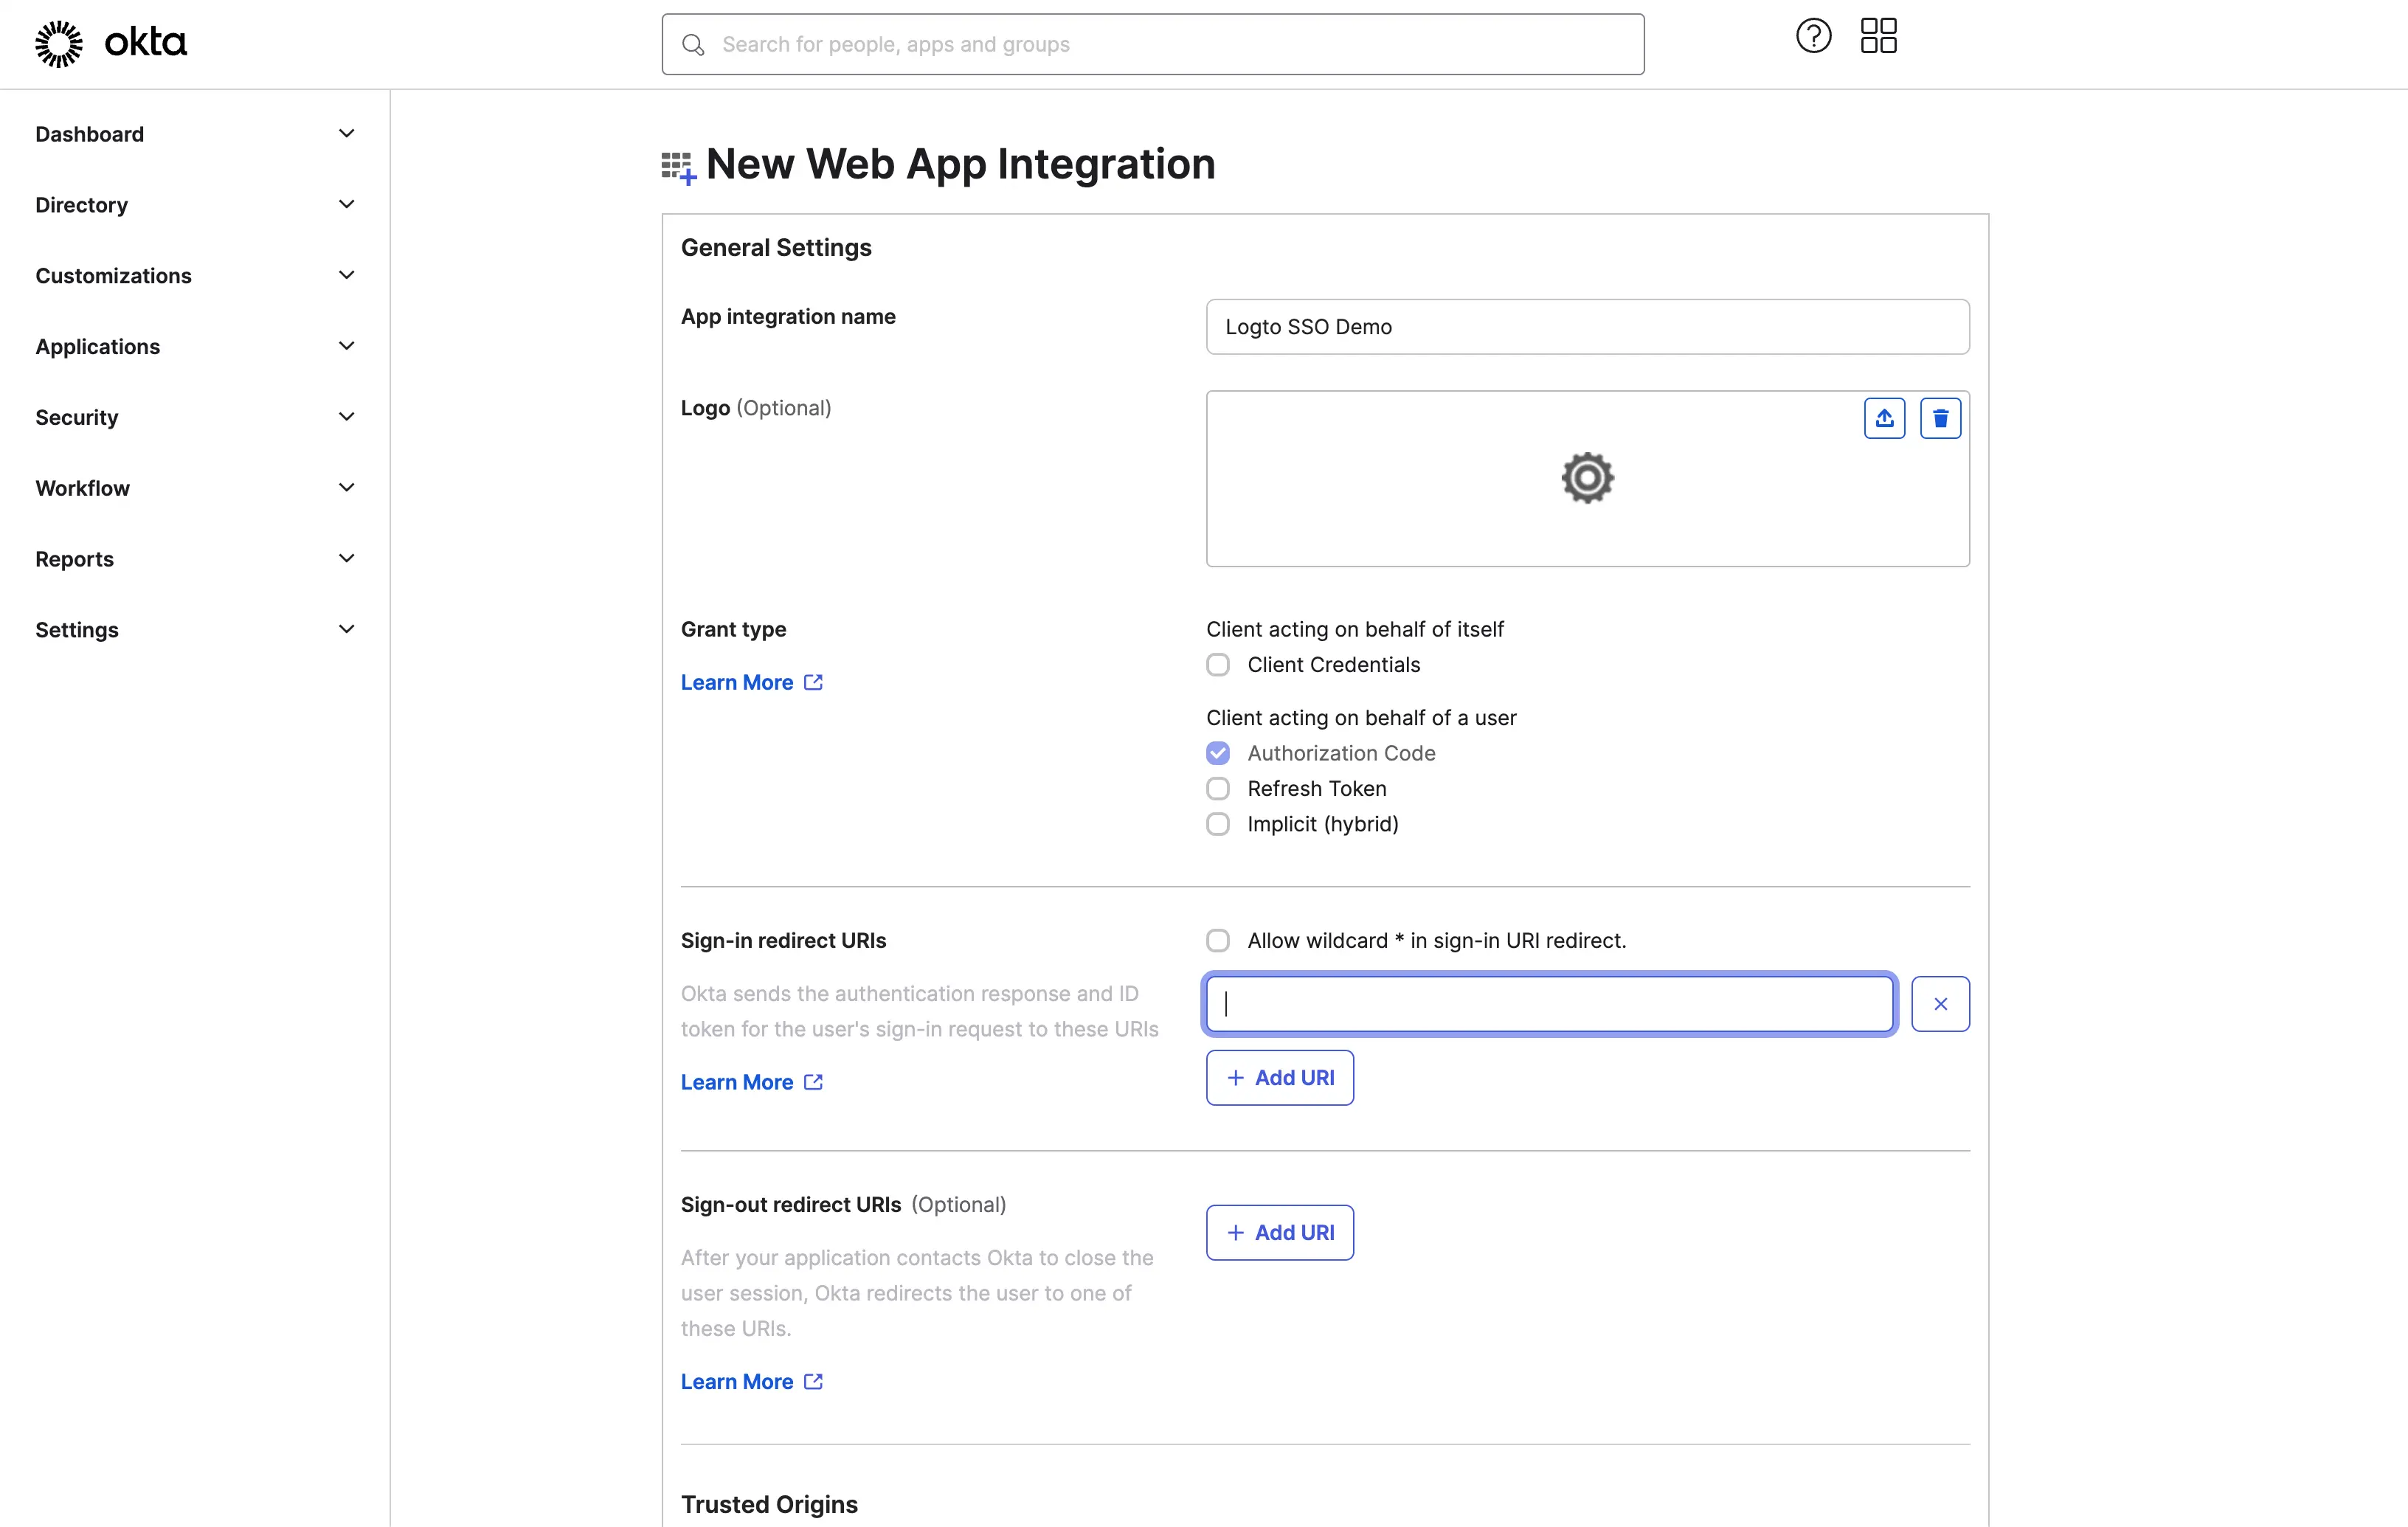
- Provide an
App integration name. It will be used as the identifier of your OIDC application. - Add a new
Sign-in redirect URIsusing the Logto SSO connector's callback URL.
This is the URI that the Okta will redirect the user's browser after successful authentication. After a user successfully authenticates with the IdP, the IdP redirects the user's browser back to this designated URI along with an authorization code. Logto will complete the authentication process based on the authorization code received from this URI.
- Assign users to the application.
Based on the Assignments settings, you can choose to assign the application to all users or specific users/groups.

Click the Save button to save the application settings.
Step 3: Set up Logto connector with the client credentials
After successfully creating the OIDC application, you will be redirected to the application details page.
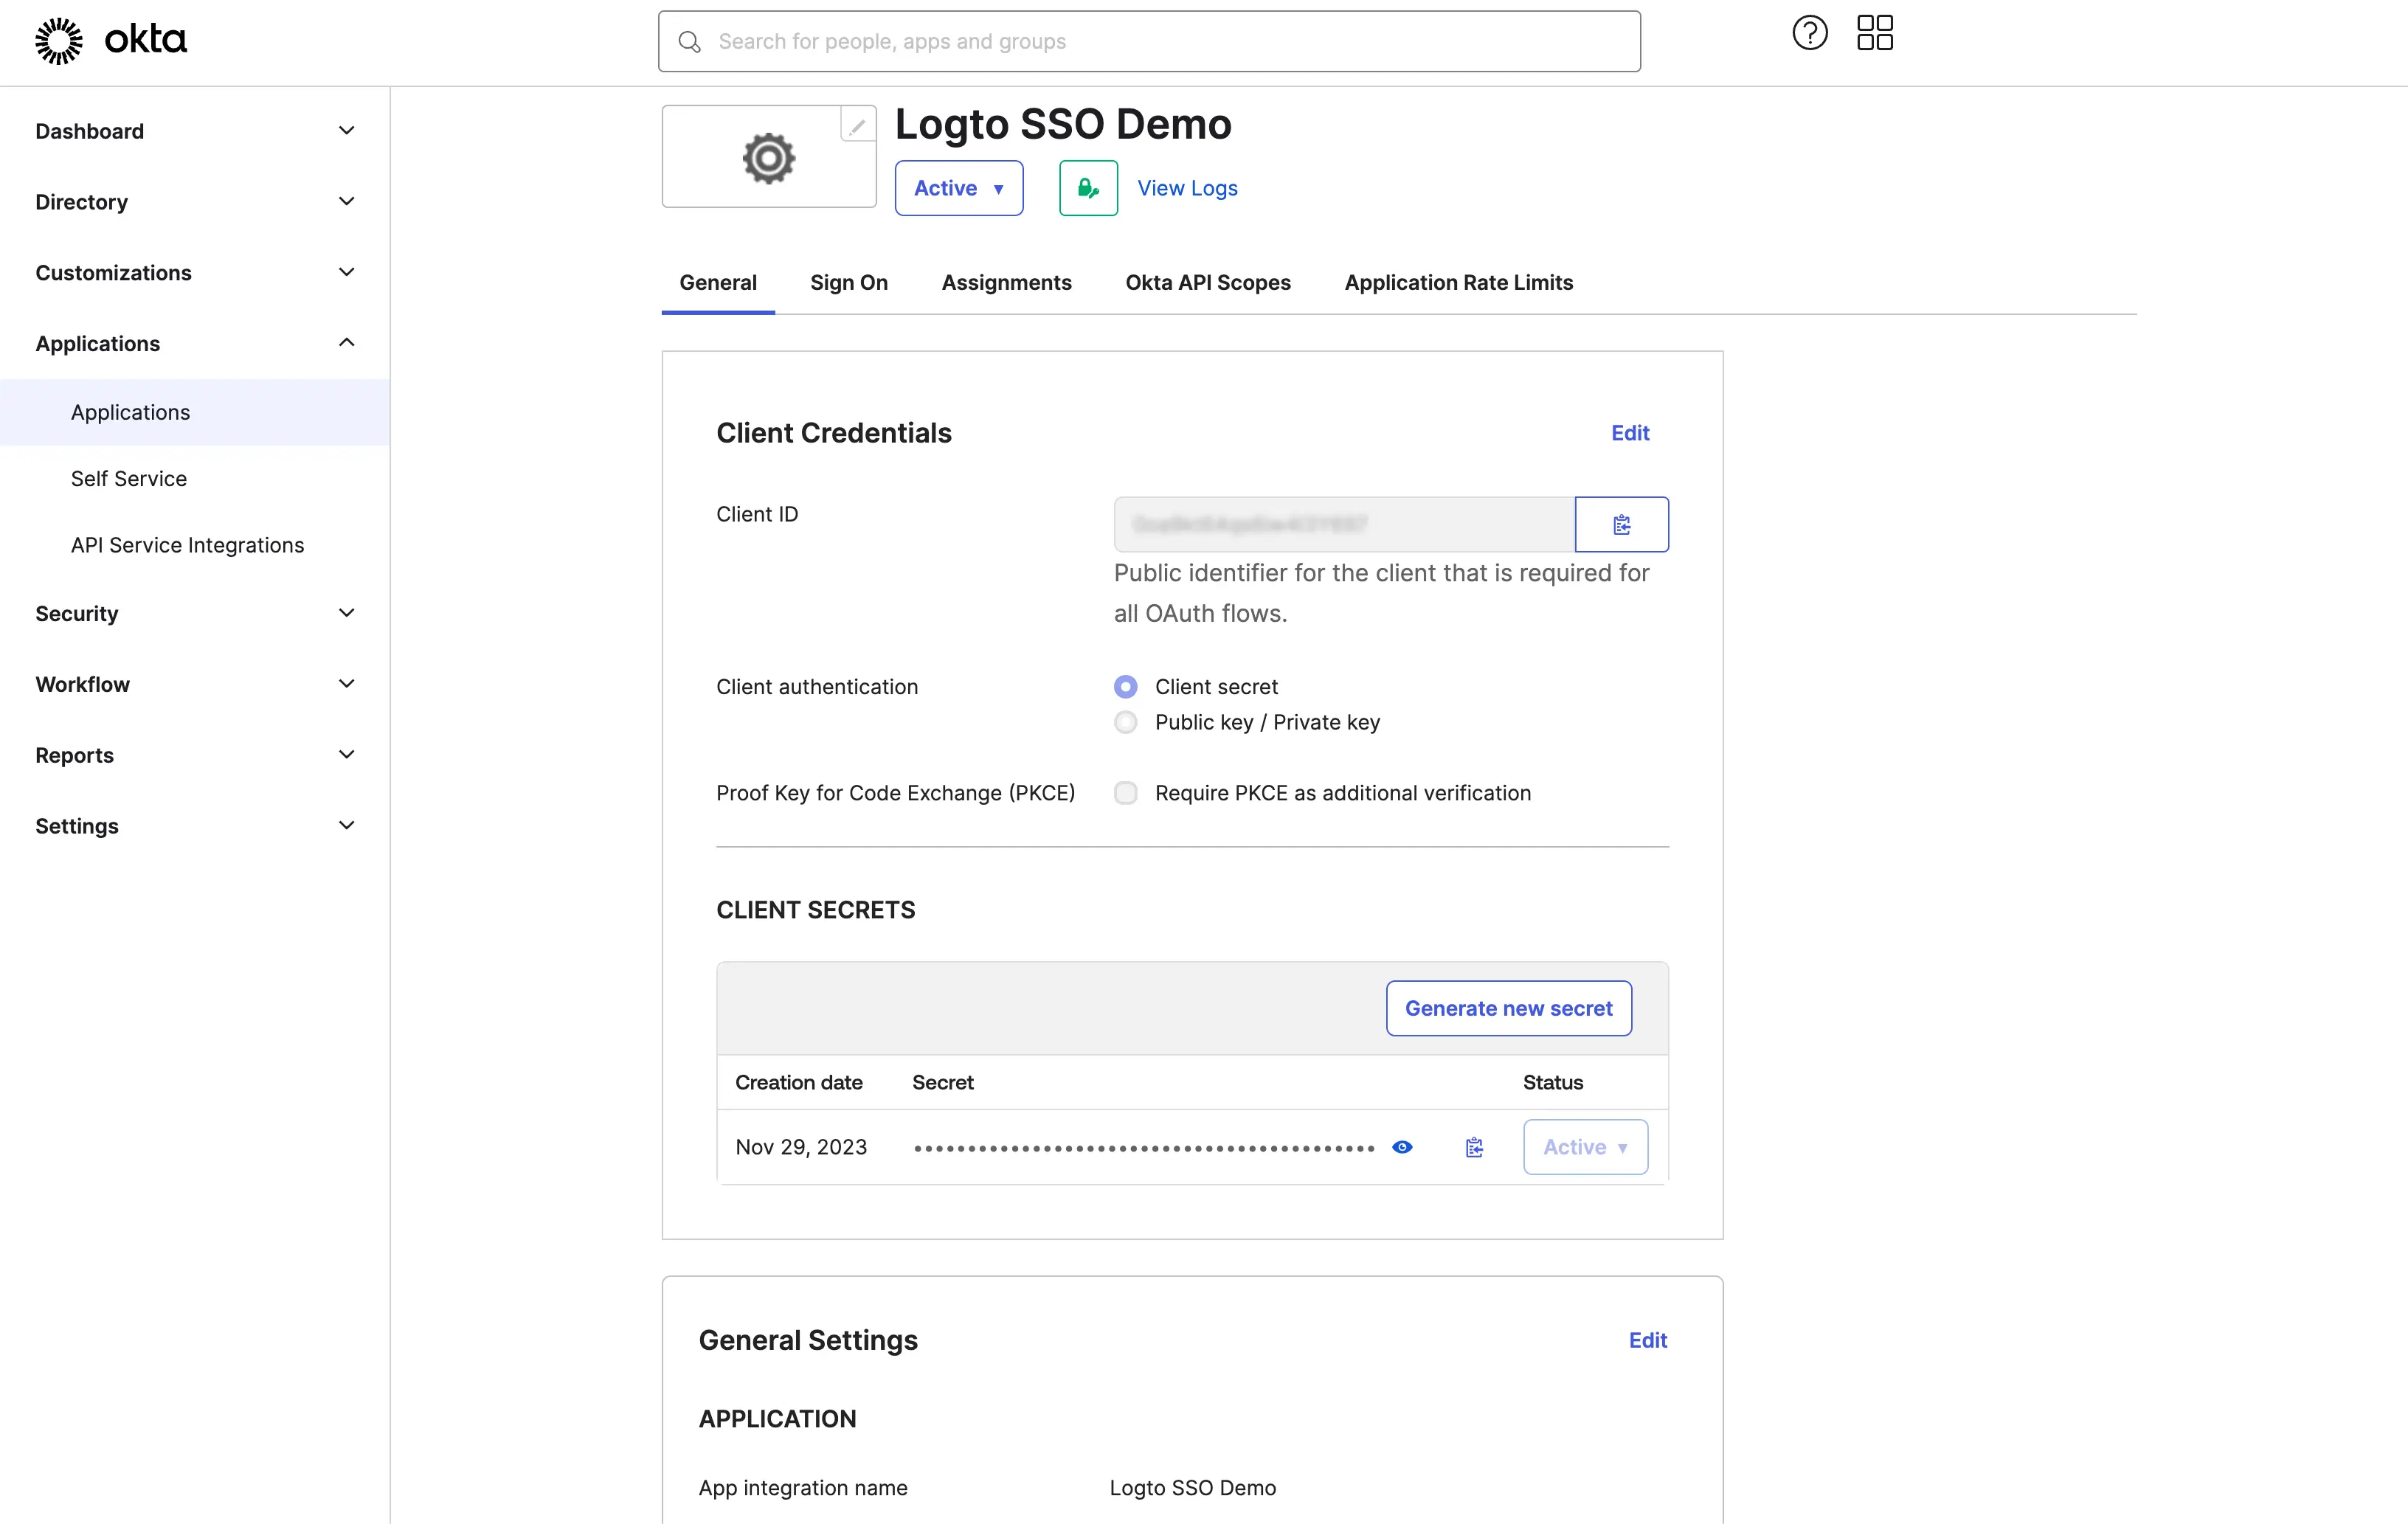
Copy the client ID and client secret and fill in the corresponding fields on the Logto SSO connector Connection tab.
Use your Okta domain as the issuer. Example: https://dev-12345678.okta.com. Once you have filled in all the fields, click the Save button to save the connector settings.
If the issuer link you provided is valid, you will see a parsed full list of Okta IdP configurations shown below the issuer field.
Step 4: Additional scopes (Optional)
Scopes define the permissions your app requests from users and control which data your app can access from their Okta accounts. Requesting additional Okta permissions requires configuration on both sides:
In Okta admin console:
- Navigate to Applications > Applications and select your OIDC application.
- Go to the Assignments tab to ensure your app has access to the required users and groups.
- For custom scopes, navigate to Security > API > Authorization Servers and select your authorization server.
- Add custom scopes if needed:
- Click Scopes and then Add Scope
- Define scope names like
okta.users.readorokta.groups.readfor accessing Okta APIs - Configure consent requirements for each scope
For a complete list of available scopes and their descriptions, please refer to the Okta OIDC documentation.
In Logto Okta connector:
- Logto automatically includes
openid,profile, andemailscopes to retrieve basic user identity information. You can leave theScopesfield blank if you only need basic user information. - Add
offline_accessto theScopesfield if you plan to store tokens for persistent API access. This scope enables refresh tokens for long-lived API access. - Add additional scopes (separated by spaces) in the
Scopesfield to request more data from Okta. For example:okta.users.read okta.groups.read
If your app requests these scopes to access Okta APIs and perform actions, make sure to enable Store tokens for persistent API access in Logto Okta connector. See the next section for details.
Step 5: Store tokens to access Okta APIs (Optional)
If you want to access Okta scopes and perform actions with user authorization, Logto needs to get specific scopes and store tokens.
- Add the required scopes in your Okta developer console API permissions configuration and Logto Okta connector.
- Enable Store tokens for persistent API access in Logto Okta connector. Logto will securely store Okta access and refresh tokens in the Secret Vault.
- To ensure refresh tokens are returned, add the
offline_accessscope to your Okta application permissions and include it in your Logto Okta connector scopes. This scope allows your application to maintain access to resources for extended periods.
Step 6: Set email domains and enable the SSO connector
Provide the email domains of your organization on Logto's connector SSO experience tab. This will enable the SSO connector as an authentication method for those users.
Users with email addresses in the specified domains will be redirected to use your SSO connector as their only authentication method.
For more details about creating OIDC integration with Okta, please check Create OIDC App Integrations.