Set up Single Sign-On with Microsoft Entra ID (OIDC)
With minimal configuration efforts, this connector allows integration with Microsoft Entra ID (formerly Azure AD) for enterprise SSO.
For more information about SSO and how to configure SSO in Logto, please check out the Enterprise SSO (SAML & OIDC) documentation to get started.
Step 1: Create an Microsoft EntraID OIDC application
-
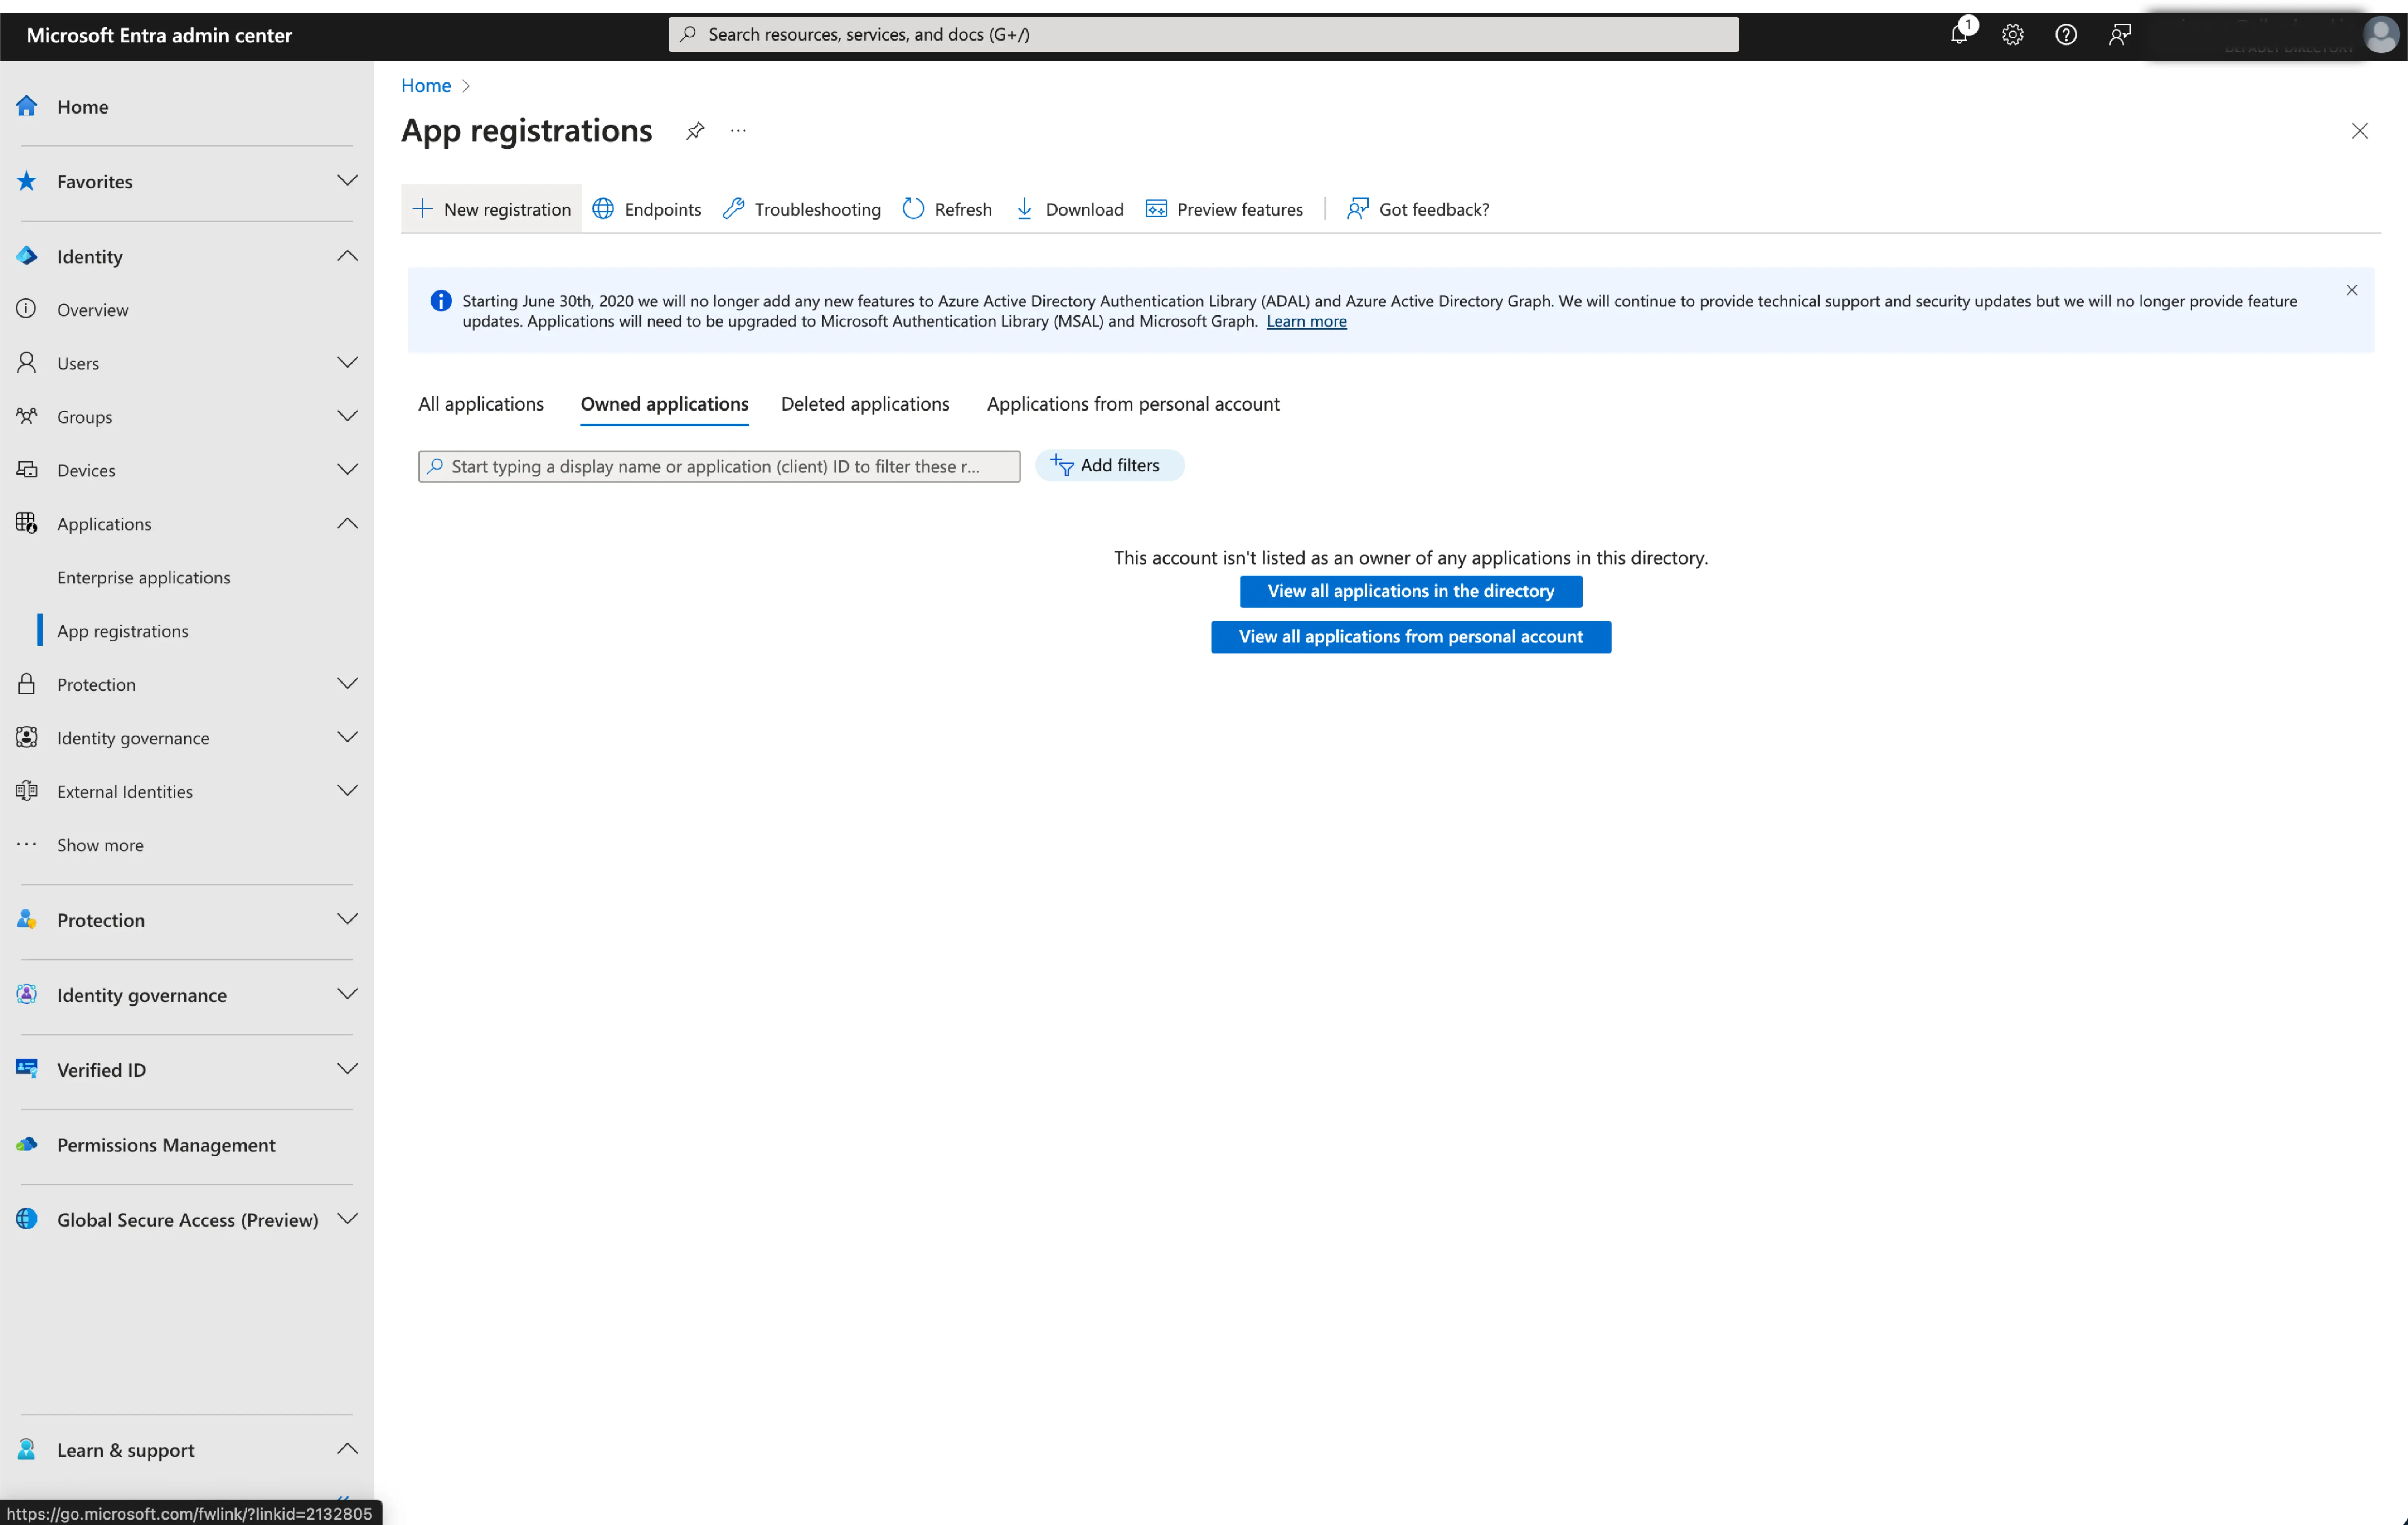
Go to the Microsoft Entra admin center and sign in as an administrator.
-
Browse to Identity > Applications > App registrations.
-
Select
New registration. -
Enter the application name and select the appropriate account type for your application.
-
Select
Webas the application platform. -
Copy and paste the
redirect URIfrom Logto's SSO settings page. Theredirect URIis the URL where the user is redirected after they have authenticated with Microsoft Entra ID.
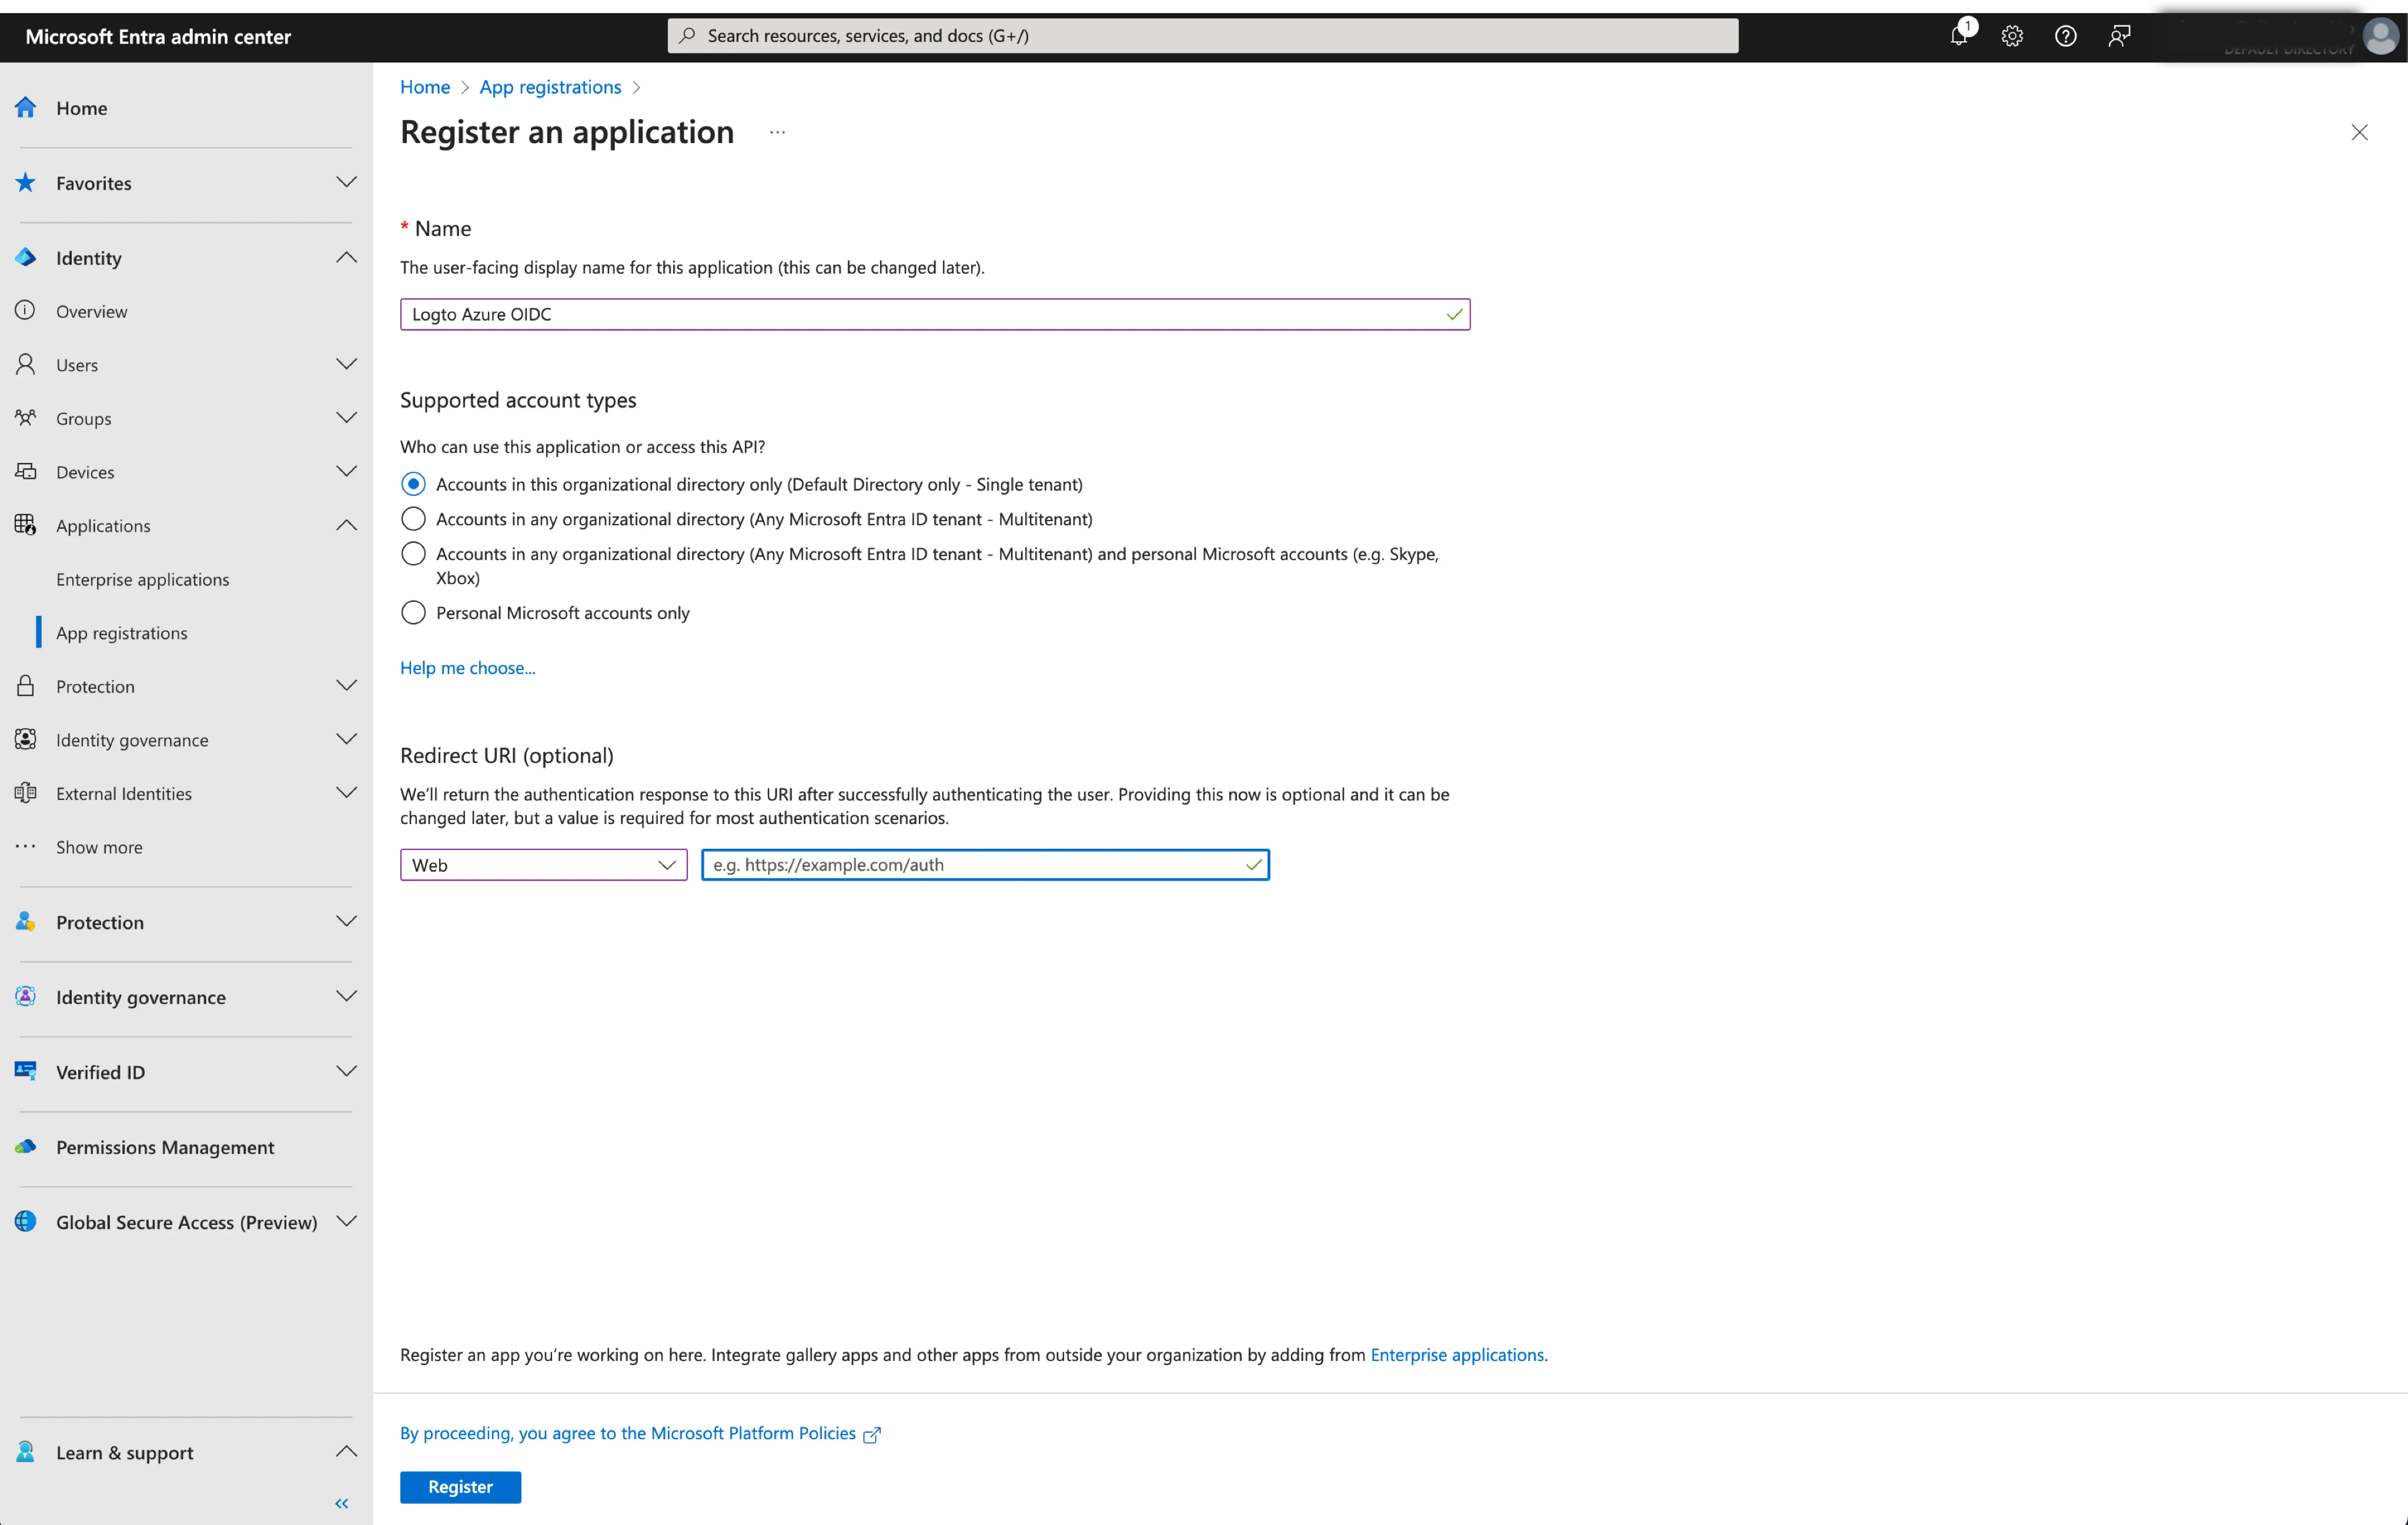
- Click
Registerto create the application.
Step 2: Configure Microsoft Entra ID OIDC SSO at Logto
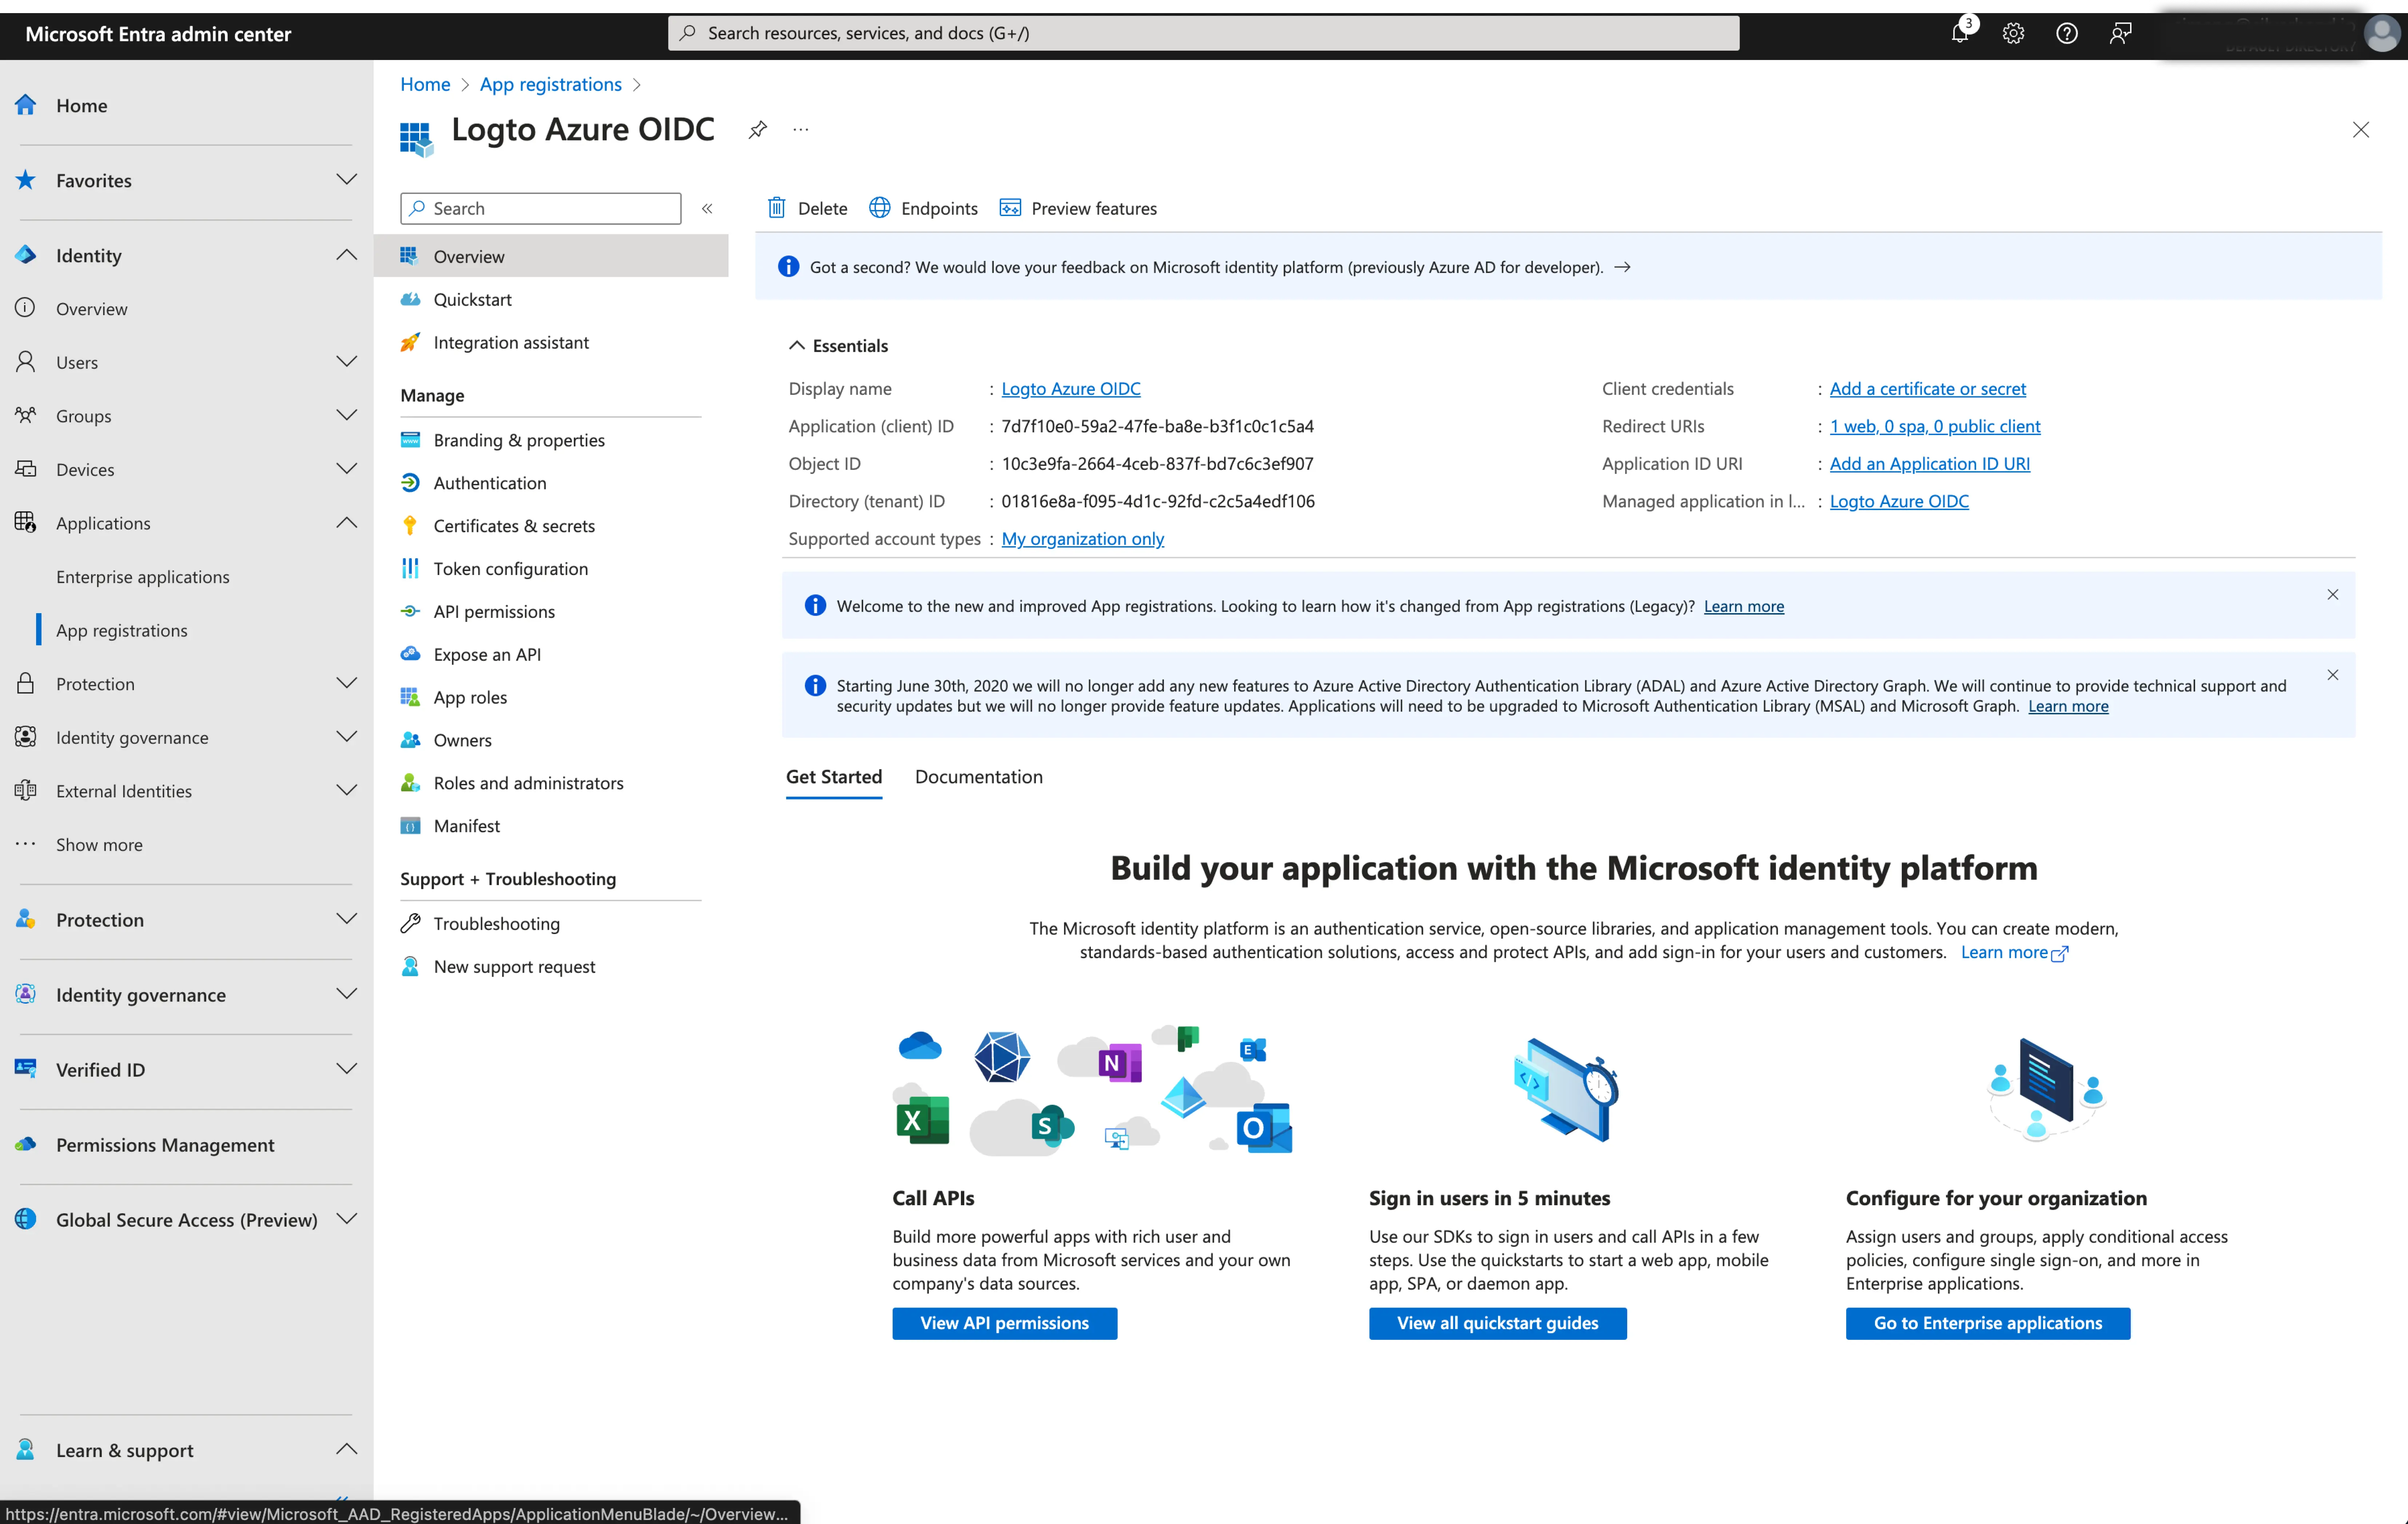
After successfully creating an Microsoft Entra OIDC application, you will need to provide the IdP configurations back to Logto. Navigate to the Connection tab at Logto Console, and fill in the following configurations:
- Client ID: A unique identifier assigned to your OIDC application by the Microsoft Entra. This identifier is used by Logto to identify and authenticate the application during the OIDC flow. You can find it in the application overview page as
Application (client) ID.
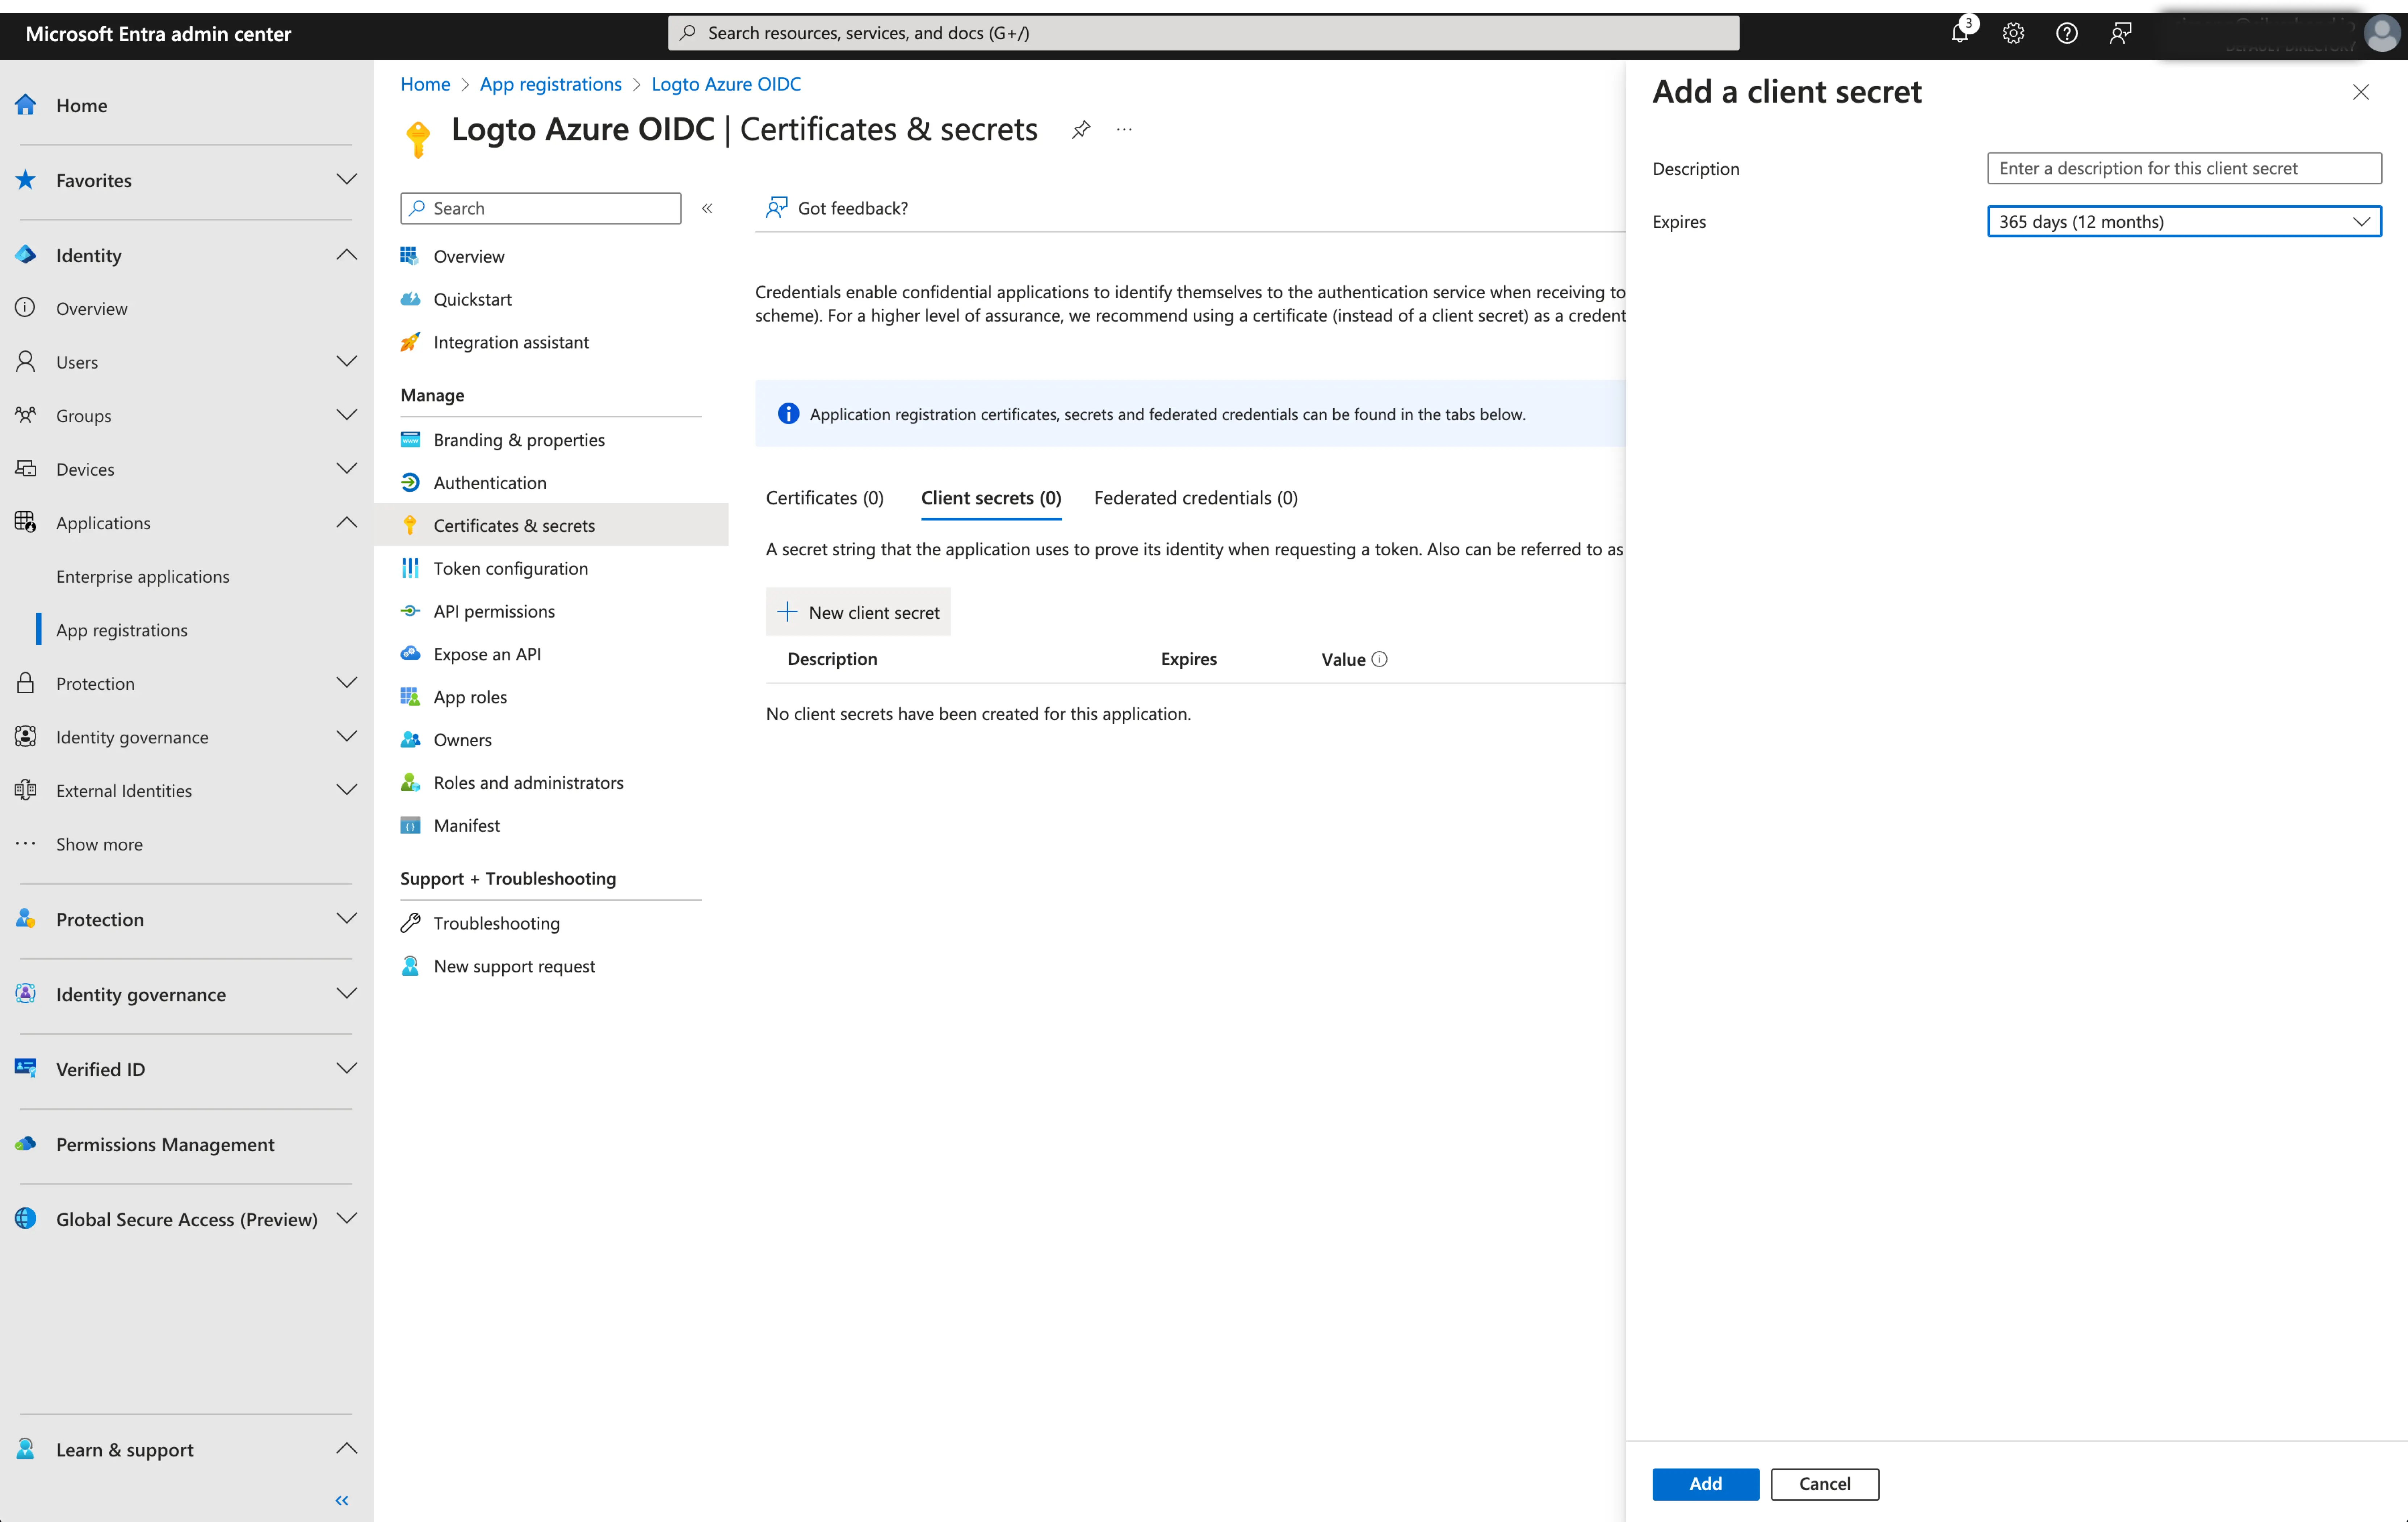
- Client Secret: Create a new client secret and copy the value to Logto. This secret is used to authenticate the OIDC application and secure the communication between Logto and the IdP.
-
Issuer: The issuer URL, a unique identifier for the IdP, specifying the location where the OIDC identity provider can be found. It is a crucial part of the OIDC configuration as it helps Logto discover the necessary endpoints.
Instead of manually provide all these OIDC endpoints, Logto fetch all the required configurations and IdP endpoints automatically. This is done by utilizing the issuer url you provided and making a call to the IdP's discover endpoint.
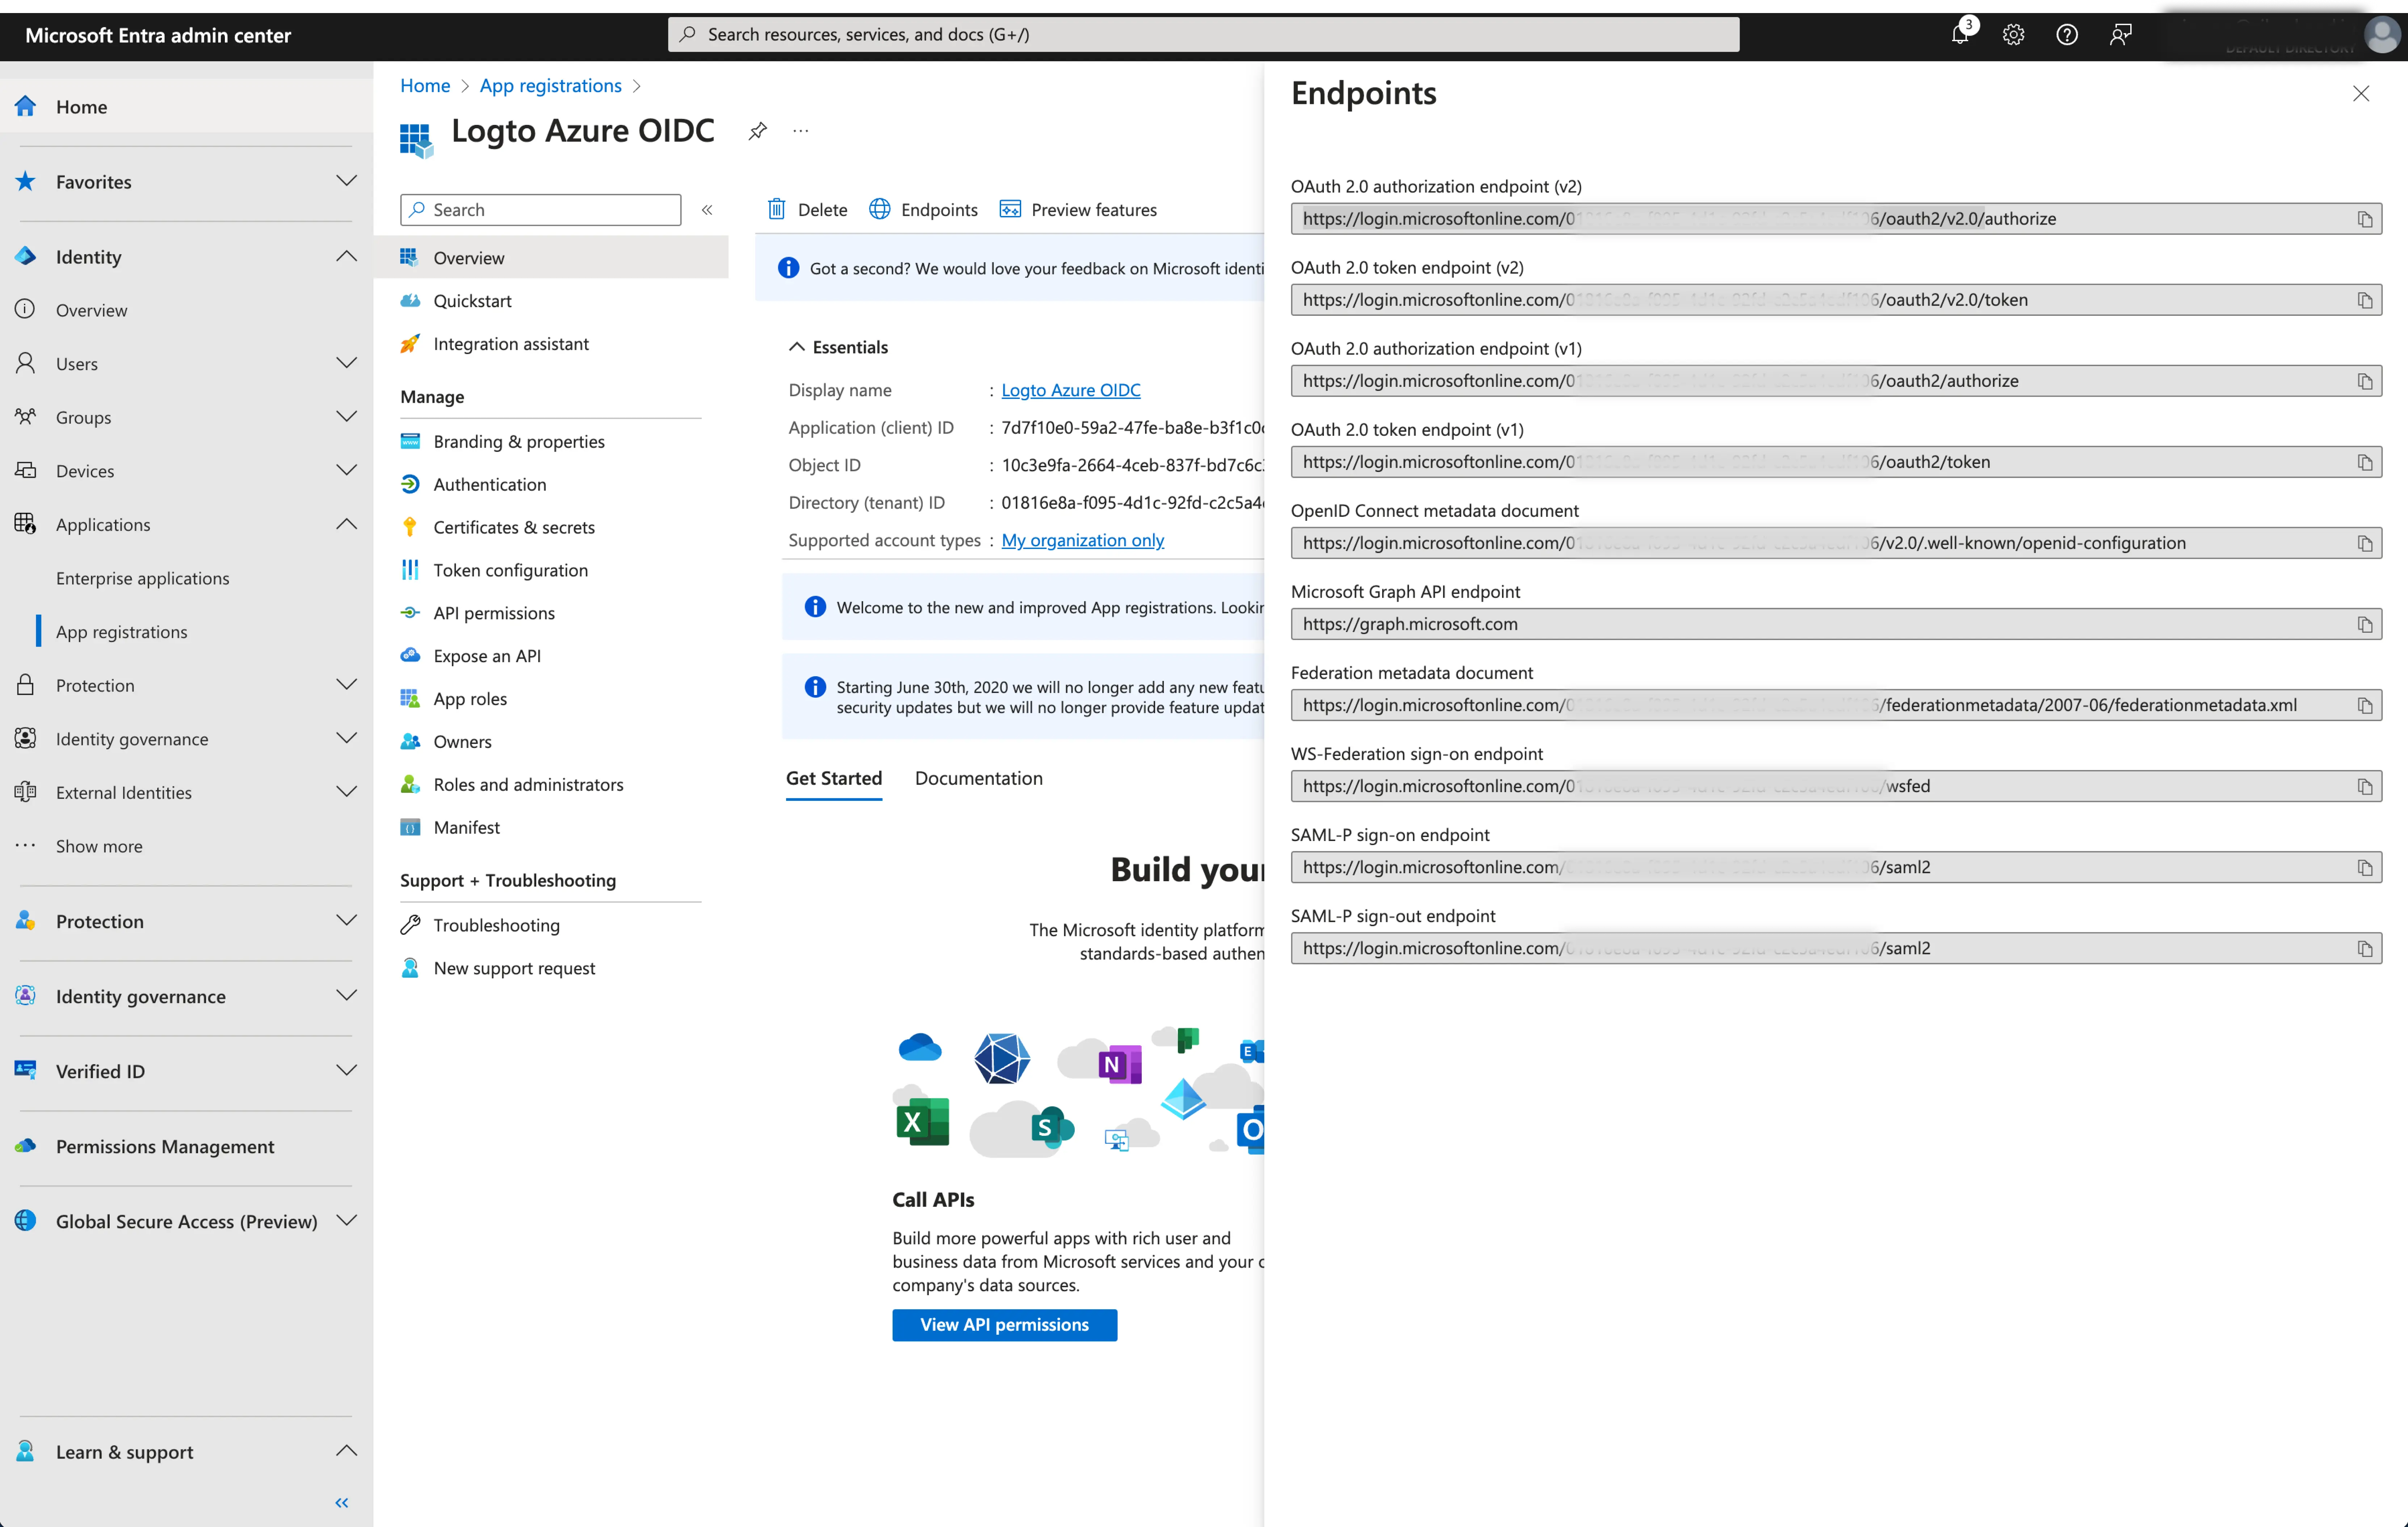
To get the issuer URL, you can find it in the
Endpointssection of the application overview page.Locate the
OpenID Connect metadata documentendpoint and copy the URL WITHOUT the trailing path.well-known/openid-configuration. This is because Logto will automatically append the.well-known/openid-configurationto the issuer URL when fetching the OIDC configurations.
- Scope (Optional): Logto automatically includes the required scopes (
openid,profile, andemail) in all requests. You can specify additional scopes as a space-separated list if your application requires extra permissions or access levels from the IdP.
Click Save to finish the configuration process
Step 3: Additional scopes (Optional)
Scopes define the permissions your app requests from users and control which data your app can access from their Microsoft Entra ID accounts. Requesting Microsoft Graph permissions requires configuration on both sides:
In Microsoft Entra admin center:
- Navigate to Microsoft Entra ID > App registrations and select your application.
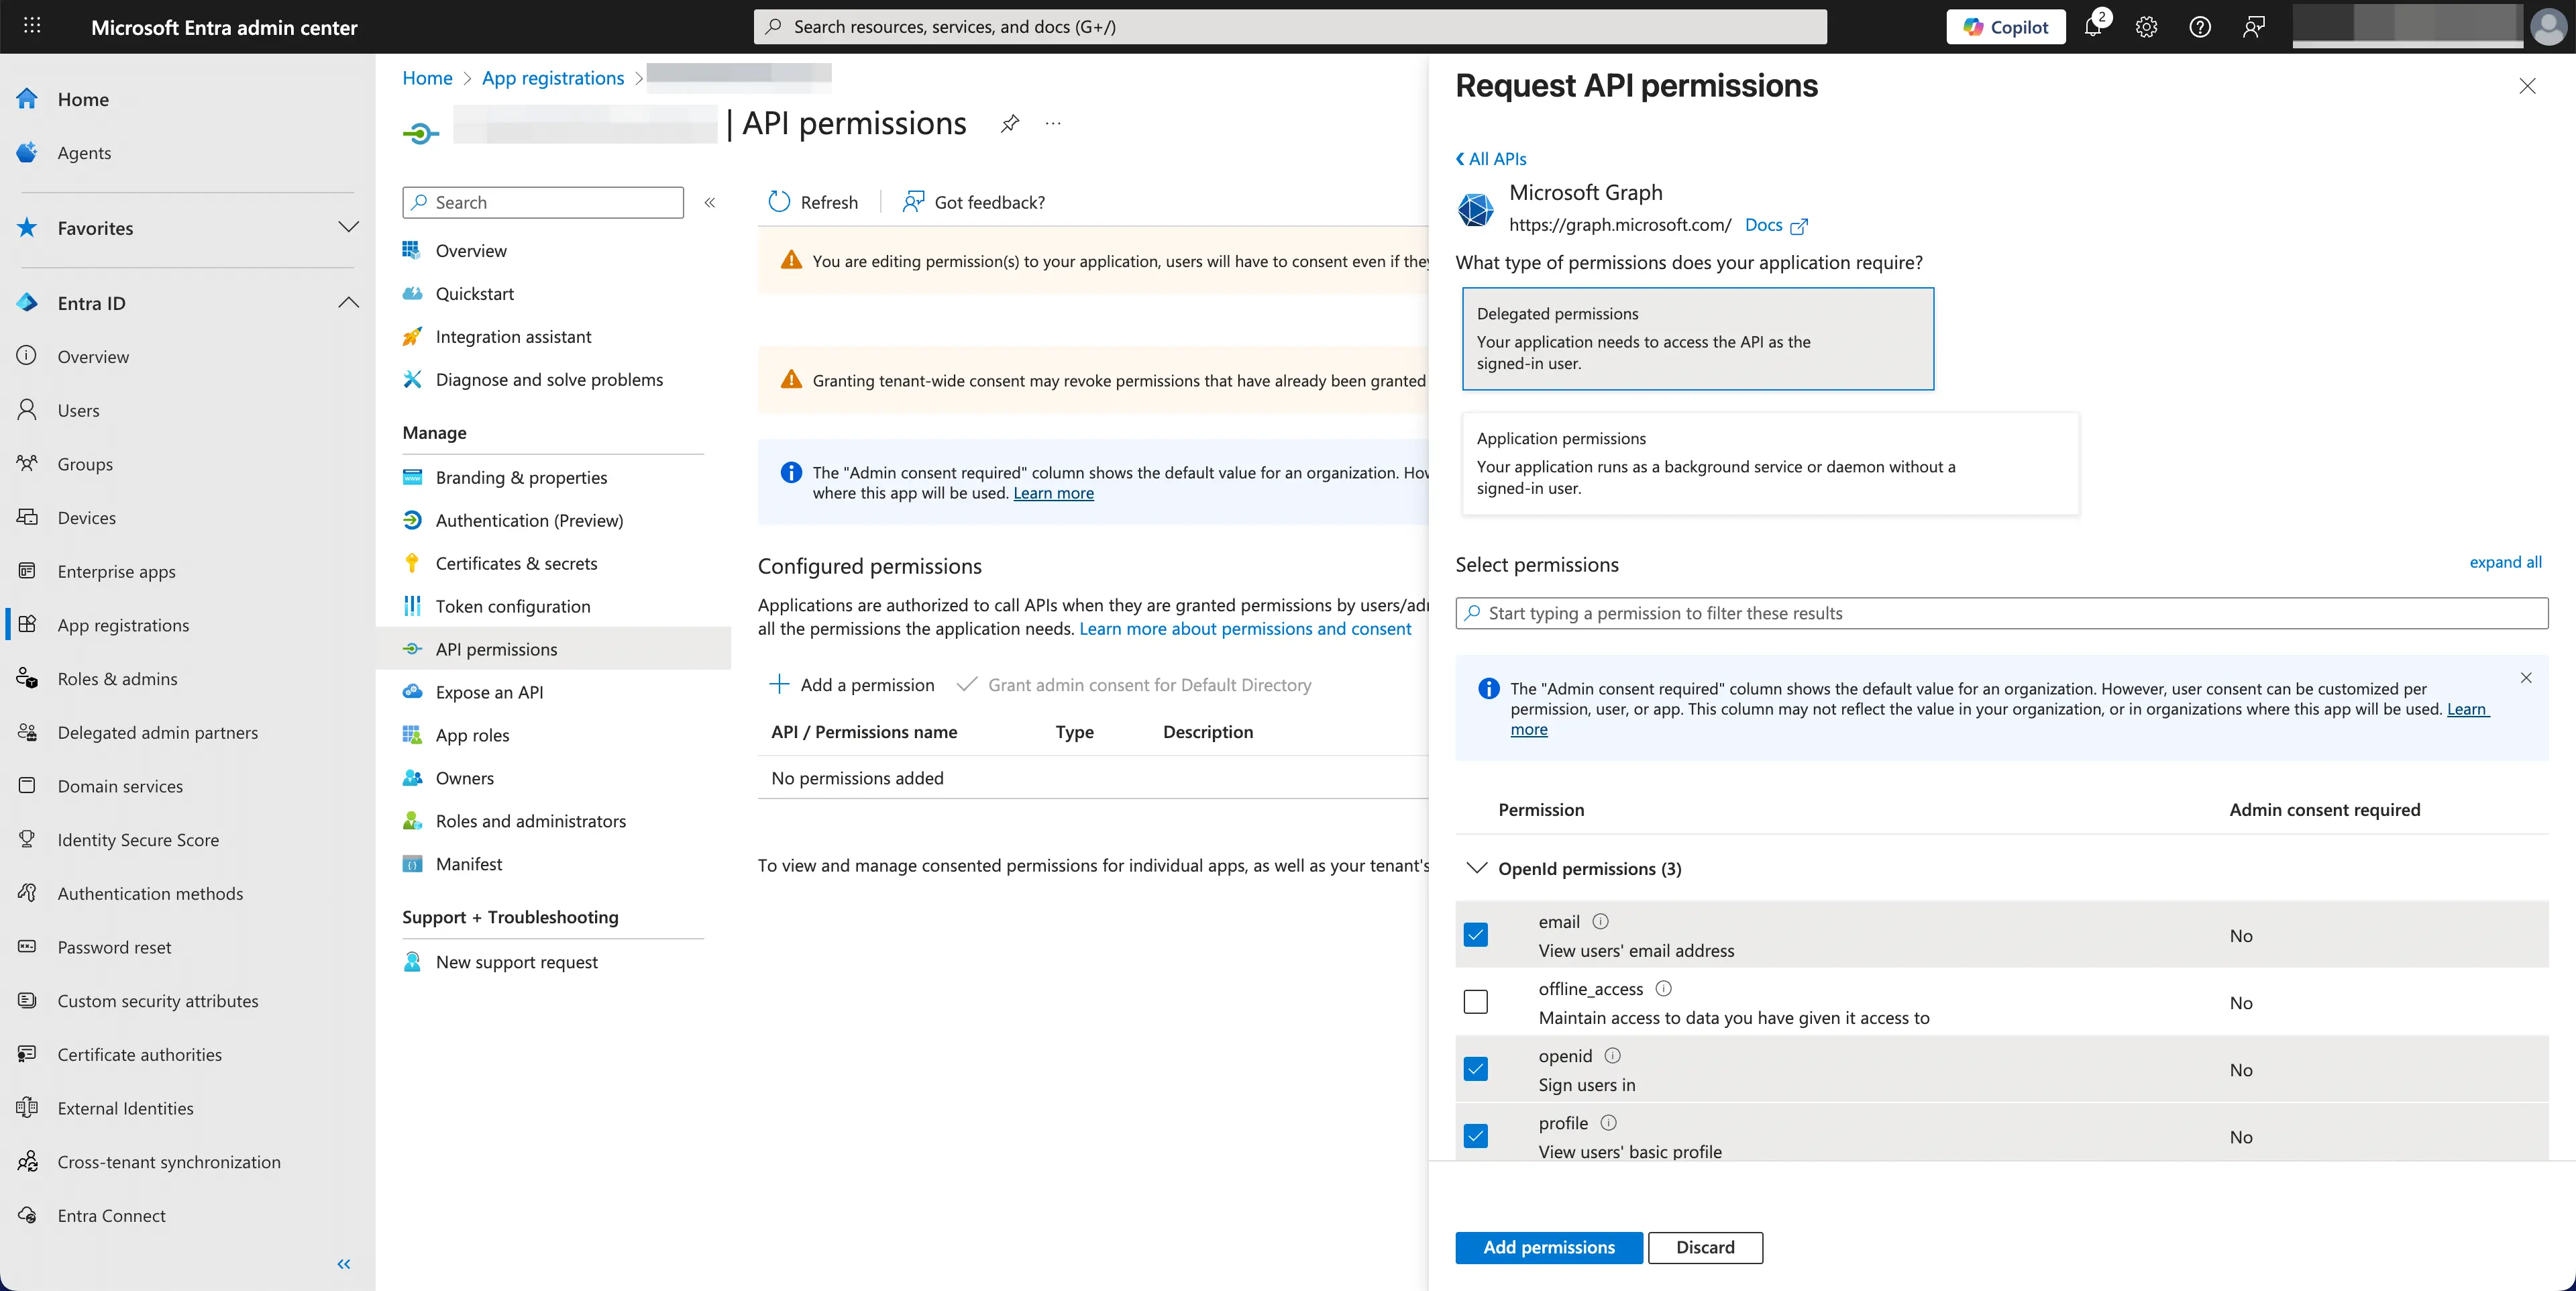
- Go to API permissions > Add a permission > Microsoft Graph > Delegated permissions.
- Select only the permissions your app requires:
- OpenID permissions:
openid(Required) - Sign users inprofile(Required) - View users' basic profileemail(Required) - View users' email addressoffline_access(Optional) - Required only if you enable Store tokens for persistent API access in the Logto connector and need to obtain refresh tokens for long-lived access to Microsoft Graph APIs.
- API access (Optional): Add any additional permissions needed for your app. Common Microsoft Graph permissions include
Mail.Read,Calendars.Read,Files.Read, etc. Browse the Microsoft Graph permissions reference to find available permissions.
- OpenID permissions:
- Click Add permissions to confirm the selection.
- If your app requires admin consent for certain permissions, click Grant admin consent for [Your Organization].
In Logto Microsoft Entra ID connector:
- Logto automatically includes
openid,profile, andemailscopes to retrieve basic user identity information. You can leave theScopesfield blank if you only need basic user information. - Add
offline_accessto theScopesfield if you plan to store tokens for persistent API access. This scope enables refresh tokens for long-lived API access. - Add additional scopes (separated by spaces) in the
Scopesfield to request more data from Microsoft Graph. Use standard scope names, for example:User.Read Mail.Read Calendars.Read
If your app requests these scopes to access the Microsoft Graph API and perform actions, make sure to enable Store tokens for persistent API access in Logto Microsoft Entra ID connector. See the next section for details.
Step 4: Store tokens to access Microsoft APIs (Optional)
If you want to access Microsoft Graph APIs and perform actions with user authorization, Logto needs to get specific API scopes and store tokens.
- Add the required scopes in your Microsoft Entra admin center API permissions configuration and Logto Microsoft Entra ID connector.
- Enable Store tokens for persistent API access in Logto Microsoft Entra ID connector. Logto will securely store Microsoft access and refresh tokens in the Secret Vault.
- To ensure refresh tokens are returned, add the
offline_accessscope to your Microsoft Entra ID application permissions and include it in your Logto Microsoft Entra ID connector scopes. This scope allows your application to maintain access to resources for extended periods.
Step 5: Set email domains and enable the SSO connector
Provide the email domains of your organization on the connector experience tab. This will enable the SSO connector as an authentication method for those users.
Users with email addresses in the specified domains will be exclusively limited to use your SSO connector as their only authentication method.