No public registration & Invitation-only
In some circumstances, you may want to restrict user registration for your application. Logto allows you to disable anonymous user registration and restrict user sign-in to only users invited by an administrator.
Disable user registration
To disable end-user registration, follow these steps:
- Navigate to the Console > Sign-in & account > Sign-up and sign-in page.
- Under the Advanced options section, toggle of the Enable user registration switch to disable user registration. (Enabled by default)
Once user registration is disabled:
- The "Create account" link is removed from the sign-in page.
- The sign-up page is disabled, and users who visit it are redirected to the sign-in page.
- The social and enterprise SSO sign-up flow is also disabled. Users with unregistered social accounts will receive an "account not found" error after social authentication.
- The social link account feature is still available for users who have a matching email address or phone number account in the system.
Implement an invitation-only sign-up flow
Logto does not provide a built-in invitation flow. However, you can easily implement an invite-only sign-up flow by utilizing the users Management API in Logto.
Option 1: Invite user with magic link (Recommended)
-
Disable user registration in the Console > Sign-in-experience.
-
Go to Console > Sign-in-experience, and toggle off "Enable user registration" to close public registration.
-
Collect the email addresses of the users you want to invite (e.g., via your website or recommendations from existing users).
-
Create and send the magic invitation link following the guide (request the one-time token, compose the magic link, trigger authentication via Logto SDK).
Note: Set an expiration time for the invitation link. It’s recommended to make the link valid for at least one day. Use the following request body to generate the one-time token:{"expiresIn": 172800 // Optional. Defaults to 600 (10 mins)} -
Send the magic link to the user’s email (e.g.,
https://yourapp.com/landing-page?type=registrationInvitation&token=YHwbXSXxQfL02IoxFqr1hGvkB13uTqcd&[email protected]). Customize the email template, such as: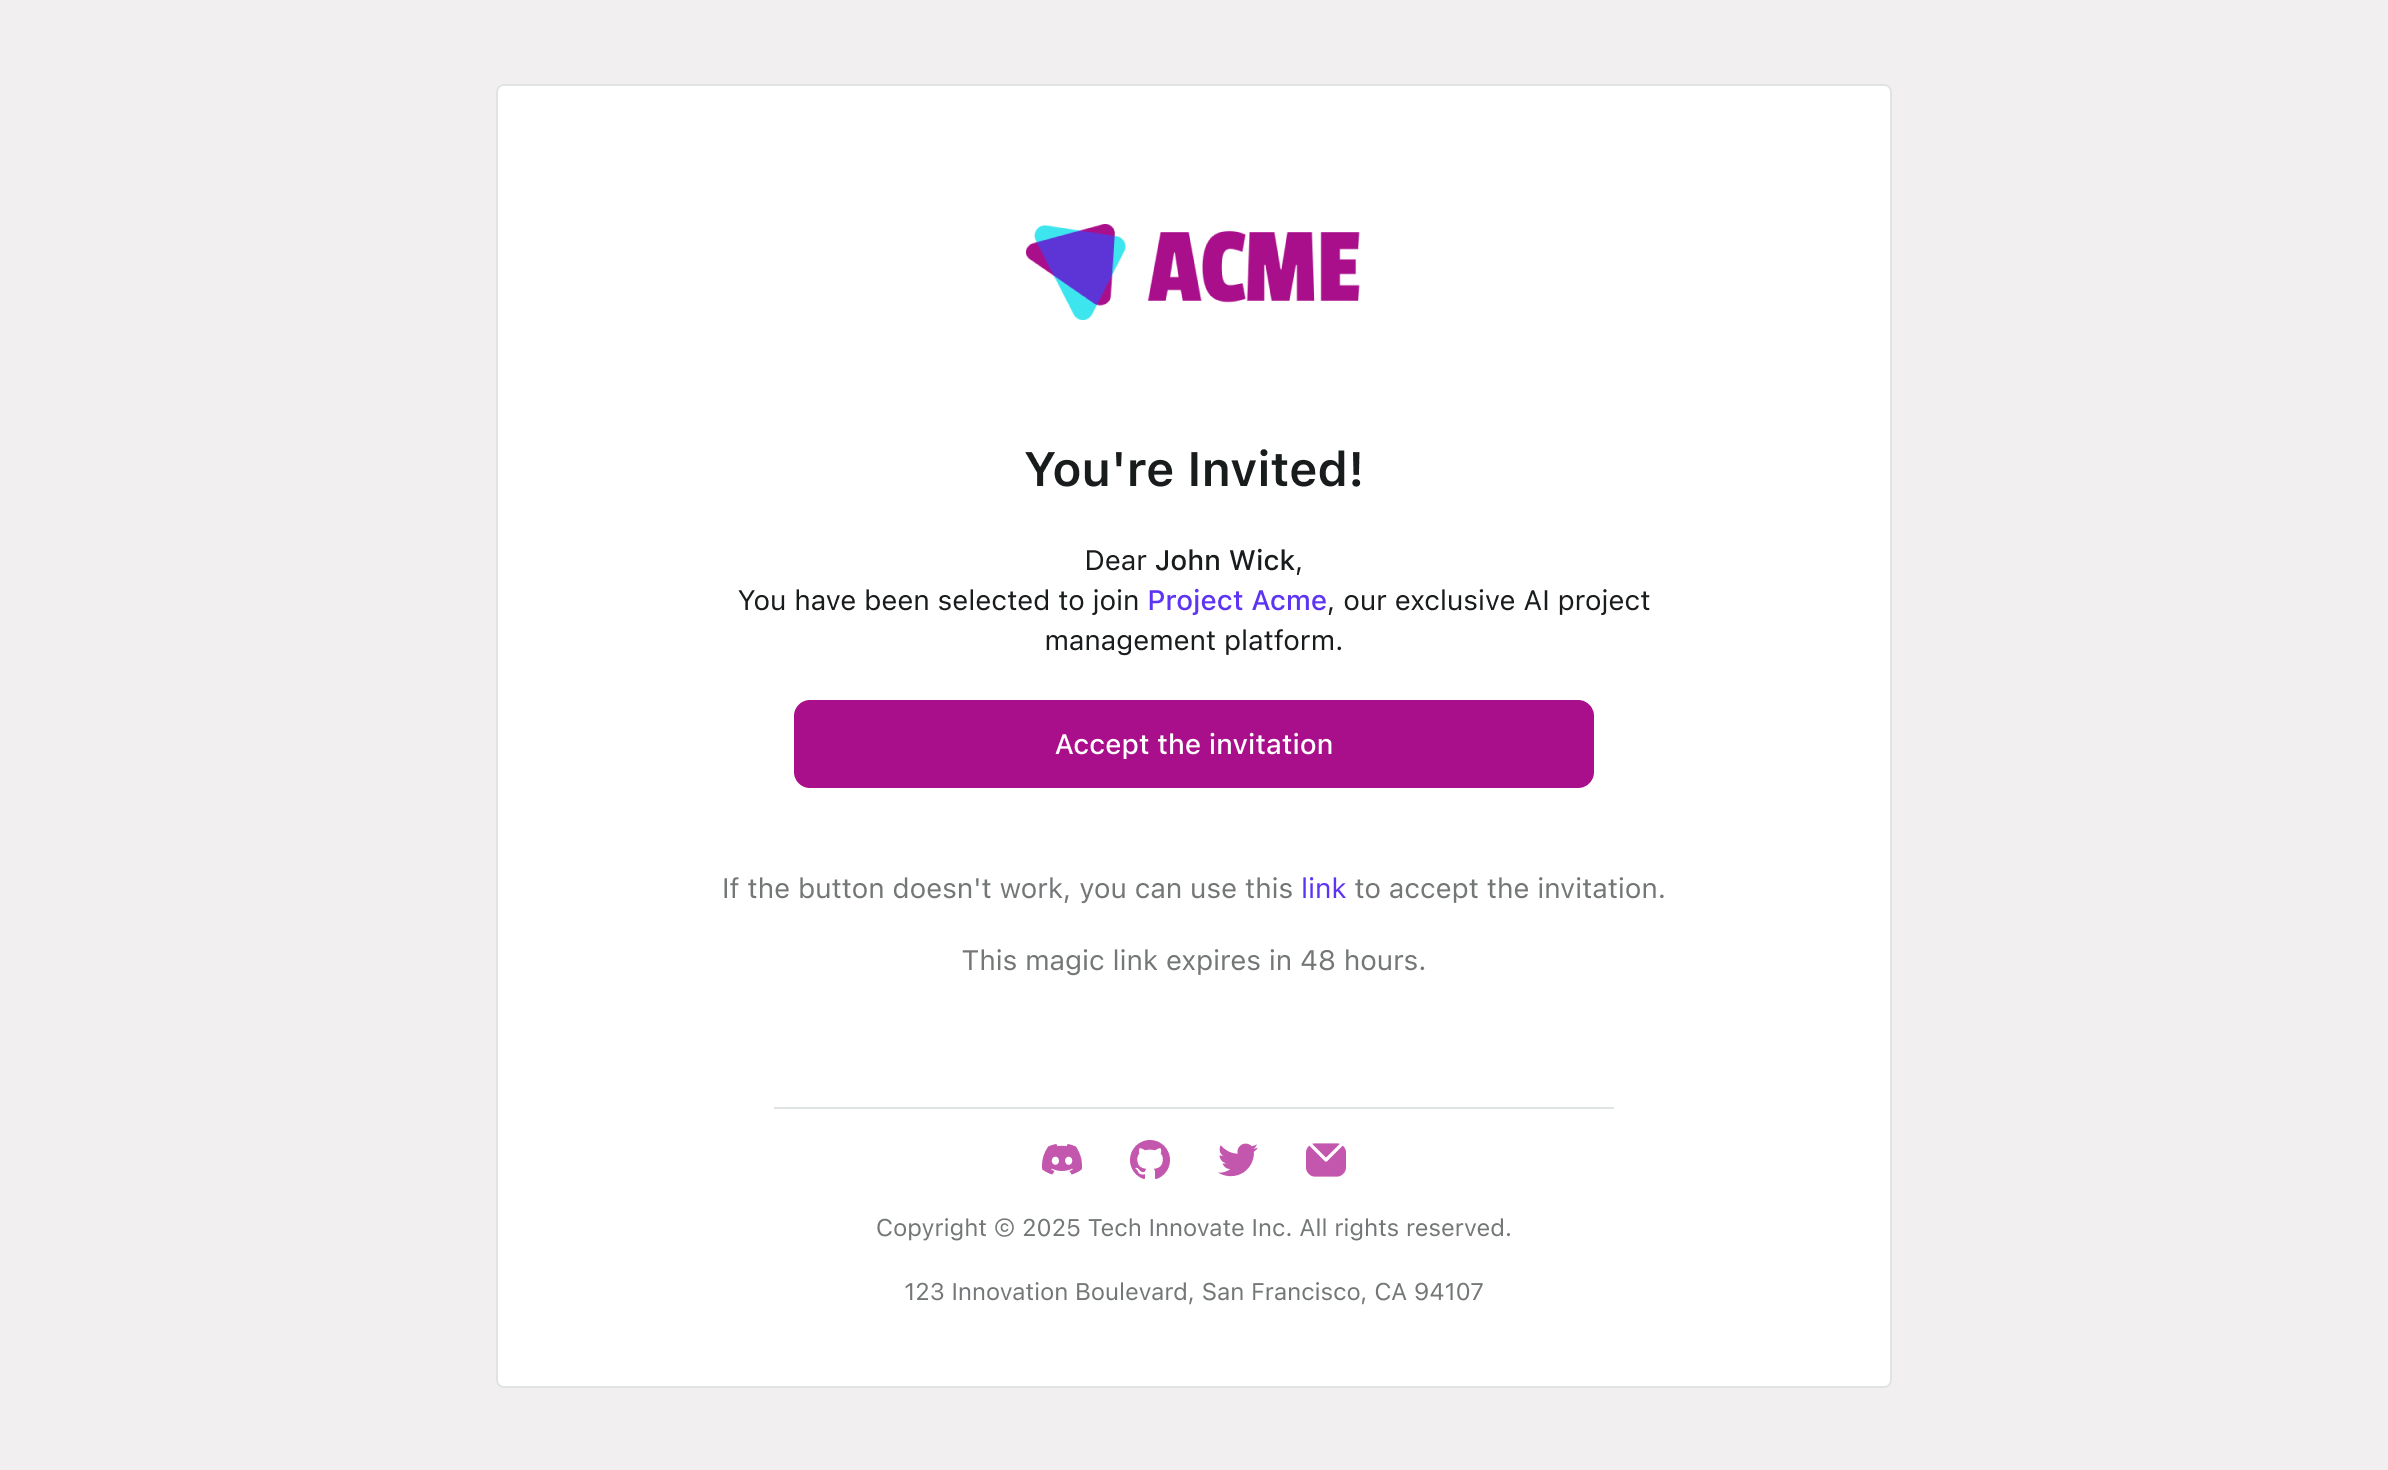
When users click "Accept the invitation", they will automatically register for your service, even with public registration disabled. This is referred to as "Targeted user invitation".
Option 2: Invite and create users via management API
- Disable user registration in the Console > Sign-in-experience.
- Create a custom invitation-based user registration form in your application.
- Send an invitation email to the user with a unique invitation link.
- When the user clicks the registration link, have your application call the Logto Management API > Create user to create the user account.
- After the user account is created, redirect them to the Logto sign-in or reset-password page to complete registration. See Authentication parameters for guidance on customizing the first-screen and pre-filling the user’s email to streamline the sign-in process.
Option 3: Notify users on manual registration
- Disable user registration in the Logto Console.
- Manually create user accounts in the Console > User management or via the Management API.
- Notify users via email that their account has been created.
- Redirect users to the Logto sign-in or reset-password page to complete registration. See Authentication parameters for guidance on customizing the first-screen and pre-filling the user’s email to streamline the sign-in process.
User experience for pre-registered accounts
Pre-registered accounts (also known as provisioned users). In both Option 2 and Option 3, user accounts are created in advance via the Management API. The end users then sign in to your product for the first time.
When user registration is disabled, users who visit the sign-up page will be redirected to the sign-in page. If a user account has been created by an administrator or through the Management API (as in Option 2 or 3), the user’s sign-in experience may vary depending on the sign-in and sign-up methods you’ve configured:
- Sign-in with email or phone number via verification code: Create the user account with a Email address or Phone number. Enable the email or phone number verification code sign-in method. Once the user is created, they can sign in directly with their email or phone number using the verification code authentication method.
- Social sign-in with specific email or phone number: Create the user account with a Email address or Phone number associated with their social account. Create and enable the social connection for the specific social provider. Enable the Automatic account linking feature to automatically link the social identity with the user account based on the matching email or phone number. Once the user is created, they can sign in directly with their social account that matches the email or phone number.
- Username/Email/Phone number with Password: Create a user account with a Username, Email address, or Phone number, and enable the corresponding identifier for password-based sign-in.
- With a pre-set password: Set a password during account creation, then share it securely with the user. The user can then sign in directly using their username, email, or phone number along with the pre-set password, and reset the password if desired.
- Without a pre-set password: Create the account without a password, and prompt the user to set one upon account activation. (An Email address or Phone number is required for the password reset flow.) After creating the user, redirect them to the password reset page with their email or phone number pre-filled. For guidance on redirecting users to the reset password page with pre-filled details, refer to the Authentication parameters. Once the user sets a new password, they can sign in directly with their username, email, or phone number and the new password.