Set up your app service with the Logto Management API
Logto offers a powerful Management API that lets you create and customize your own organization flow inside your app. Understanding how it works is key to designing your custom setup. Below are the basic steps and outline to integrate the Management API to implement your organization experience.
If you already know the basics, you can skip ahead to the tutorial. Once you’re familiar with the setup, you can explore additional APIs to tailor the rest of the flows to your business needs.
Establish a machine-to-machine connection
Logto uses machine‑to‑machine (M2M) authentication to securely connect your backend service to the Logto Management API endpoint. Your backend service can then use the Management API to handle organization-related tasks such as creating organizations, adding or removing members, and more.
This involves:
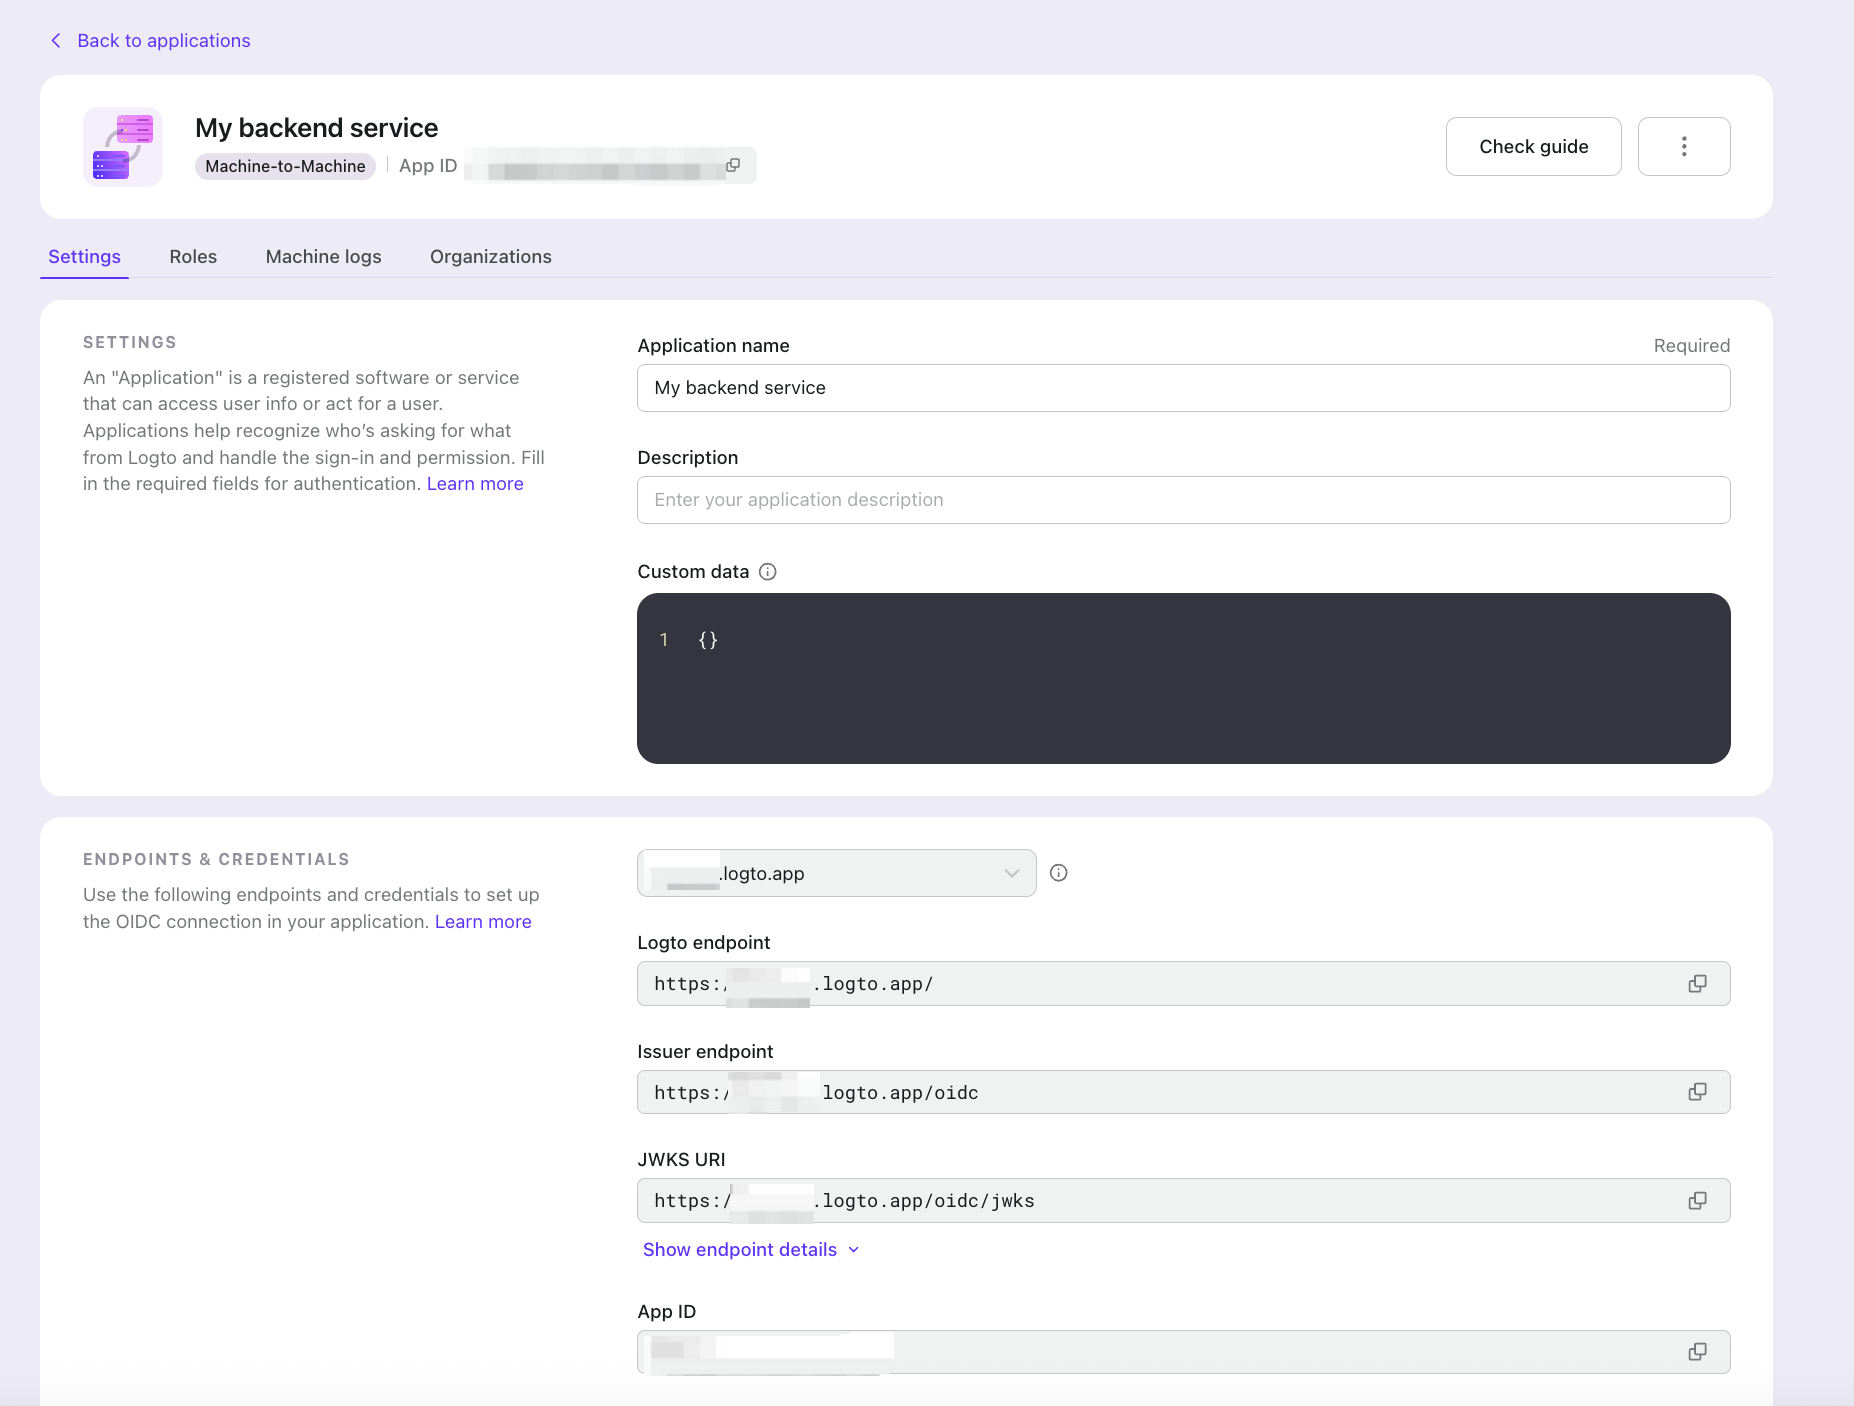
- Create a Machine-to-Machine (M2M) app in the Logto Console.
- Acquire an M2M access token from Logto. Learn more.
- Call Logto Management APIs from your backend service. For example, list all organizations:
curl \
 -X GET https://[tenant_id].logto.app/api/organizations \
 -H "Authorization: Bearer $M2M_ACCESS_TOKEN" \
 -H "Content-Type: application/json"
Protect your app server
Since end users can perform certain organization actions on their own, it’s important to add an authorization layer between the end user and your app server.\You can apply this layer globally or at the organization level, depending on which Logto Management API endpoints you use and how your product’s API is structured.The server should mediate every request, validate the user’s organization‑scoped token and required scopes, and only then use a server‑held M2M credential to invoke the Management API.
When a user presents an organization token to request an action (for example, creating an organization), the server first validates the scopes in the token. If the token includes the necessary scope, such as org:create, authorize the request and call the Logto Management API via the M2M flow to create the organization.
If the token doesn’t contain the required scopes, return a 403 Forbidden and skip the M2M logic. This ensures users without the appropriate privileges cannot create organizations.
Below are common authorization patterns.
Using organization permissions
First, make sure you have defined organization permissions and roles in your organization template in the previous section.
Then, ensure that UserScope.Organizations (value: urn:logto:organization) is included in the Logto config. Take the React SDK as an example:
// src/App.js
import { UserScope } from '@logto/react';

const config = {
  endpoint: 'https://<tenant-id>.logto.app/', // Your Logto endpoint
  appId: '40fmibayagoo00lj26coc', // Your app id
  resources: [
    'https://my.company.com/api', // Your global API resource identifier
  ],
  scopes: [
    UserScope.Email,
    UserScope.Phone,
    UserScope.CustomData,
    UserScope.Identities,
    UserScope.Organizations, // Request an organization token
  ],
};
This ensures that when calling getOrganizationToken(organizationId), the client SDK requests an organization token that contains the organization permissions assigned to the user. Your backend service can then validate the token and authorize subsequent requests based on these permissions.
For details on protecting organization‑level (non‑API) permissions, see the full guide.
Using API-level permissions
This applies when your API resources and permissions are registered globally, but roles are defined at the organization level (you can assign API‑level permissions to organization roles in the organization template).
The implementation is the same as the previous section. Always provide the organization ID and call getOrganizationToken(organizationId) to fetch an organization token; otherwise, organization permissions won’t be included.
For details on protecting organization‑level API permissions, see the full guide.
Using global RBAC
In this case, you can use the Logto Management API to implement system-level access control.
In a multi-tenant environment, a common pattern is to have a superuser or super admin role. For example, if you’re building a SaaS platform with Logto, you might want a superuser who can manage all client organizations directly within your own app, without needing to log in to the Logto Console.
This superuser can perform higher-level actions, such as creating or deleting organizations in bulk, that require system, wide permissions beyond any single organization context. To enable this, register an API resource in Logto while levergaing the Logto Management API and use global RBAC to manage these permissions.
For more details on integrating and managing access control for RBAC, see the full guide see the full guide.