Logto is an Auth0 alternative designed for modern apps and SaaS products. It offers both Cloud and Open-source services to help you quickly launch your identity and management (IAM) system. Enjoy authentication, authorization, and multi-tenant management all in one.
We recommend starting with a free development tenant on Logto Cloud. This allows you to explore all the features easily.
In this article, we will go through the steps to quickly build the SAML sign-in experience (user authentication) with Vue and Logto.
Prerequisites
- A running Logto instance. Check out the introduction page to get started.
- Basic knowledge of Vue.
- A usable SAML account.
Create an application in Logto
Logto is based on OpenID Connect (OIDC) authentication and OAuth 2.0 authorization. It supports federated identity management across multiple applications, commonly called Single Sign-On (SSO).
To create your Single page app application, simply follow these steps:
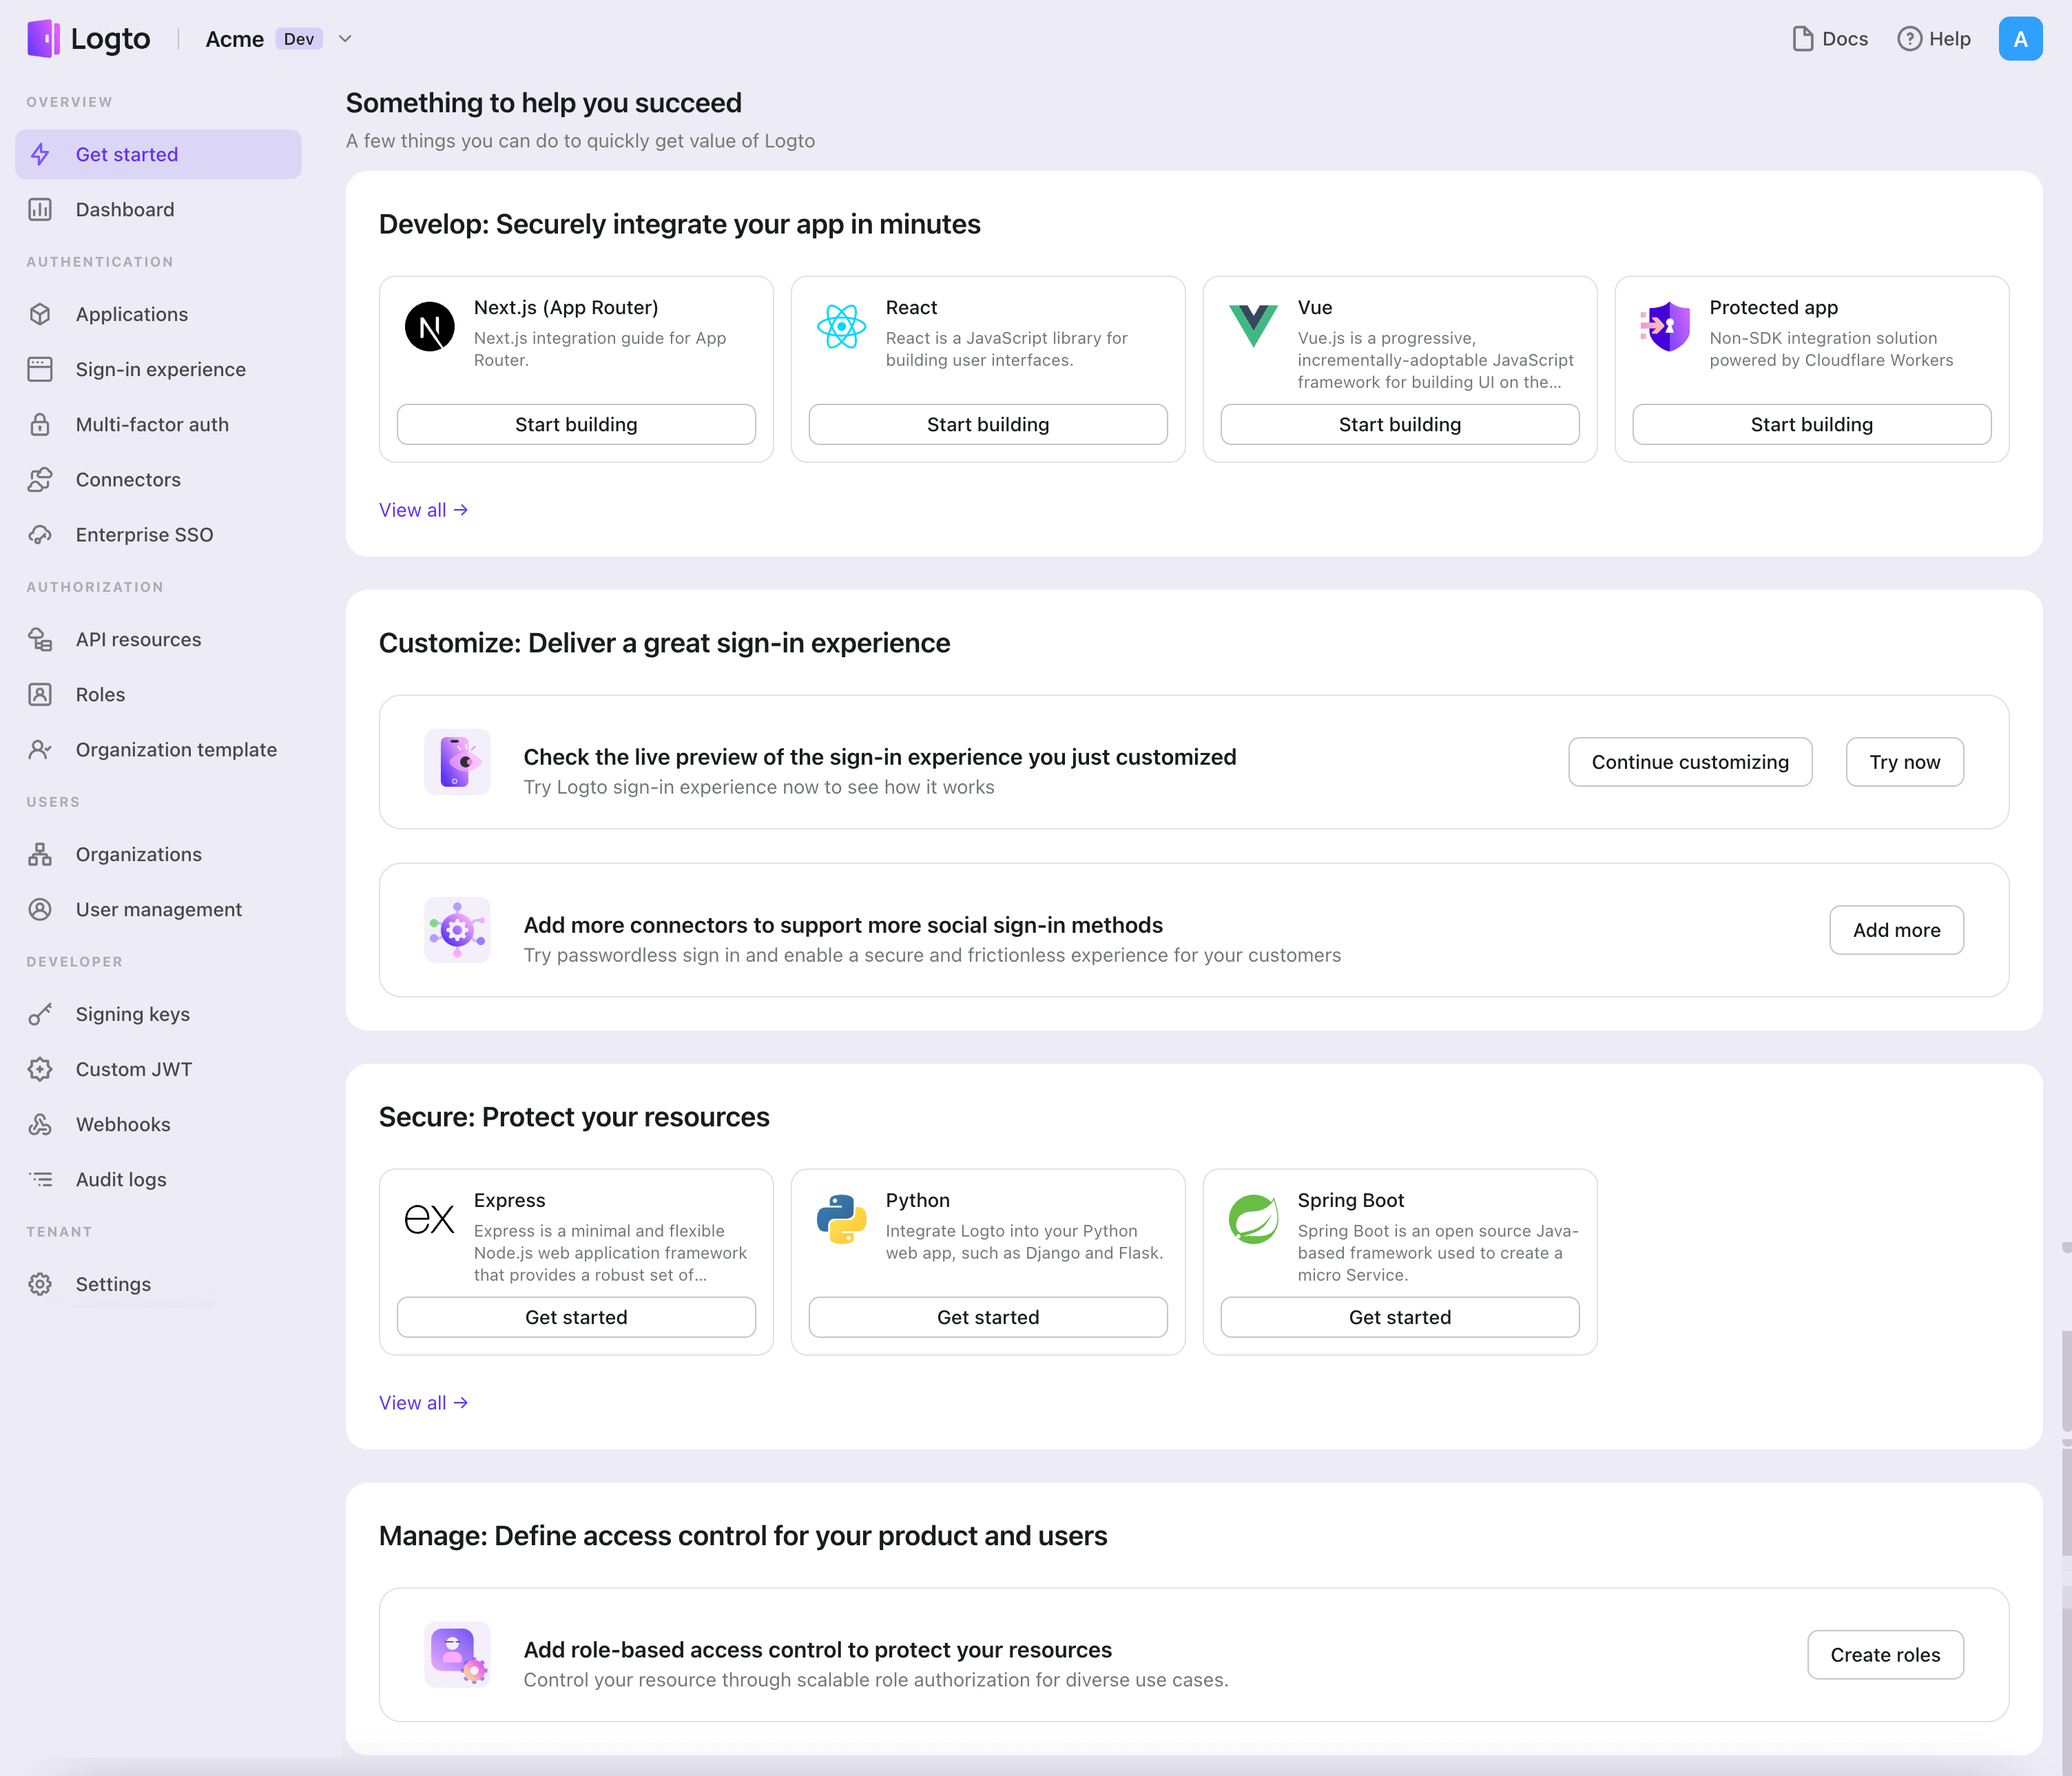
- Open the Logto Console. In the "Get started" section, click the "View all" link to open the application frameworks list. Alternatively, you can navigate to Logto Console > Applications, and click the "Create application" button.
- In the opening modal, click the "Single page app" section or filter all the available "Single page app" frameworks using the quick filter checkboxes on the left. Click the "Vue" framework card to start creating your application.
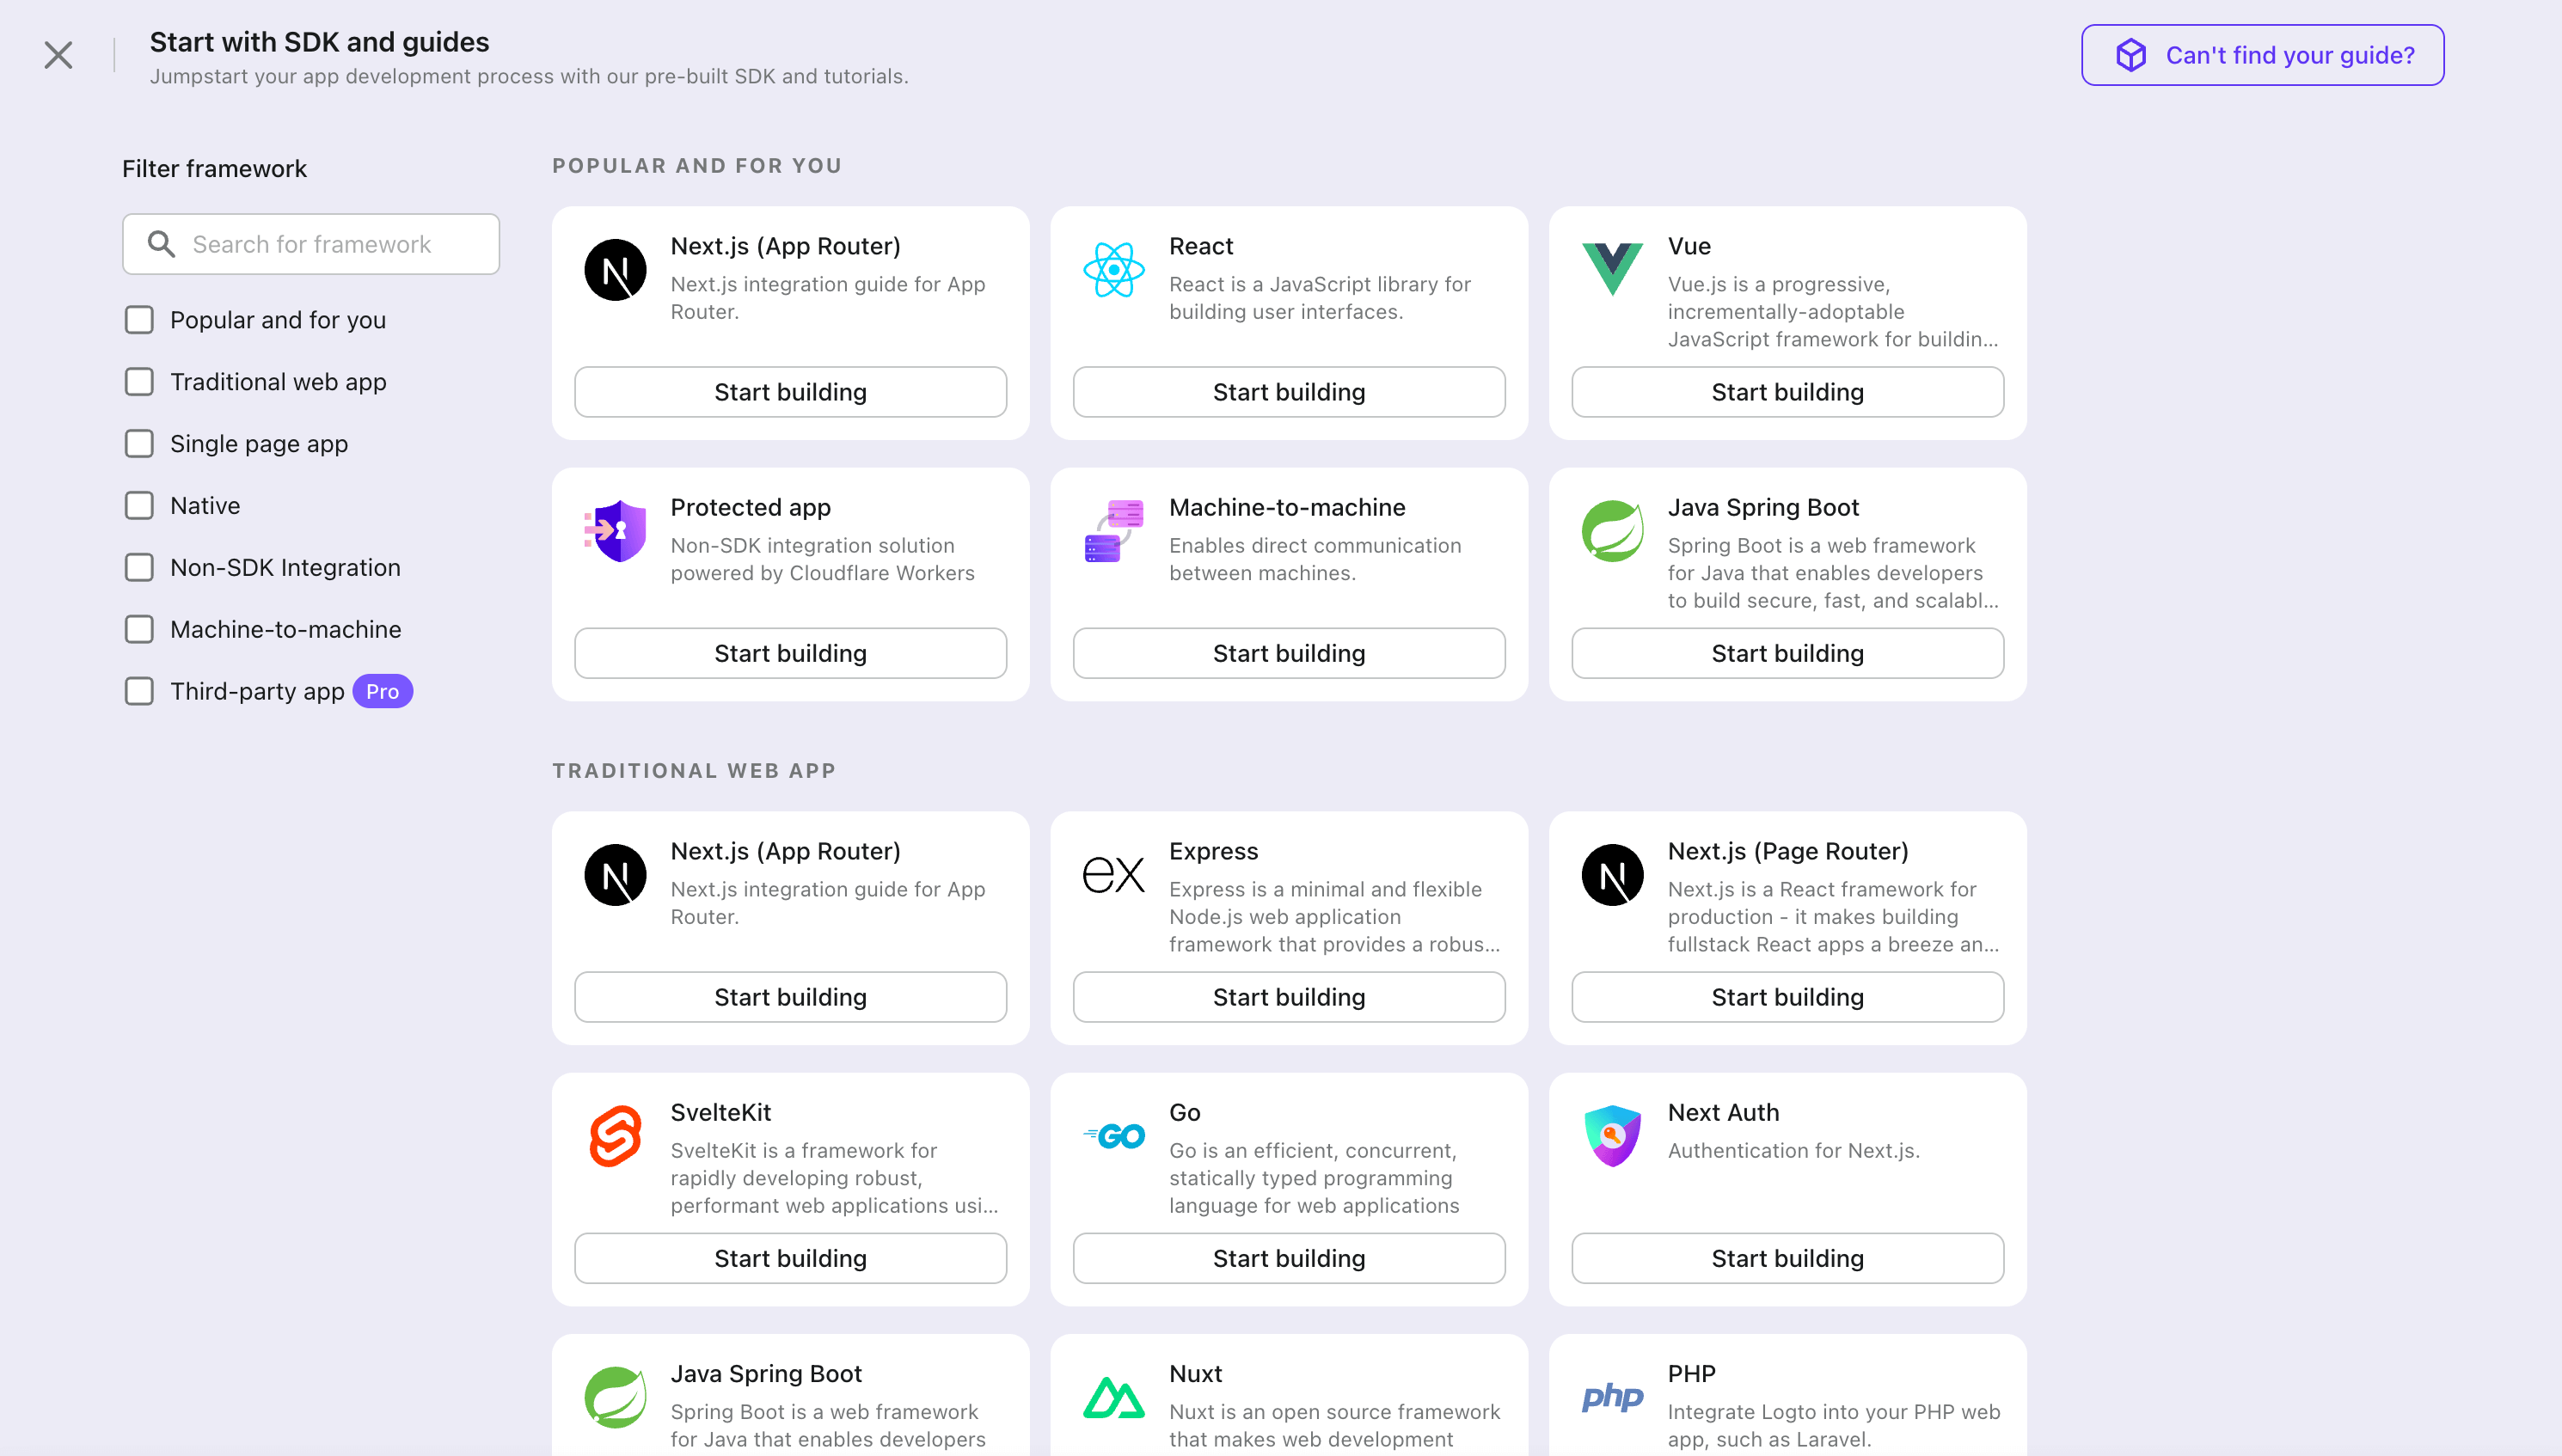
- Enter the application name, e.g., "Bookstore," and click "Create application".
🎉 Ta-da! You just created your first application in Logto. You'll see a congrats page which includes a detailed integration guide. Follow the guide to see what the experience will be in your application.
Integrate Vue with Logto
- Logto Vue SDK is built with the composition API and leveraging the composables, therefore it is only compatible with Vue 3.
- The tutorial video is available on our YouTube channel.
- The full sample project is available on our SDK repository.
Installation
- npm
- pnpm
- yarn
npm i @logto/vue
pnpm add @logto/vue
yarn add @logto/vue
Init LogtoClient
Import and use createLogto to install Logto plugin:
import { createLogto, LogtoConfig } from '@logto/vue';
import { createApp } from 'vue';
import App from './App.vue';

const config: LogtoConfig = {
  endpoint: '<your-logto-endpoint>',
  appId: '<your-application-id>',
};

const app = createApp(App);

app.use(createLogto, config);
app.mount('#app');
Configure redirect URIs
Before we dive into the details, here's a quick overview of the end-user experience. The sign-in process can be simplified as follows:
- Your app invokes the sign-in method.
- The user is redirected to the Logto sign-in page. For native apps, the system browser is opened.
- The user signs in and is redirected back to your app (configured as the redirect URI).
Regarding redirect-based sign-in
- This authentication process follows the OpenID Connect (OIDC) protocol, and Logto enforces strict security measures to protect user sign-in.
- If you have multiple apps, you can use the same identity provider (Logto). Once the user signs in to one app, Logto will automatically complete the sign-in process when the user accesses another app.
To learn more about the rationale and benefits of redirect-based sign-in, see Logto sign-in experience explained.
In the following code snippets, we assume your app is running on http://localhost:3000/.
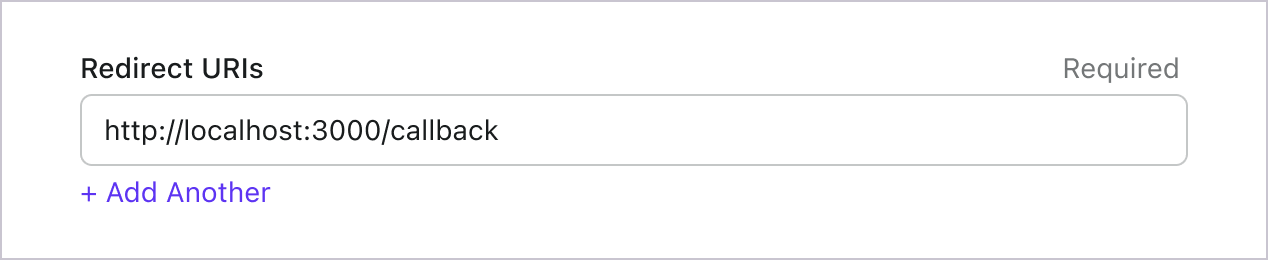
Configure redirect URIs
Switch to the application details page of Logto Console. Add a redirect URI http://localhost:3000/callback.
Just like signing in, users should be redirected to Logto for signing out of the shared session. Once finished, it would be great to redirect the user back to your website. For example, add http://localhost:3000/ as the post sign-out redirect URI section.
Then click "Save" to save the changes.
Handle redirect
There are still things to do after the user is redirected back to your application from Logto. Let's handle it properly.
First let's create a callback page:
import { useHandleSignInCallback } from '@logto/vue';
import router from '@/router';

const { isLoading } = useHandleSignInCallback(() => {
  // Do something when finished, e.g. redirect to home page
});
<template>
  <!-- When it's working in progress -->
  <p v-if="isLoading">Redirecting...</p>
</template>
Insert the code below in your /callback route which does NOT require authentication:
// Assuming vue-router
const router = createRouter({
  routes: [
    {
      path: '/callback',
      name: 'callback',
      component: CallbackView,
    },
  ],
});
Implement sign-in and sign-out
We provide two composables useHandleSignInCallback() and useLogto() which can help you easily manage the authentication flow.
Before calling .signIn(), make sure you have correctly configured Redirect URI
in Admin Console.
import { useLogto } from '@logto/vue';

const { signIn, signOut, isAuthenticated } = useLogto();

const onClickSignIn = () => signIn('http://localhost:3000/callback');
const onClickSignOut = () => signOut('http://localhost:3000');
<template>
  <button v-if="!isAuthenticated" @click="onClickSignIn">Sign In</button>
  <button v-else @click="onClickSignOut">Sign Out</button>
</template>
Calling .signOut() will clear all the Logto data in memory and localStorage if they exist.
Checkpoint: Test your application
Now, you can test your application:
- Run your application, you will see the sign-in button.
- Click the sign-in button, the SDK will init the sign-in process and redirect you to the Logto sign-in page.
- After you signed in, you will be redirected back to your application and see the sign-out button.
- Click the sign-out button to clear token storage and sign out.
Add SAML connector
To enable quick sign-in and improve user conversion, connect with Vue as an identity provider. The Logto social connector helps you establish this connection in minutes by allowing several parameter inputs.
To add a social connector, simply follow these steps:
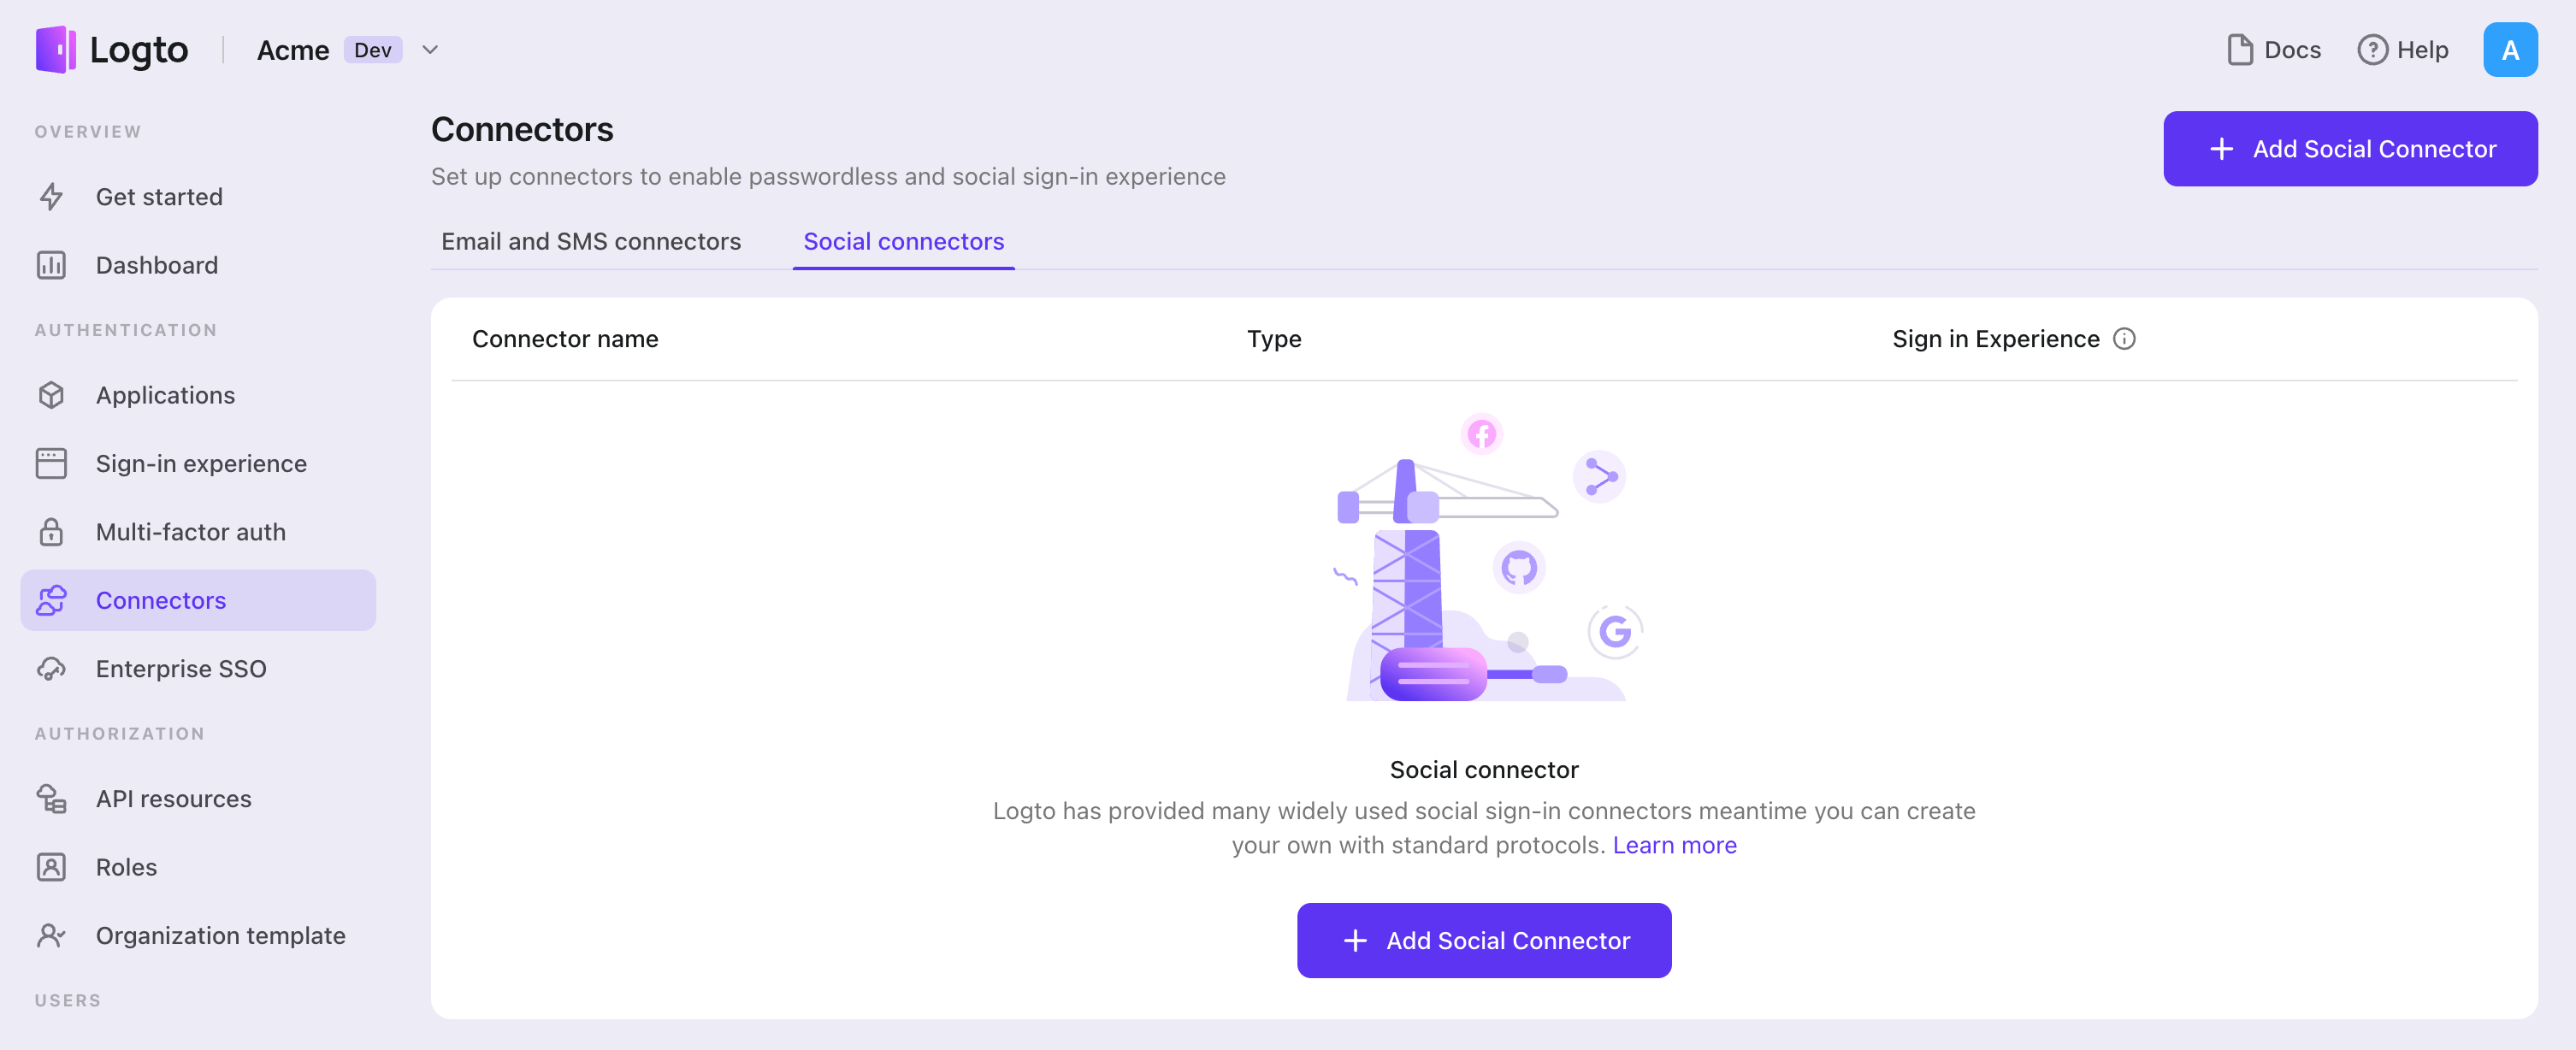
- Navigate to Console > Connectors > Social Connectors.
- Click "Add social connector" and select "SAML".
- Follow the README guide and complete required fields and customize settings.
If you are following the in-place Connector guide, you can skip the next section.
Set up Standard SAML app
Create social IdP's account and register SAML application (IdP)
Let's go through configurations of SAML connector.
Before we kicking off, you can go to a social identity provider which supports SAML protocol and create your own account. Okta, OneLogin, Salesforce and some other platforms support authentication based on SAML protocol.
If your IdP mandate the encryption of SAML assertion and receiving of signed authentication requests, you should generate your private key and corresponding certificate using RSA algorithm. Keep the private key for your SP use and upload the certificate to IdP.
You also need to configure the ACS (Assertion Consumer Service) URL as ${your_logto_origin}/api/authn/saml/${connector_id} to handle IdP's SAML assertion. Where you can find your connectorId at SAML connector's details page in Logto's Admin Console.
Per current Logto's design, we only support Redirect-binding for sending authentication request and POST-binding for receiving SAML assertion. Although this sounds not cool, but we believe that the current design can handle most of your use cases. If you have any problems, feel free to reach out!
Configure SAML connector (SP)
In this section, we will introduce each attribute in detail.
entityID Required
entityID (i.e. issuer) is Entity identifier. It is used to identify your entity (SAML SP entity), and match the equivalence in each SAML request/response.
signInEndpoint Required
The IdP's endpoint that you send SAML authentication requests to. Usually, you can find this value in IdP details page (i.e. IdP's SSO URL or Login URL).
x509Certificate Required
The x509 certificate generated from IdPs private key, IdP is expected to have this value available.
The content of the certificate comes with -----BEGIN CERTIFICATE----- header and -----END CERTIFICATE----- tail.
idpMetadataXml Required
The field is used to place contents from your IdP metadata XML file.
The XML parser we are using does not support customized namespace. If the IdP metadata comes with namespace, you should manually remove them. For namespace of XML file, see reference.
assertionConsumerServiceUrl Required
The assertion consumer service (ACS) URL is the SP's endpoint to receive IdP's SAML Assertion POST requests. As we mentioned in previous part, it is usually configured at IdP settings but some IdP get this value from SAML authentication requests, we hence also add this value as a REQUIRED field. It's value should look like ${your_logto_origin}/api/authn/saml/${connector_id}.
signAuthnRequest
The boolean value that controls whether SAML authentication request should be signed, whose default value is false.
encryptAssertion
encryptAssertion is a boolean value that indicates if IdP will encrypt SAML assertion, with default value false.
The signAuthnRequest and encryptAssertion attributes should align with corresponding parameters of IdP setting, otherwise error will be thrown to show that configuration does not match.
All SAML responses need to be signed.
requestSignatureAlgorithm
This should be aligned with the signature algorithms of IdP so that Logto can verify the signature of the SAML assertion. Its value should be either http://www.w3.org/2000/09/xmldsig#rsa-sha1, http://www.w3.org/2001/04/xmldsig-more#rsa-sha256 or http://www.w3.org/2001/04/xmldsig-more#rsa-sha512 and the default value is http://www.w3.org/2001/04/xmldsig-more#rsa-sha256.
messageSigningOrder
messageSigningOrder indicates the signing and encrypting order of IdP, it's value should be either sign-then-encrypt or encrypt-then-sign and the default value is sign-then-encrypt.
privateKey and privateKeyPass
privateKey is an OPTIONAL value and is required when signAuthnRequest is true.
privateKeyPass is the password you've set when creating privateKey, required when necessary.
If signAuthnRequest is true, the corresponding certificate generated from privateKey is required by IdP for checking the signature.
encPrivateKey and encPrivateKeyPass
encPrivateKey is an OPTIONAL value and is required when encryptAssertion is true.
encPrivateKeyPass is the password you've set when creating encPrivateKey, required when necessary.
If encryptAssertion is true, the corresponding certificate generated from encPrivateKey is required by IdP for encrypting SAML assertion.
For keys and certificates generation, openssl is a wonderful tool. Here is sample command line that might be helpful:
openssl genrsa -passout pass:${privateKeyPassword} -out ${encryptPrivateKeyFilename}.pem 4096
openssl req -new -x509 -key ${encryptPrivateKeyFilename}.pem -out ${encryptionCertificateFilename}.cer -days 3650
privateKey and encPrivateKey files are enforced to be encoded in pkcs1 scheme as pem string, which means the private key files should start with -----BEGIN RSA PRIVATE KEY----- and end with -----END RSA PRIVATE KEY-----.
nameIDFormat
nameIDFormat is an OPTIONAL attribute that declares the name id format that would respond. The value can be among urn:oasis:names:tc:SAML:1.1:nameid-format:unspecified, urn:oasis:names:tc:SAML:1.1:nameid-format:emailAddress, urn:oasis:names:tc:SAML:1.1:nameid-format:X509SubjectName, urn:oasis:names:tc:SAML:2.0:nameid-format:persistent and urn:oasis:names:tc:SAML:2.0:nameid-format:transient, and the default value is urn:oasis:names:tc:SAML:2.0:nameid-format:unspecified.
timeout
timeout is the time tolerance for time validation, since the time between your SP entity and IdP entity could be different and network connection may also bring some delay. The unit is in millisecond, and the default value is 5000 (i.e. 5s).
profileMap
Logto also provide a profileMap field that users can customize the mapping from the social vendors' profiles which are usually not standard. Each profileMap keys is Logto's standard user profile field name and corresponding value should be social profiles field name. In current stage, Logto only concern 'id', 'name', 'avatar', 'email' and 'phone' from social profile, only 'id' is REQUIRED and others are optional fields.
Config types
| Name | Type | Required | Default Value |
|---|---|---|---|
| signInEndpoint | string | true | |
| x509certificate | string | true | |
| idpMetadataXml | string | true | |
| entityID | string | true | |
| assertionConsumerServiceUrl | string | true | |
| messageSigningOrder | encrypt-then-sign | sign-then-encrypt | false | sign-then-encrypt |
| requestSignatureAlgorithm | http://www.w3.org/2000/09/xmldsig#rsa-sha1 | http://www.w3.org/2001/04/xmldsig-more#rsa-sha256 | http://www.w3.org/2001/04/xmldsig-more#rsa-sha512 | false | http://www.w3.org/2001/04/xmldsig-more#rsa-sha256 |
| signAuthnRequest | boolean | false | false |
| encryptAssertion | boolean | false | false |
| privateKey | string | false | |
| privateKeyPass | string | false | |
| nameIDFormat | urn:oasis:names:tc:SAML:1.1:nameid-format:unspecified | urn:oasis:names:tc:SAML:1.1:nameid-format:emailAddress | urn:oasis:names:tc:SAML:1.1:nameid-format:X509SubjectName | urn:oasis:names:tc:SAML:2.0:nameid-format:persistent | urn:oasis:names:tc:SAML:2.0:nameid-format:transient | false | urn:oasis:names:tc:SAML:1.1:nameid-format:unspecified |
| timeout | number | false | 5000 |
| profileMap | ProfileMap | false |
| ProfileMap fields | Type | Required | Default value |
|---|---|---|---|
| id | string | false | id |
| name | string | false | name |
| avatar | string | false | avatar |
| string | false | ||
| phone | string | false | phone |
Reference
- Profiles for the OASIS Security Assertion Markup Language (SAML) V2.0
- samlify - Highly configuarable Node.js SAML 2.0 library for Single Sign On
Save your configuration
Double check you have filled out necessary values in the Logto connector configuration area. Click "Save and Done" (or "Save changes") and the SAML connector should be available now.
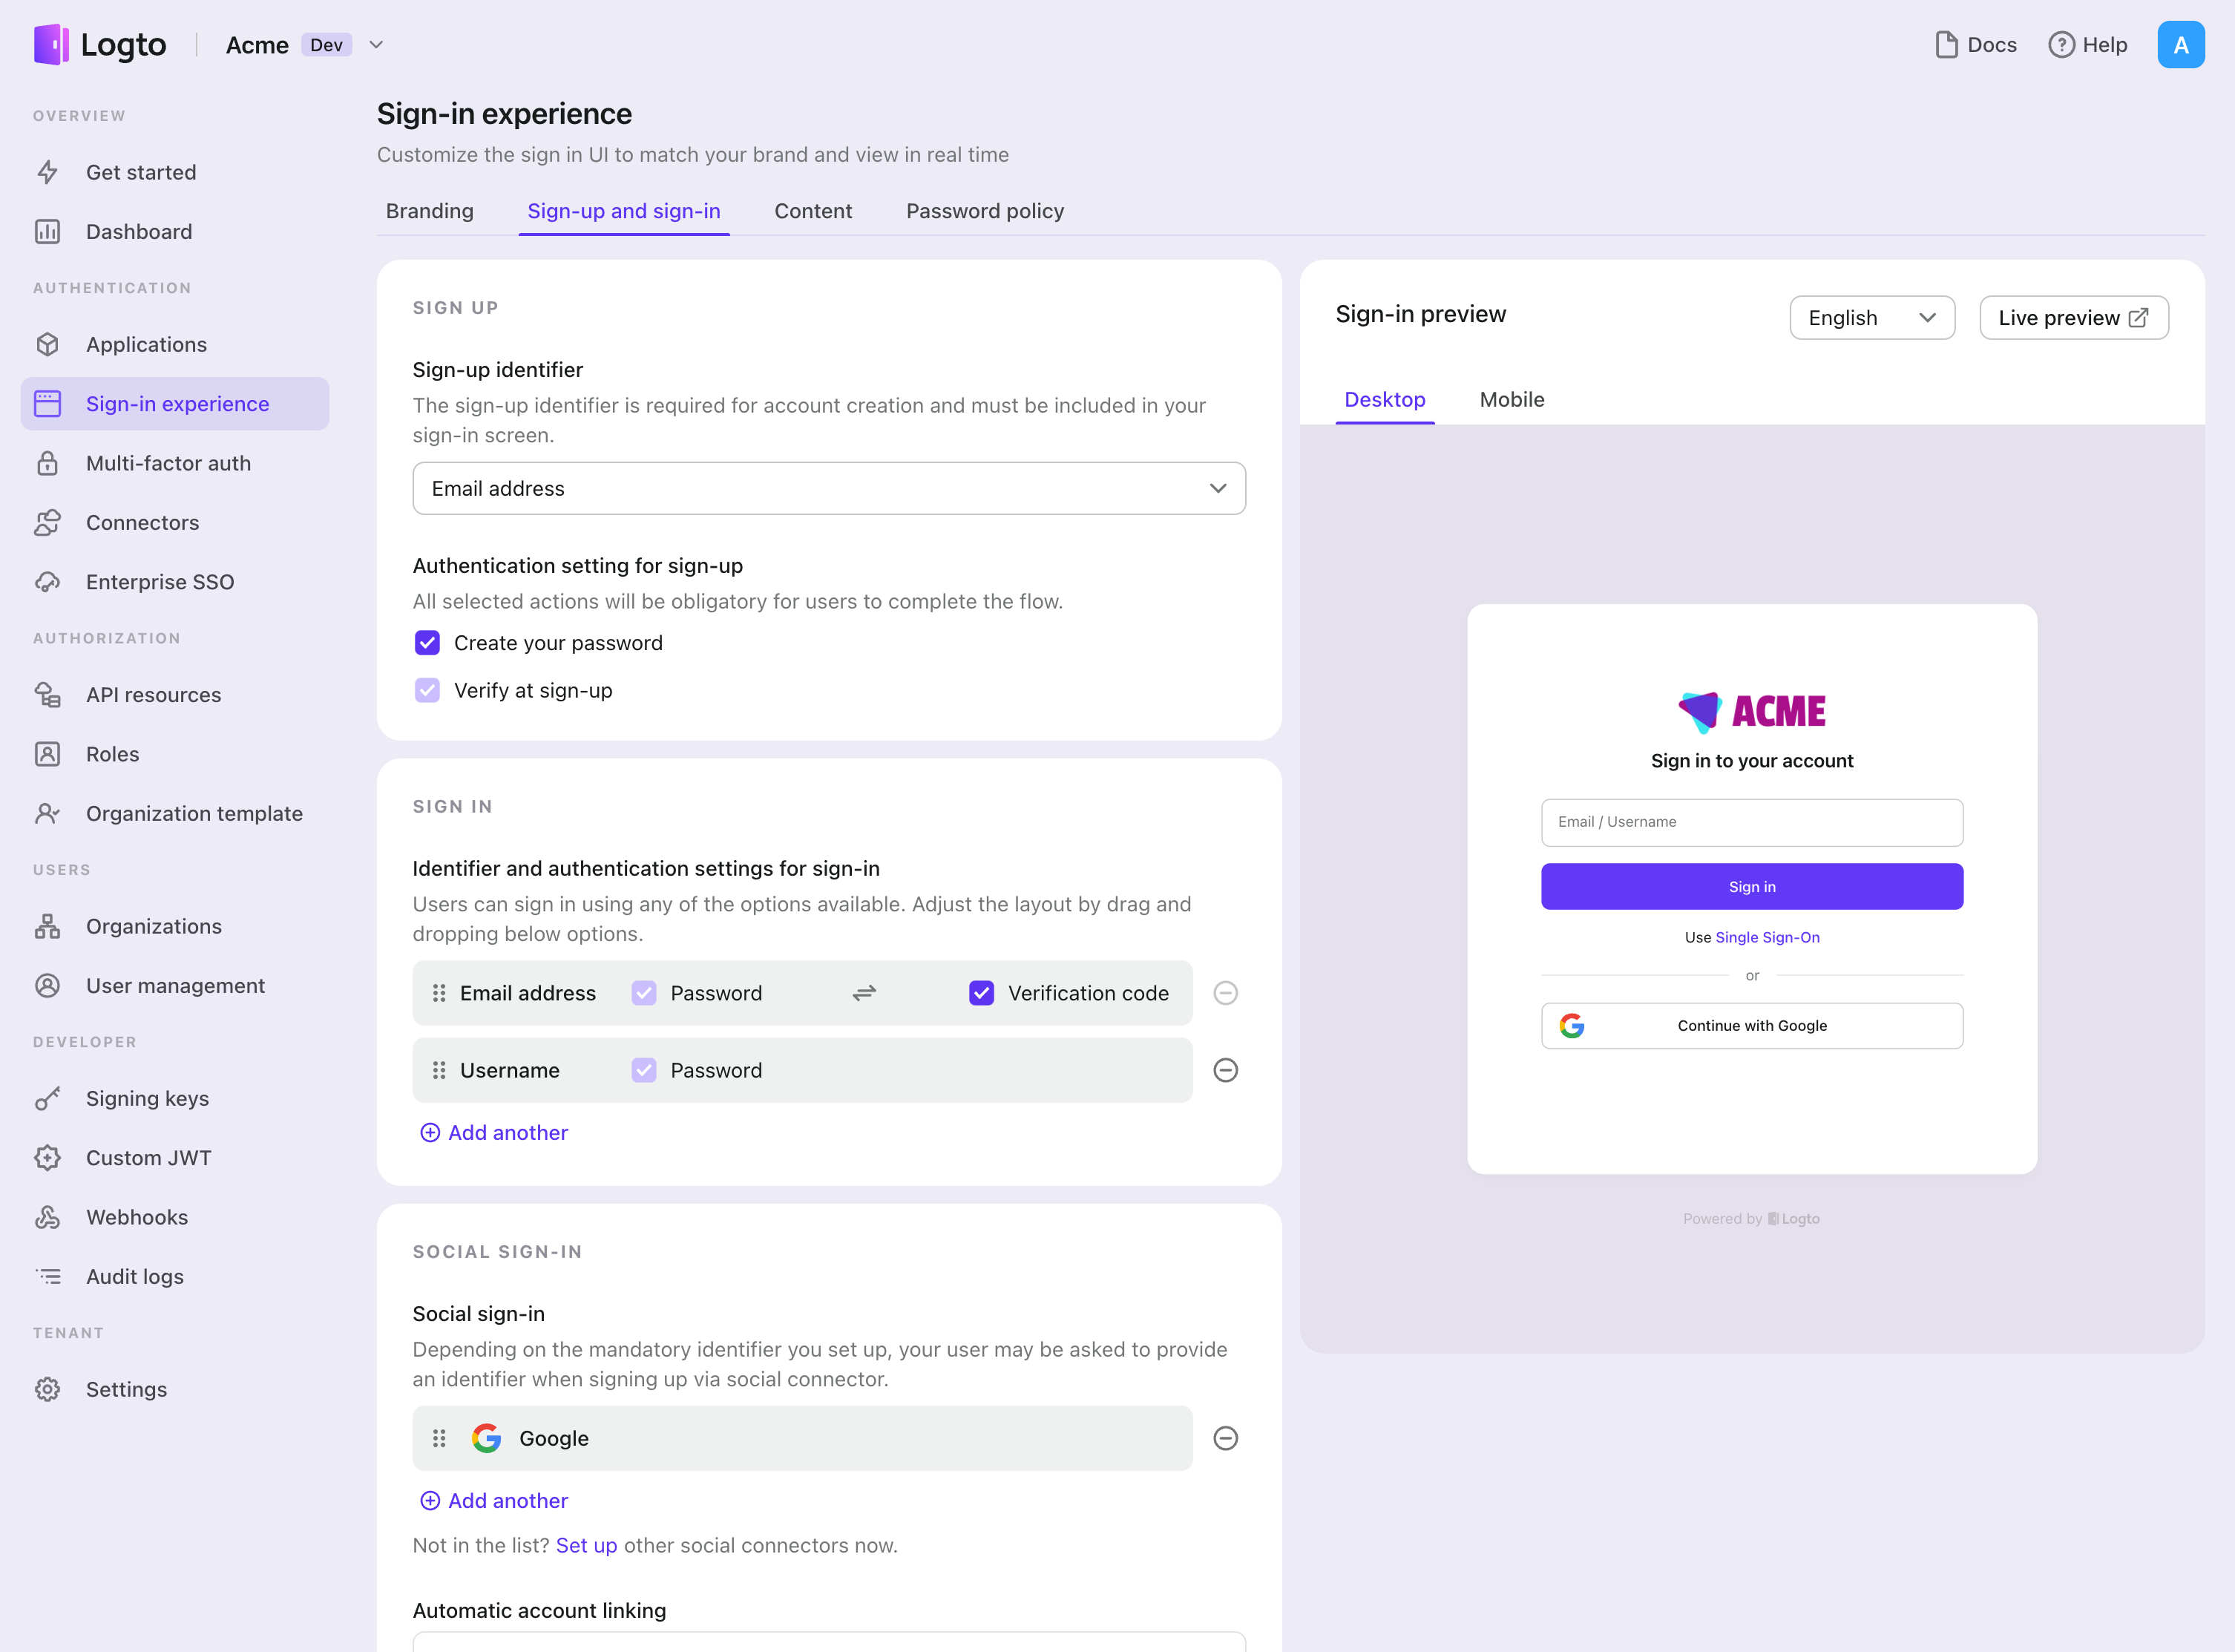
Enable SAML connector in Sign-in Experience
Once you create a social connector successfully, you can enable it as a "Continue with SAML" button in Sign-in Experience.
- Navigate to Console > Sign-in experience > Sign-up and sign-in.
- (Optional) Choose "Not applicable" for sign-up identifier if you need social login only.
- Add configured SAML connector to the "Social sign-in" section.
Testing and Validation
Return to your Vue app. You should now be able to sign in with SAML. Enjoy!
Further readings
End-user flows: Logto provides a out-of-the-box authentication flows including MFA and enterprise SSO, along with powerful APIs for flexible implementation of account settings, security verification, and multi-tenant experience.
Authorization: Authorization defines the actions a user can do or resources they can access after being authenticated. Explore how to protect your API for native and single-page applications and implement Role-based Access Control (RBAC).
Organizations: Particularly effective in multi-tenant SaaS and B2B apps, the organization feature enable tenant creation, member management, organization-level RBAC, and just-in-time-provisioning.
Customer IAM series Our serial blog posts about Customer (or Consumer) Identity and Access Management, from 101 to advanced topics and beyond.