Logto is an Auth0 alternative designed for modern apps and SaaS products. It offers both Cloud and Open-source services to help you quickly launch your identity and management (IAM) system. Enjoy authentication, authorization, and multi-tenant management all in one.
We recommend starting with a free development tenant on Logto Cloud. This allows you to explore all the features easily.
In this article, we will go through the steps to quickly build the OAuth2 sign-in experience (user authentication) with Python and Logto.
Prerequisites
- A running Logto instance. Check out the introduction page to get started.
- Basic knowledge of Python.
- A usable OAuth2 account.
Create an application in Logto
Logto is based on OpenID Connect (OIDC) authentication and OAuth 2.0 authorization. It supports federated identity management across multiple applications, commonly called Single Sign-On (SSO).
To create your Traditional web application, simply follow these steps:
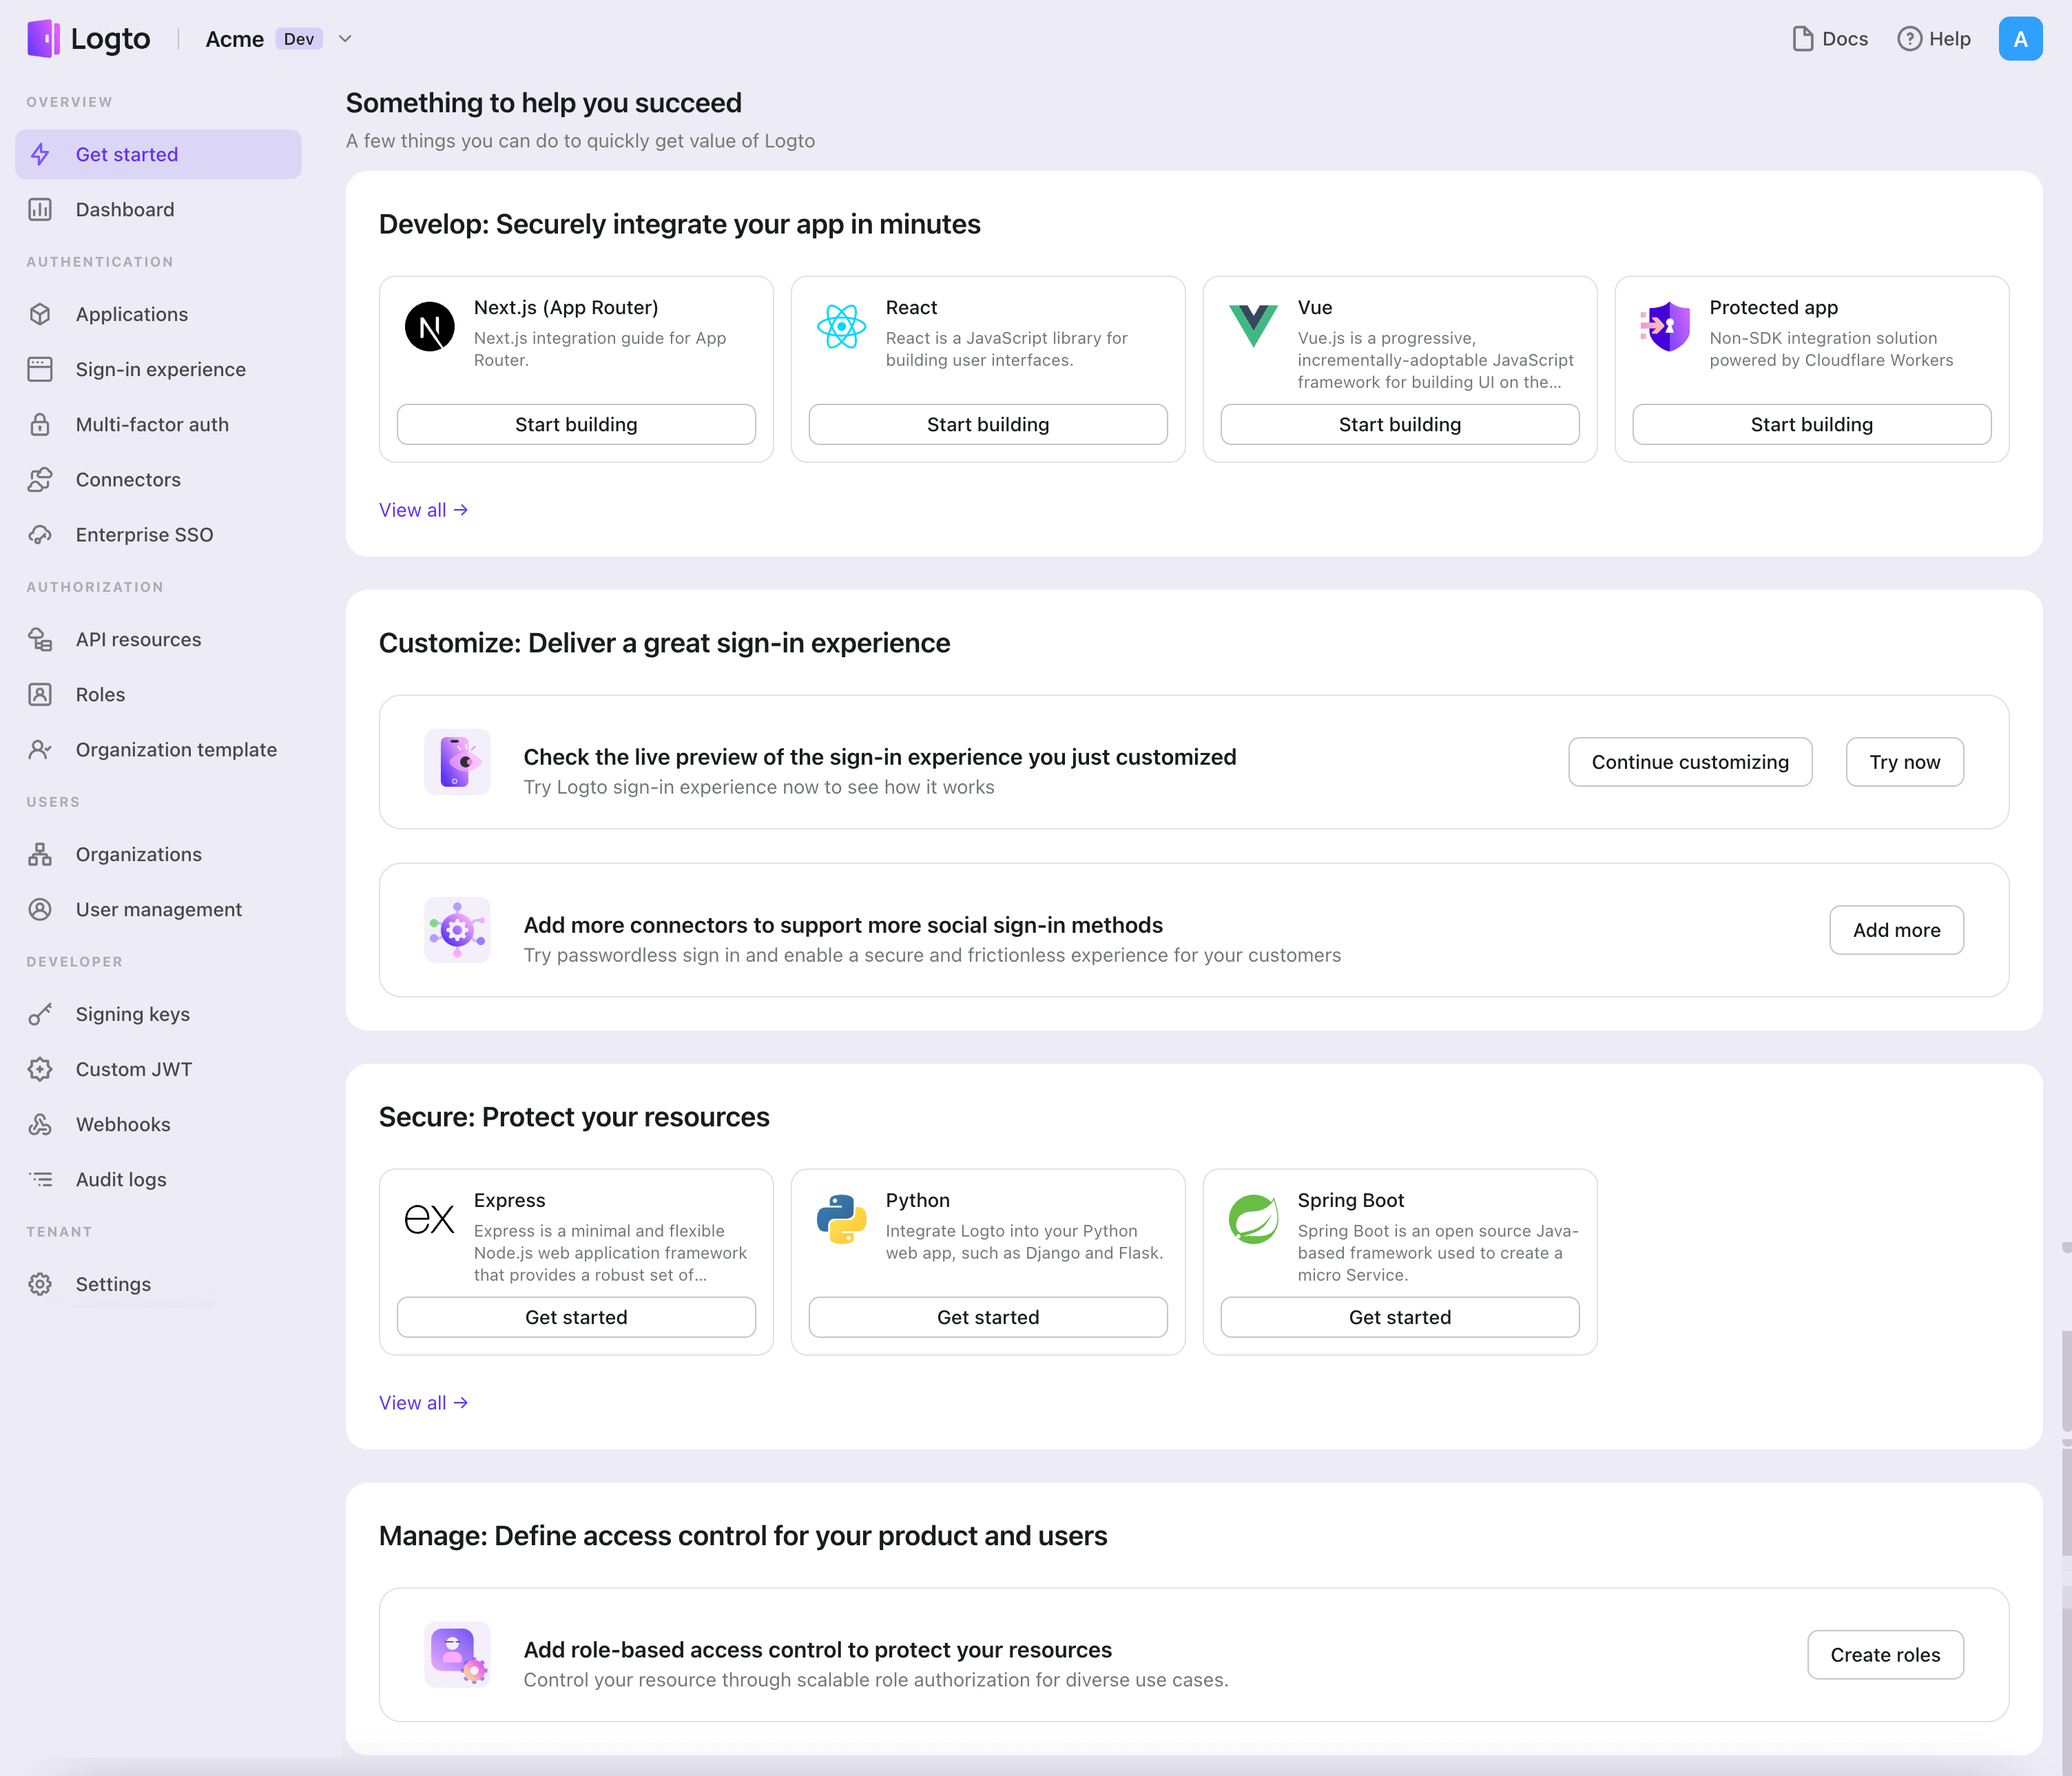
- Open the Logto Console. In the "Get started" section, click the "View all" link to open the application frameworks list. Alternatively, you can navigate to Logto Console > Applications, and click the "Create application" button.
- In the opening modal, click the "Traditional web" section or filter all the available "Traditional web" frameworks using the quick filter checkboxes on the left. Click the "Flask" framework card to start creating your application.
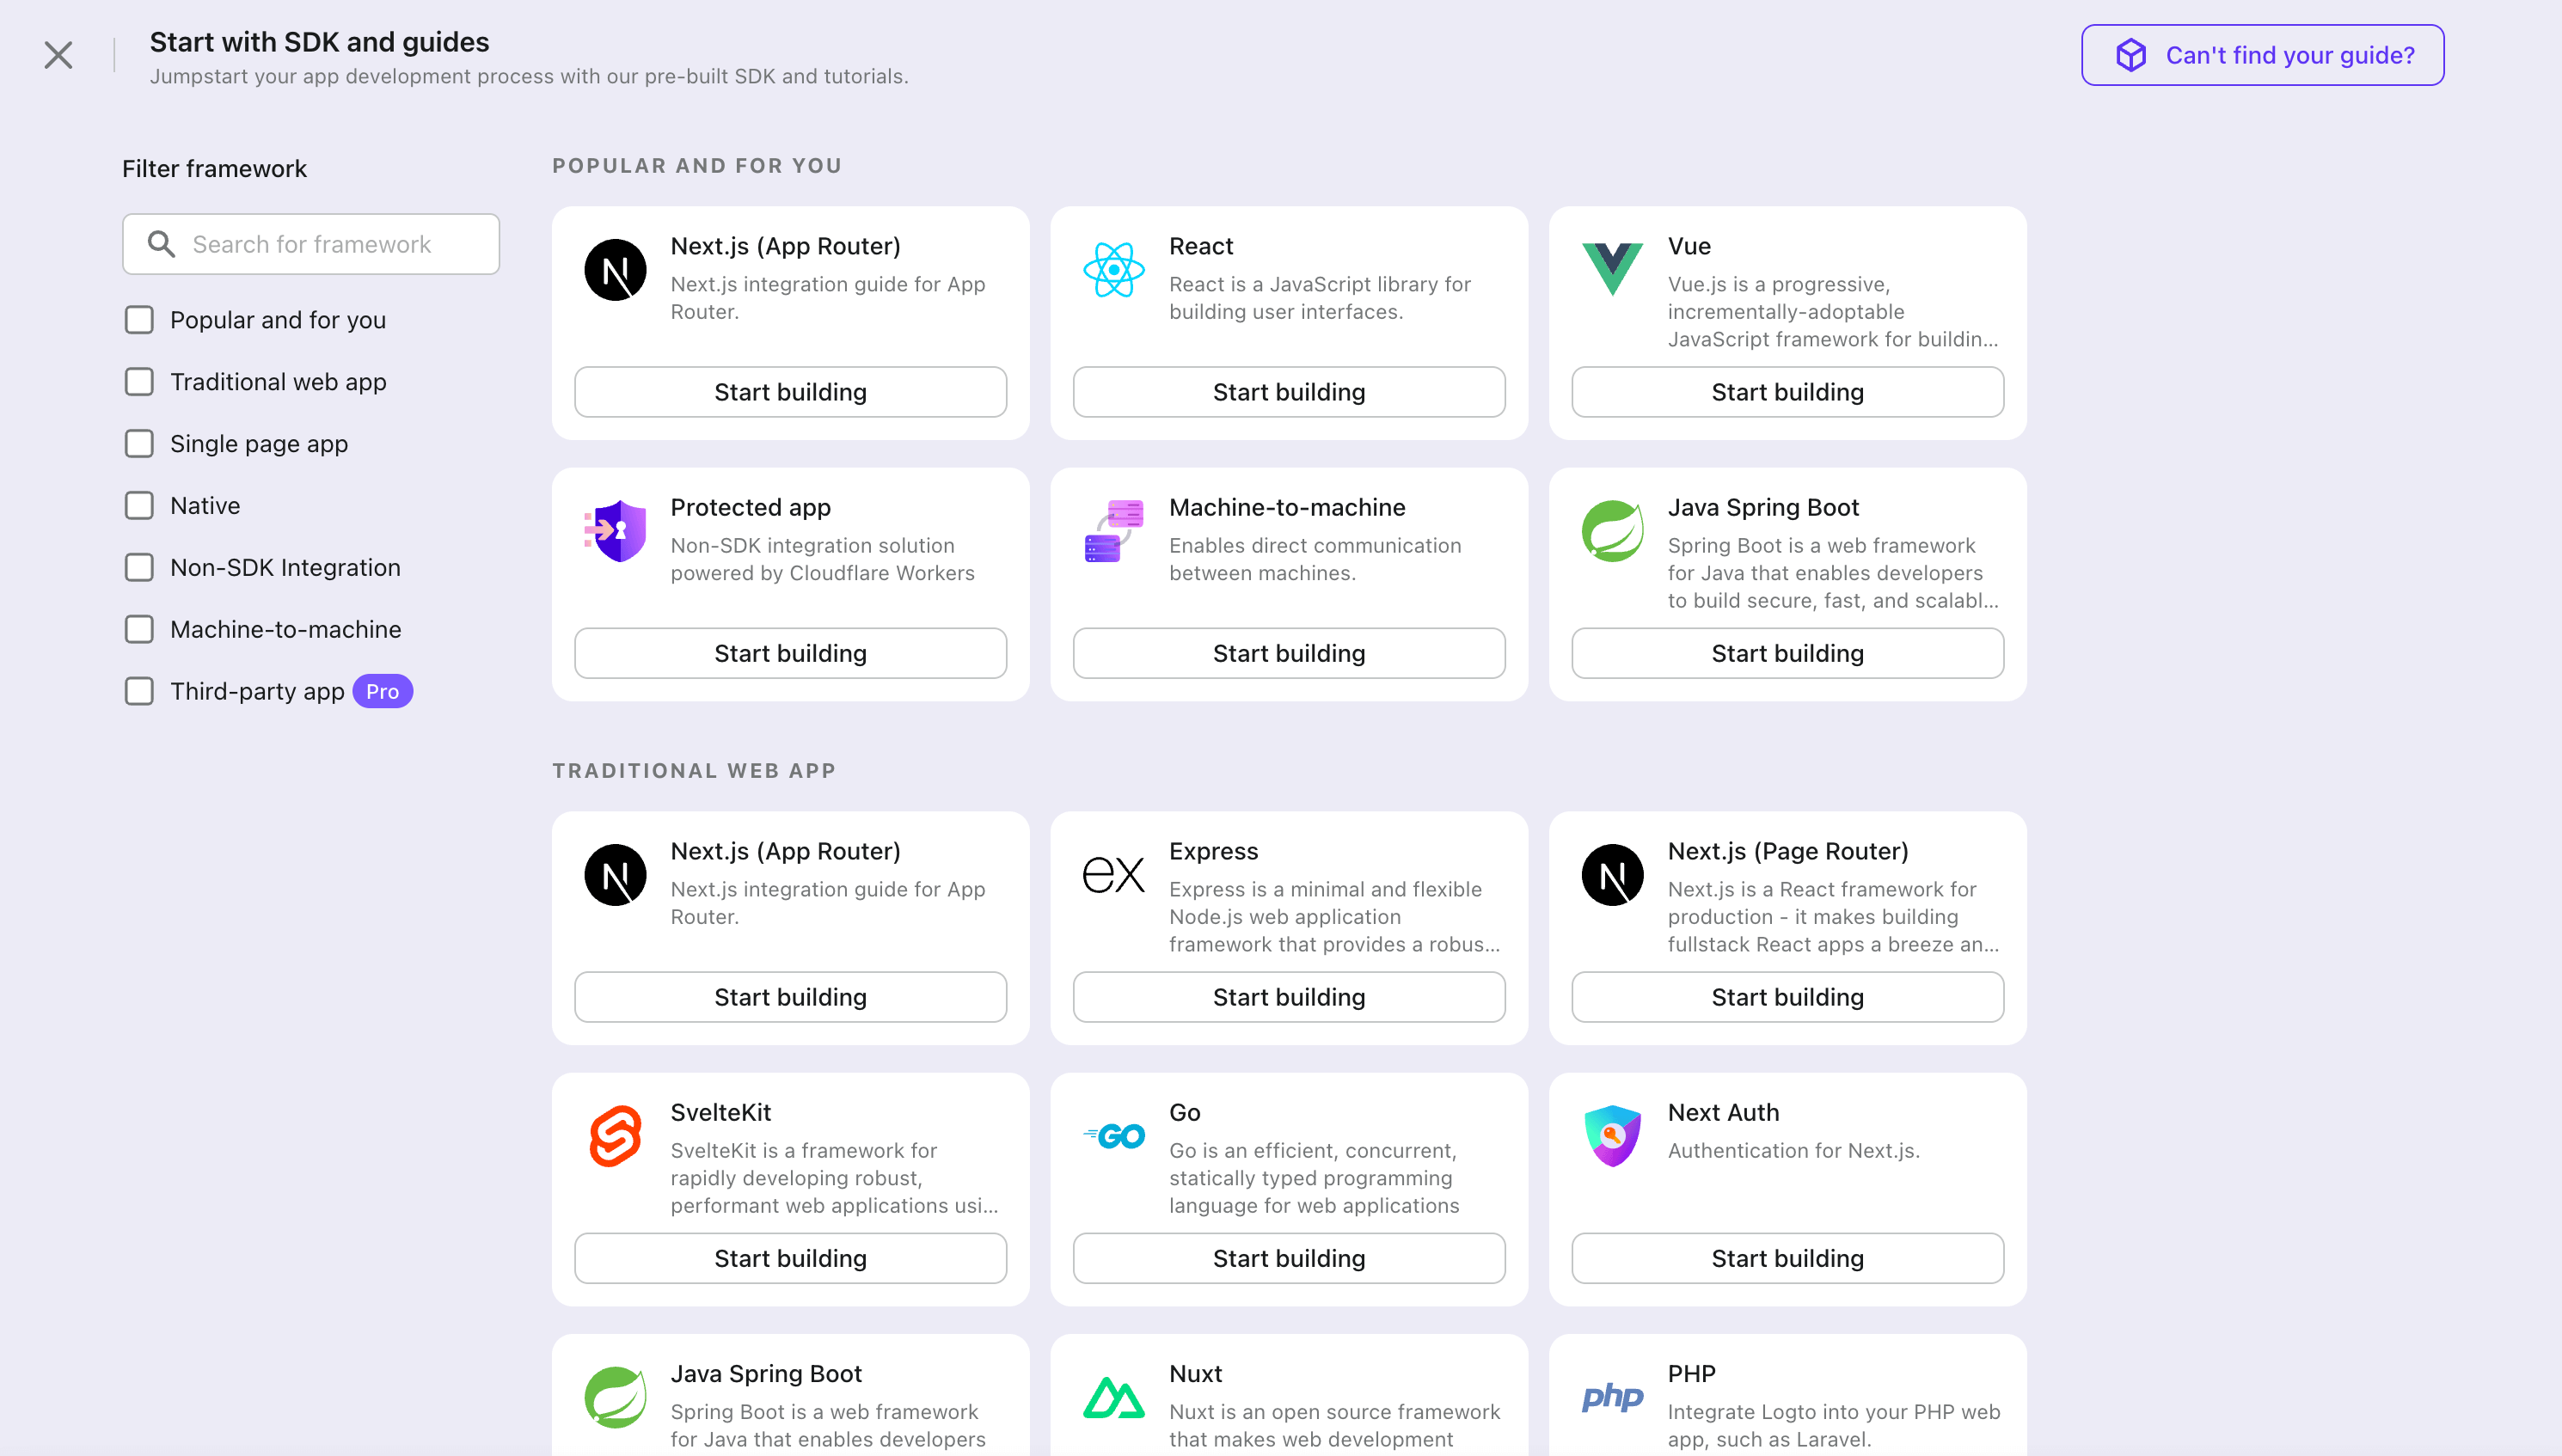
- Enter the application name, e.g., "Bookstore," and click "Create application".
🎉 Ta-da! You just created your first application in Logto. You'll see a congrats page which includes a detailed integration guide. Follow the guide to see what the experience will be in your application.
Integrate Flask with Logto
- The example uses Flask, but the concepts are the same for other frameworks.
- The Python sample project is available on our Python SDK repo.
- Logto SDK leverages coroutines, remember to use
awaitwhen calling async functions.
Installation
Execute in the project root directory:
pip install logto # or `poetry add logto` or whatever you use
Init LogtoClient
First, create a Logto config:
from logto import LogtoClient, LogtoConfig

client = LogtoClient(
    LogtoConfig(
        endpoint="https://you-logto-endpoint.app",  # Replace with your Logto endpoint
        appId="replace-with-your-app-id",
        appSecret="replace-with-your-app-secret",
    ),
)
You can find and copy "App Secret" from application details page in Admin Console:

Also replace the default memory storage with a persistent storage, for example:
from logto import LogtoClient, LogtoConfig, Storage
from flask import session
from typing import Union

class SessionStorage(Storage):
    def get(self, key: str) -> Union[str, None]:
        return session.get(key, None)

    def set(self, key: str, value: Union[str, None]) -> None:
        session[key] = value

    def delete(self, key: str) -> None:
        session.pop(key, None)

client = LogtoClient(
    LogtoConfig(...),
    storage=SessionStorage(),
)
See Storage for more details.
Implement sign-in and sign-out
In your web application, add a route to properly handle the sign-in request from users. Let's use /sign-in as an example:
@app.route("/sign-in")
async def sign_in():
  # Get the sign-in URL and redirect the user to it
  return redirect(await client.signIn(
      redirectUri="http://localhost:3000/callback",
  ))
Replace http://localhost:3000/callback with the callback URL you set in your Logto Console for this application.
If you want to show the sign-up page on the first screen, you can set interactionMode to signUp:
@app.route("/sign-in")
async def sign_in():
  return redirect(await client.signIn(
      redirectUri="http://localhost:3000/callback",
      interactionMode="signUp", # Show the sign-up page on the first screen
  ))
Now, whenever your users visit http://localhost:3000/sign-in, it will start a new sign-in attempt and redirect the user to the Logto sign-in page.
Note Creating a sign-in route isn't the only way to start a sign-in attempt. You can always use the
signInmethod to get the sign-in URL and redirect the user to it.
After the user makes a signing-out request, Logto will clear all user authentication information in the session.
To clean up the Python session and Logto session, a sign-out route can be implemented as follows:
@app.route("/sign-out")
async def sign_out():
  return redirect(
      # Redirect the user to the home page after a successful sign-out
      await client.signOut(postLogoutRedirectUri="http://localhost:3000/")
  )
Handle authentication status
In Logto SDK, we can use client.isAuthenticated() to check the authentication status, if the user is signed in, the value will be true, otherwise, the value will be false.
Here we also implement a simple home page for demonstration:
- If the user is not signed in, show a sign-in button;
- If the user is signed in, show a sign-out button.
@app.route("/")
async def home():
    if client.isAuthenticated() is False:
        return "Not authenticated <a href='/sign-in'>Sign in</a>"
    return "Authenticated <a href='/sign-out'>Sign out</a>"
Checkpoint: Test your application
Now, you can test your application:
- Run your application, you will see the sign-in button.
- Click the sign-in button, the SDK will init the sign-in process and redirect you to the Logto sign-in page.
- After you signed in, you will be redirected back to your application and see the sign-out button.
- Click the sign-out button to clear token storage and sign out.
Add OAuth2 connector
To enable quick sign-in and improve user conversion, connect with Flask as an identity provider. The Logto social connector helps you establish this connection in minutes by allowing several parameter inputs.
To add a social connector, simply follow these steps:
- Navigate to Console > Connectors > Social Connectors.
- Click "Add social connector" and select "OAuth2".
- Follow the README guide and complete required fields and customize settings.
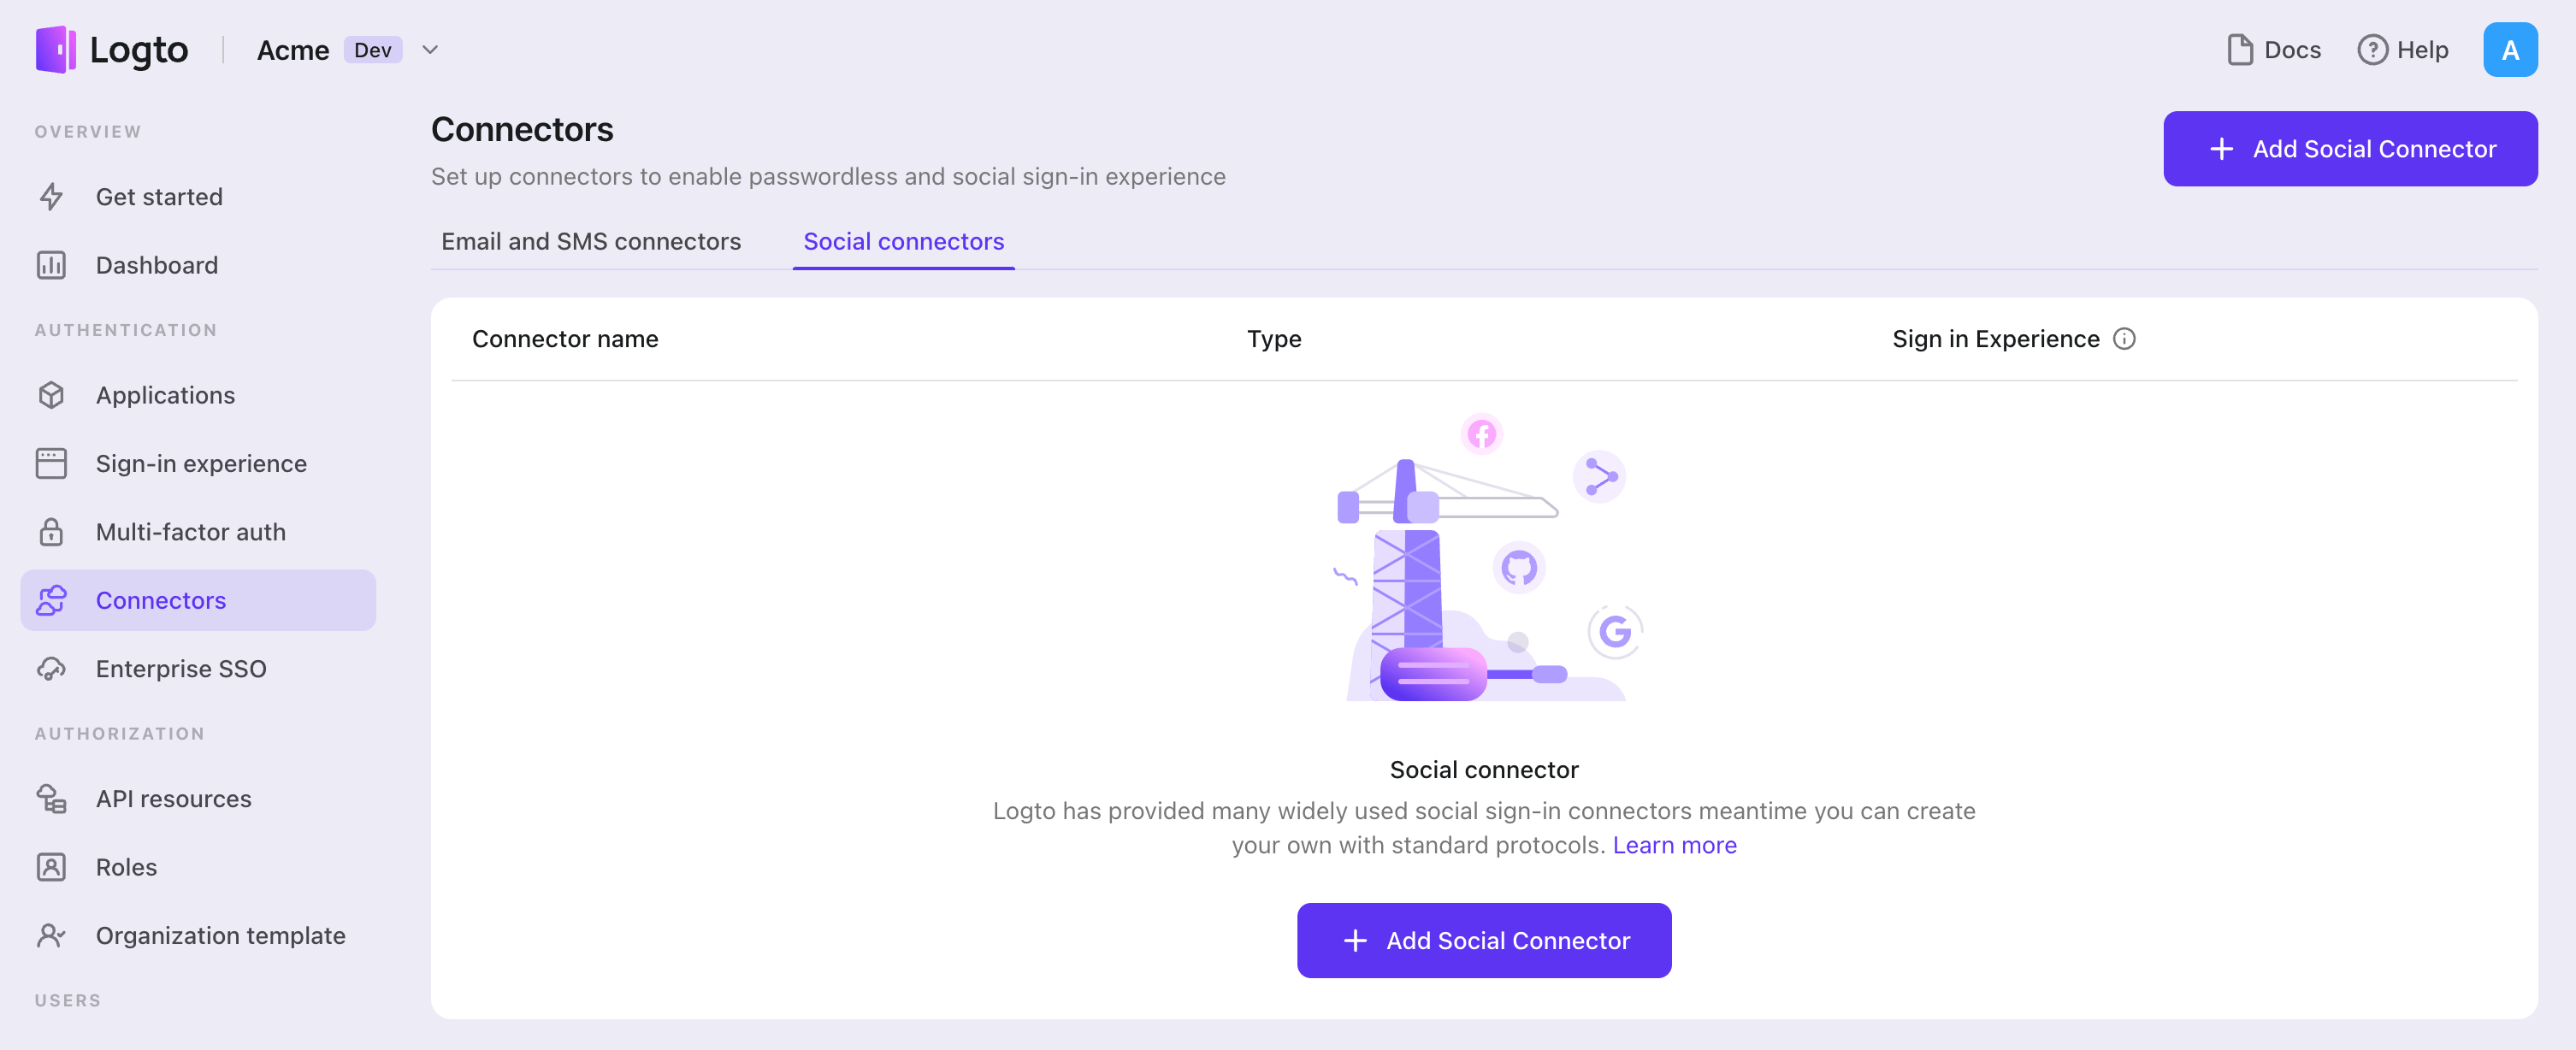
If you are following the in-place Connector guide, you can skip the next section.
Set up Standard OAuth 2.0 app
Create your OAuth app
When you open this page, we believe you already know which social identity provider you want to connect to. The first thing to do is to confirm that the identity provider supports the OAuth protocol, which is a prerequisite for configuring a valid connector. Then, follow the identity provider's instructions to register and create the relevant app for OAuth authorization.
Configure your connector
We ONLY support "Authorization Code" grant type for security consideration and it can perfectly fit Logto's scenario.
clientId and clientSecret can be found at your OAuth apps details page.
clientId: The client ID is a unique identifier that identifies the client application during registration with the authorization server. This ID is used by the authorization server to verify the identity of the client application and to associate any authorized access tokens with that specific client application.
clientSecret: The client secret is a confidential key that is issued to the client application by the authorization server during registration. The client application uses this secret key to authenticate itself with the authorization server when requesting access tokens. The client secret is considered confidential information and should be kept secure at all times.
tokenEndpointAuthMethod: The token endpoint authentication method is used by the client application to authenticate itself with the authorization server when requesting access tokens. To discover supported methods, consult the token_endpoint_auth_methods_supported field available at the OAuth 2.0 service provider’s OpenID Connect discovery endpoint, or refer to the relevant documentation provided by the OAuth 2.0 service provider.
clientSecretJwtSigningAlgorithm (Optional): Only required when tokenEndpointAuthMethod is client_secret_jwt. The client secret JWT signing algorithm is used by the client application to sign the JWT that is sent to the authorization server during the token request.
scope: The scope parameter is used to specify the set of resources and permissions that the client application is requesting access to. The scope parameter is typically defined as a space-separated list of values that represent specific permissions. For example, a scope value of "read write" might indicate that the client application is requesting read and write access to a user's data.
You are expected to find authorizationEndpoint, tokenEndpoint and userInfoEndpoint in social vendor's documentation.
authenticationEndpoint: This endpoint is used to initiate the authentication process. The authentication process typically involves the user logging in and granting authorization for the client application to access their resources.
tokenEndpoint: This endpoint is used by the client application to obtain an access token that can be used to access the requested resources. The client application typically sends a request to the token endpoint with a grant type and authorization code to receive an access token.
userInfoEndpoint: This endpoint is used by the client application to obtain additional information about the user, such as their fullname, email address or profile picture. The user info endpoint is typically accessed after the client application has obtained an access token from the token endpoint.
Logto also provide a profileMap field that users can customize the mapping from the social vendors' profiles which are usually not standard. The keys are Logto's standard user profile field names and corresponding values should be social profiles' field names. In current stage, Logto only concern 'id', 'name', 'avatar', 'email' and 'phone' from social profile, only 'id' is required and others are optional fields.
responseType and grantType can ONLY be FIXED values with authorization code grant type, so we make them optional and default values will be automatically filled.
For example, you can find Google user profile response and hence its profileMap should be like:
{
  "id": "sub",
  "avatar": "picture"
}
We provided an OPTIONAL customConfig key to put your customize parameters.
Each social identity provider could have their own variant on OAuth standard protocol. If your desired social identity provider strictly stick to OAuth standard protocol, the you do not need to care about customConfig.
Config types
| Name | Type | Required |
|---|---|---|
| authorizationEndpoint | string | true |
| userInfoEndpoint | string | true |
| clientId | string | true |
| clientSecret | string | true |
| tokenEndpointResponseType | enum | false |
| responseType | string | false |
| grantType | string | false |
| tokenEndpoint | string | false |
| scope | string | false |
| customConfig | Record<string, string> | false |
| profileMap | ProfileMap | false |
| ProfileMap fields | Type | Required | Default value |
|---|---|---|---|
| id | string | false | id |
| name | string | false | name |
| avatar | string | false | avatar |
| string | false | ||
| phone | string | false | phone |
Save your configuration
Double check you have filled out necessary values in the Logto connector configuration area. Click "Save and Done" (or "Save changes") and the OAuth2 connector should be available now.
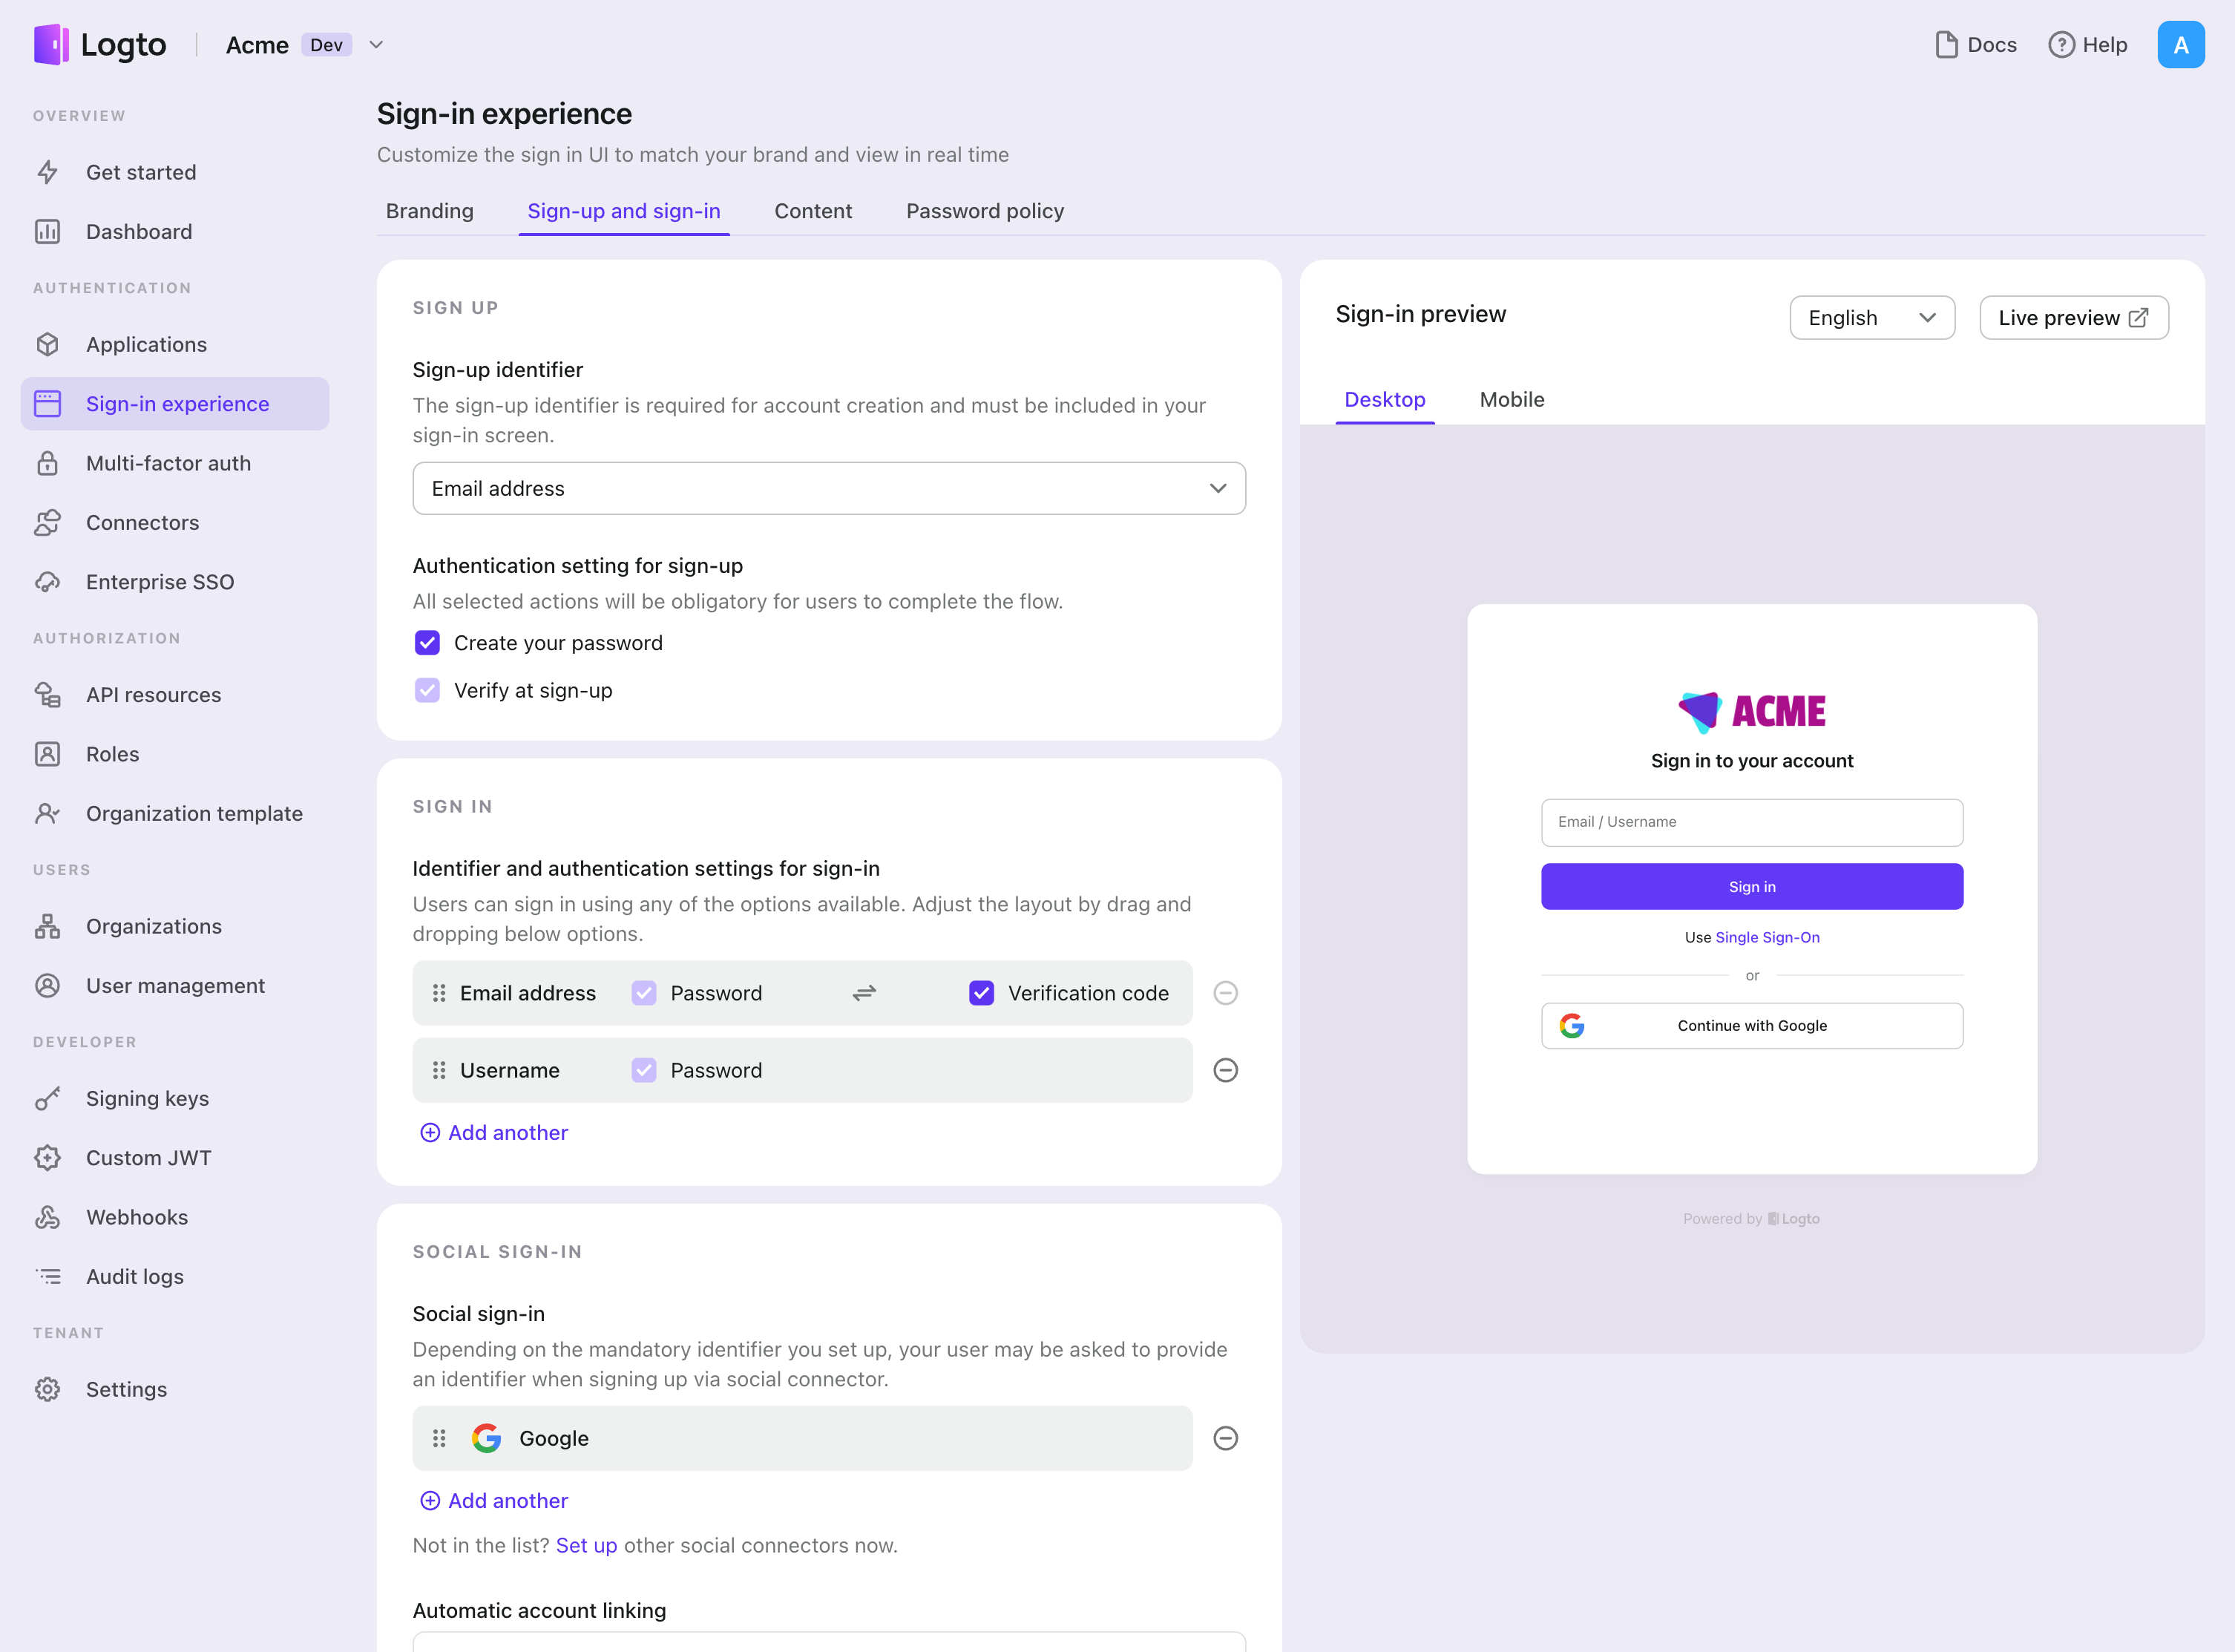
Enable OAuth2 connector in Sign-in Experience
Once you create a social connector successfully, you can enable it as a "Continue with OAuth2" button in Sign-in Experience.
- Navigate to Console > Sign-in experience > Sign-up and sign-in.
- (Optional) Choose "Not applicable" for sign-up identifier if you need social login only.
- Add configured OAuth2 connector to the "Social sign-in" section.
Testing and Validation
Return to your Python app. You should now be able to sign in with OAuth2. Enjoy!
Further readings
End-user flows: Logto provides a out-of-the-box authentication flows including MFA and enterprise SSO, along with powerful APIs for flexible implementation of account settings, security verification, and multi-tenant experience.
Authorization: Authorization defines the actions a user can do or resources they can access after being authenticated. Explore how to protect your API for native and single-page applications and implement Role-based Access Control (RBAC).
Organizations: Particularly effective in multi-tenant SaaS and B2B apps, the organization feature enable tenant creation, member management, organization-level RBAC, and just-in-time-provisioning.
Customer IAM series Our serial blog posts about Customer (or Consumer) Identity and Access Management, from 101 to advanced topics and beyond.