Logto is an Auth0 alternative designed for modern apps and SaaS products. It offers both Cloud and Open-source services to help you quickly launch your identity and management (IAM) system. Enjoy authentication, authorization, and multi-tenant management all in one.
We recommend starting with a free development tenant on Logto Cloud. This allows you to explore all the features easily.
In this article, we will go through the steps to quickly build the Discord sign-in experience (user authentication) with Next.js (Pages Router) and Logto.
Prerequisites
- A running Logto instance. Check out the introduction page to get started.
- Basic knowledge of Next.js (Pages Router).
- A usable Discord account.
Create an application in Logto
Logto is based on OpenID Connect (OIDC) authentication and OAuth 2.0 authorization. It supports federated identity management across multiple applications, commonly called Single Sign-On (SSO).
To create your Traditional web application, simply follow these steps:
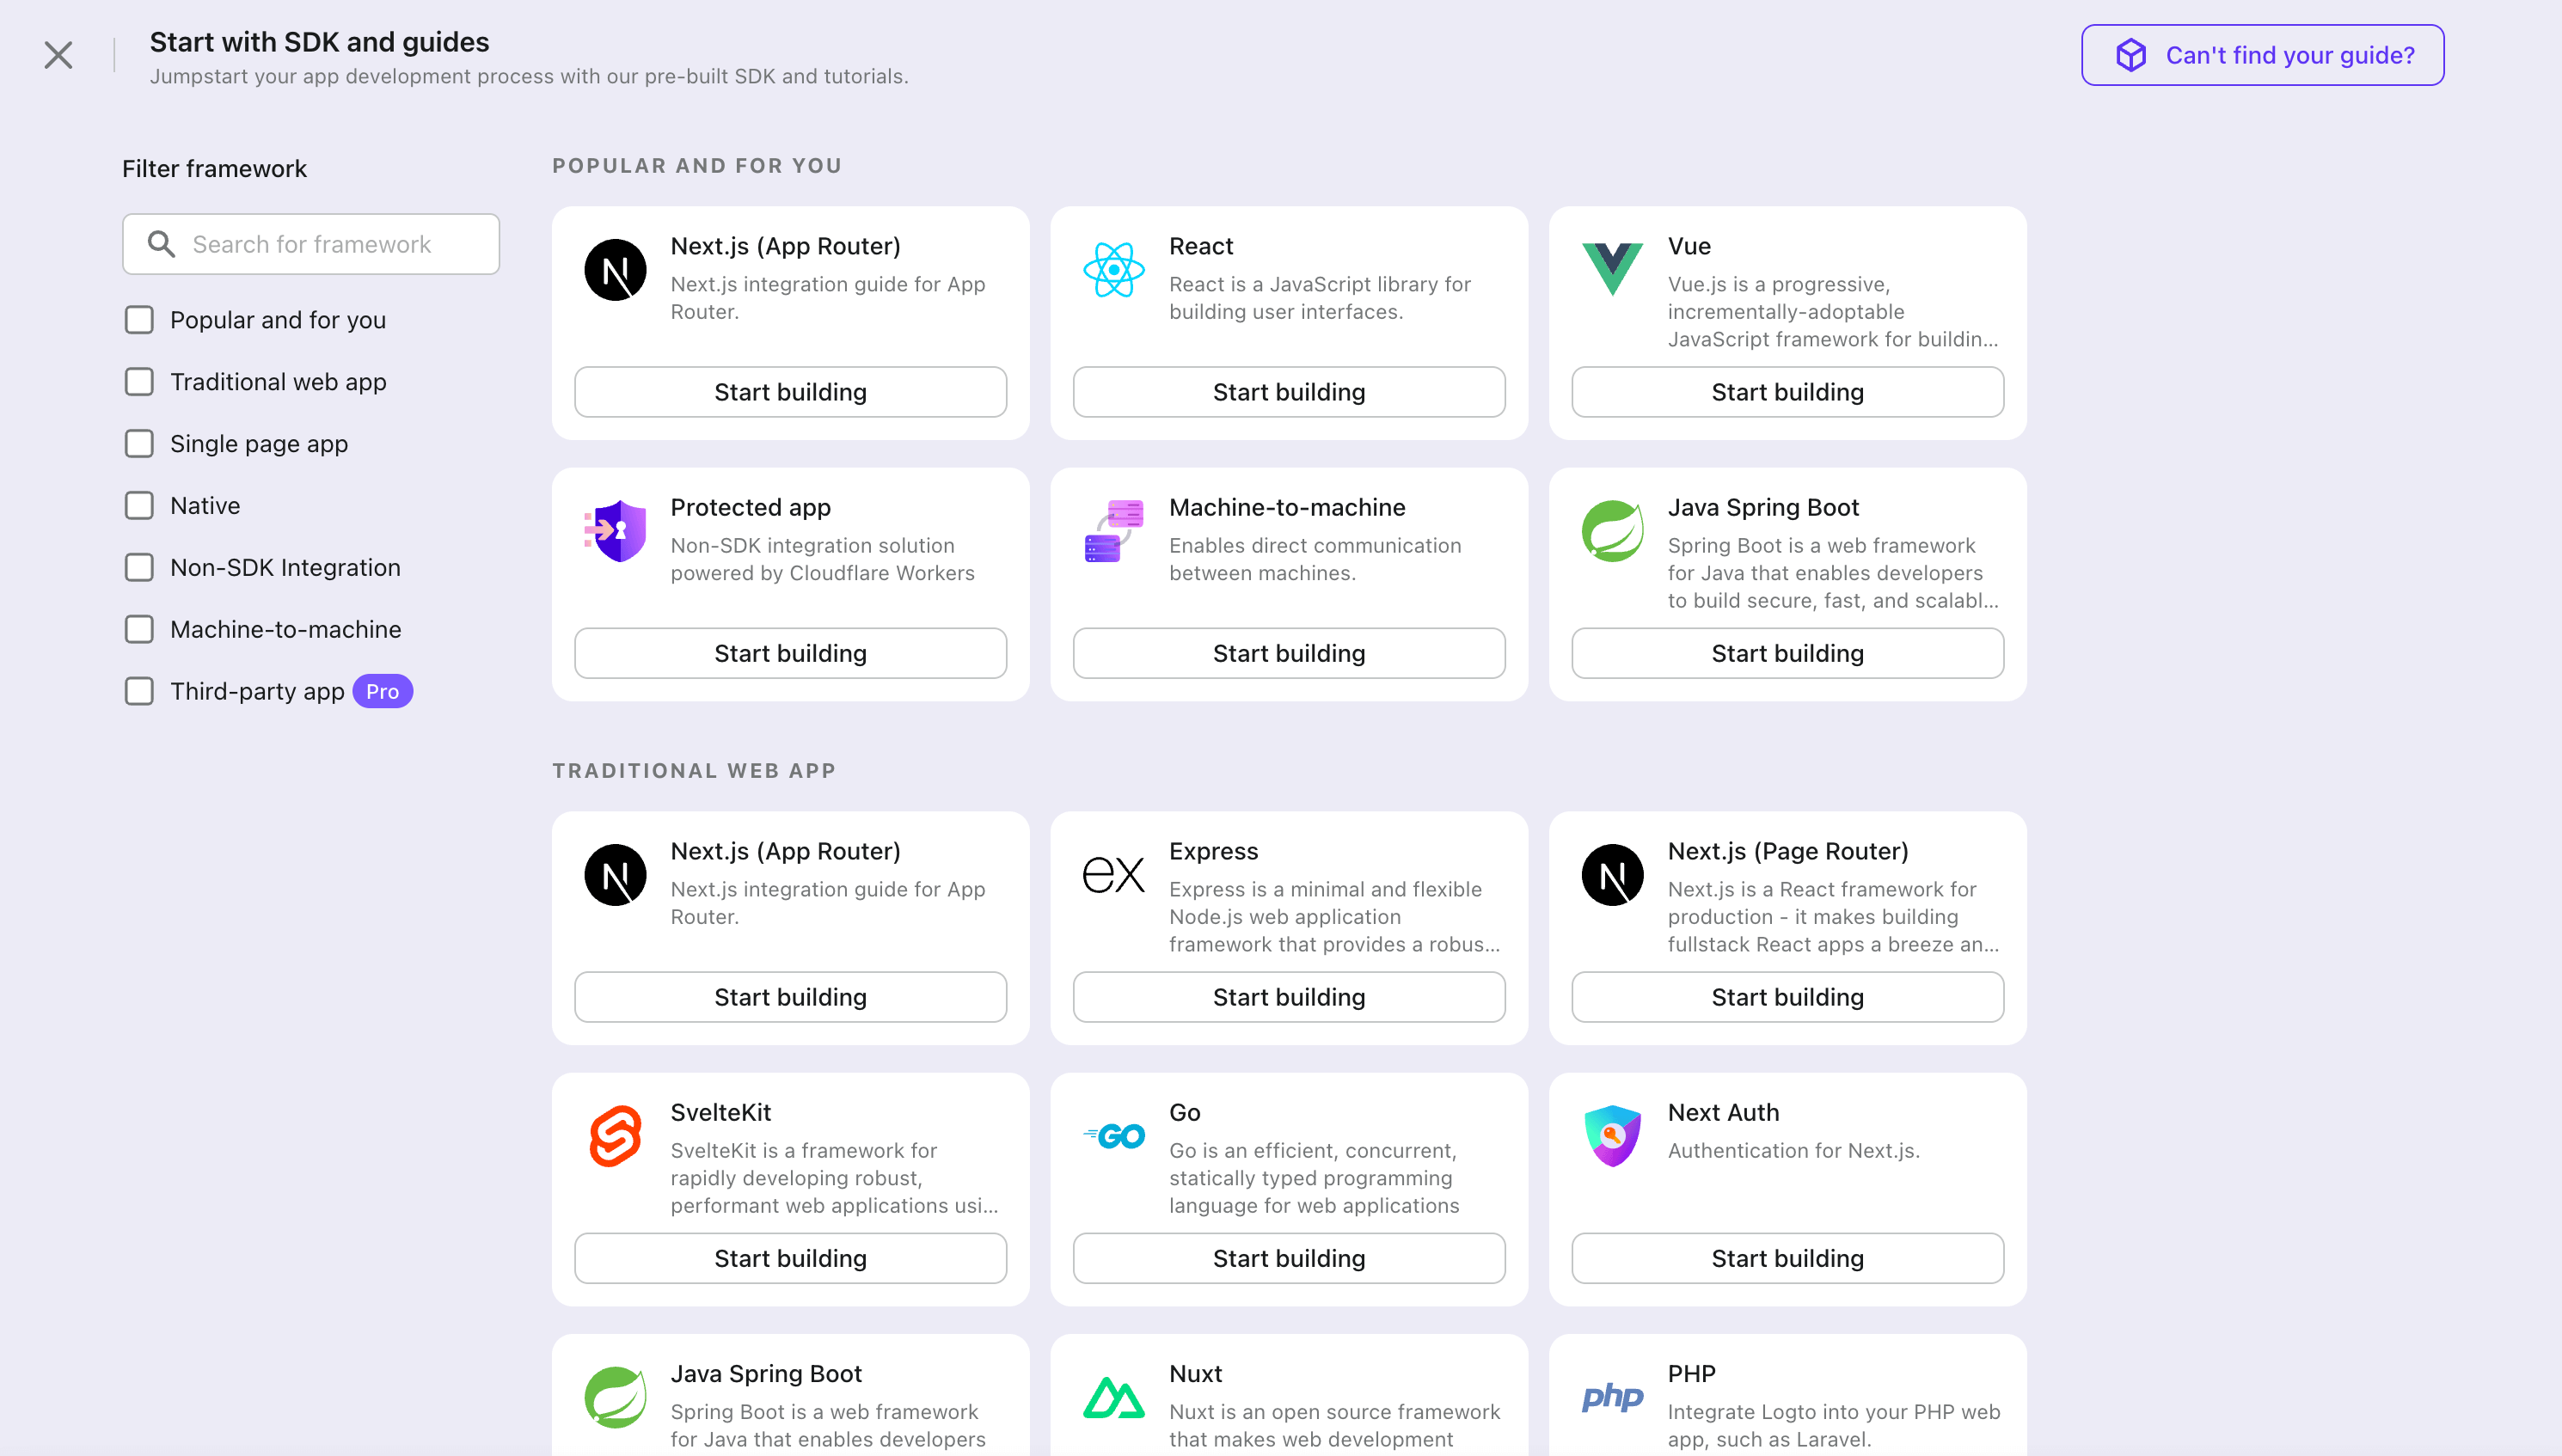
- Open the Logto Console. In the "Get started" section, click the "View all" link to open the application frameworks list. Alternatively, you can navigate to Logto Console > Applications, and click the "Create application" button.
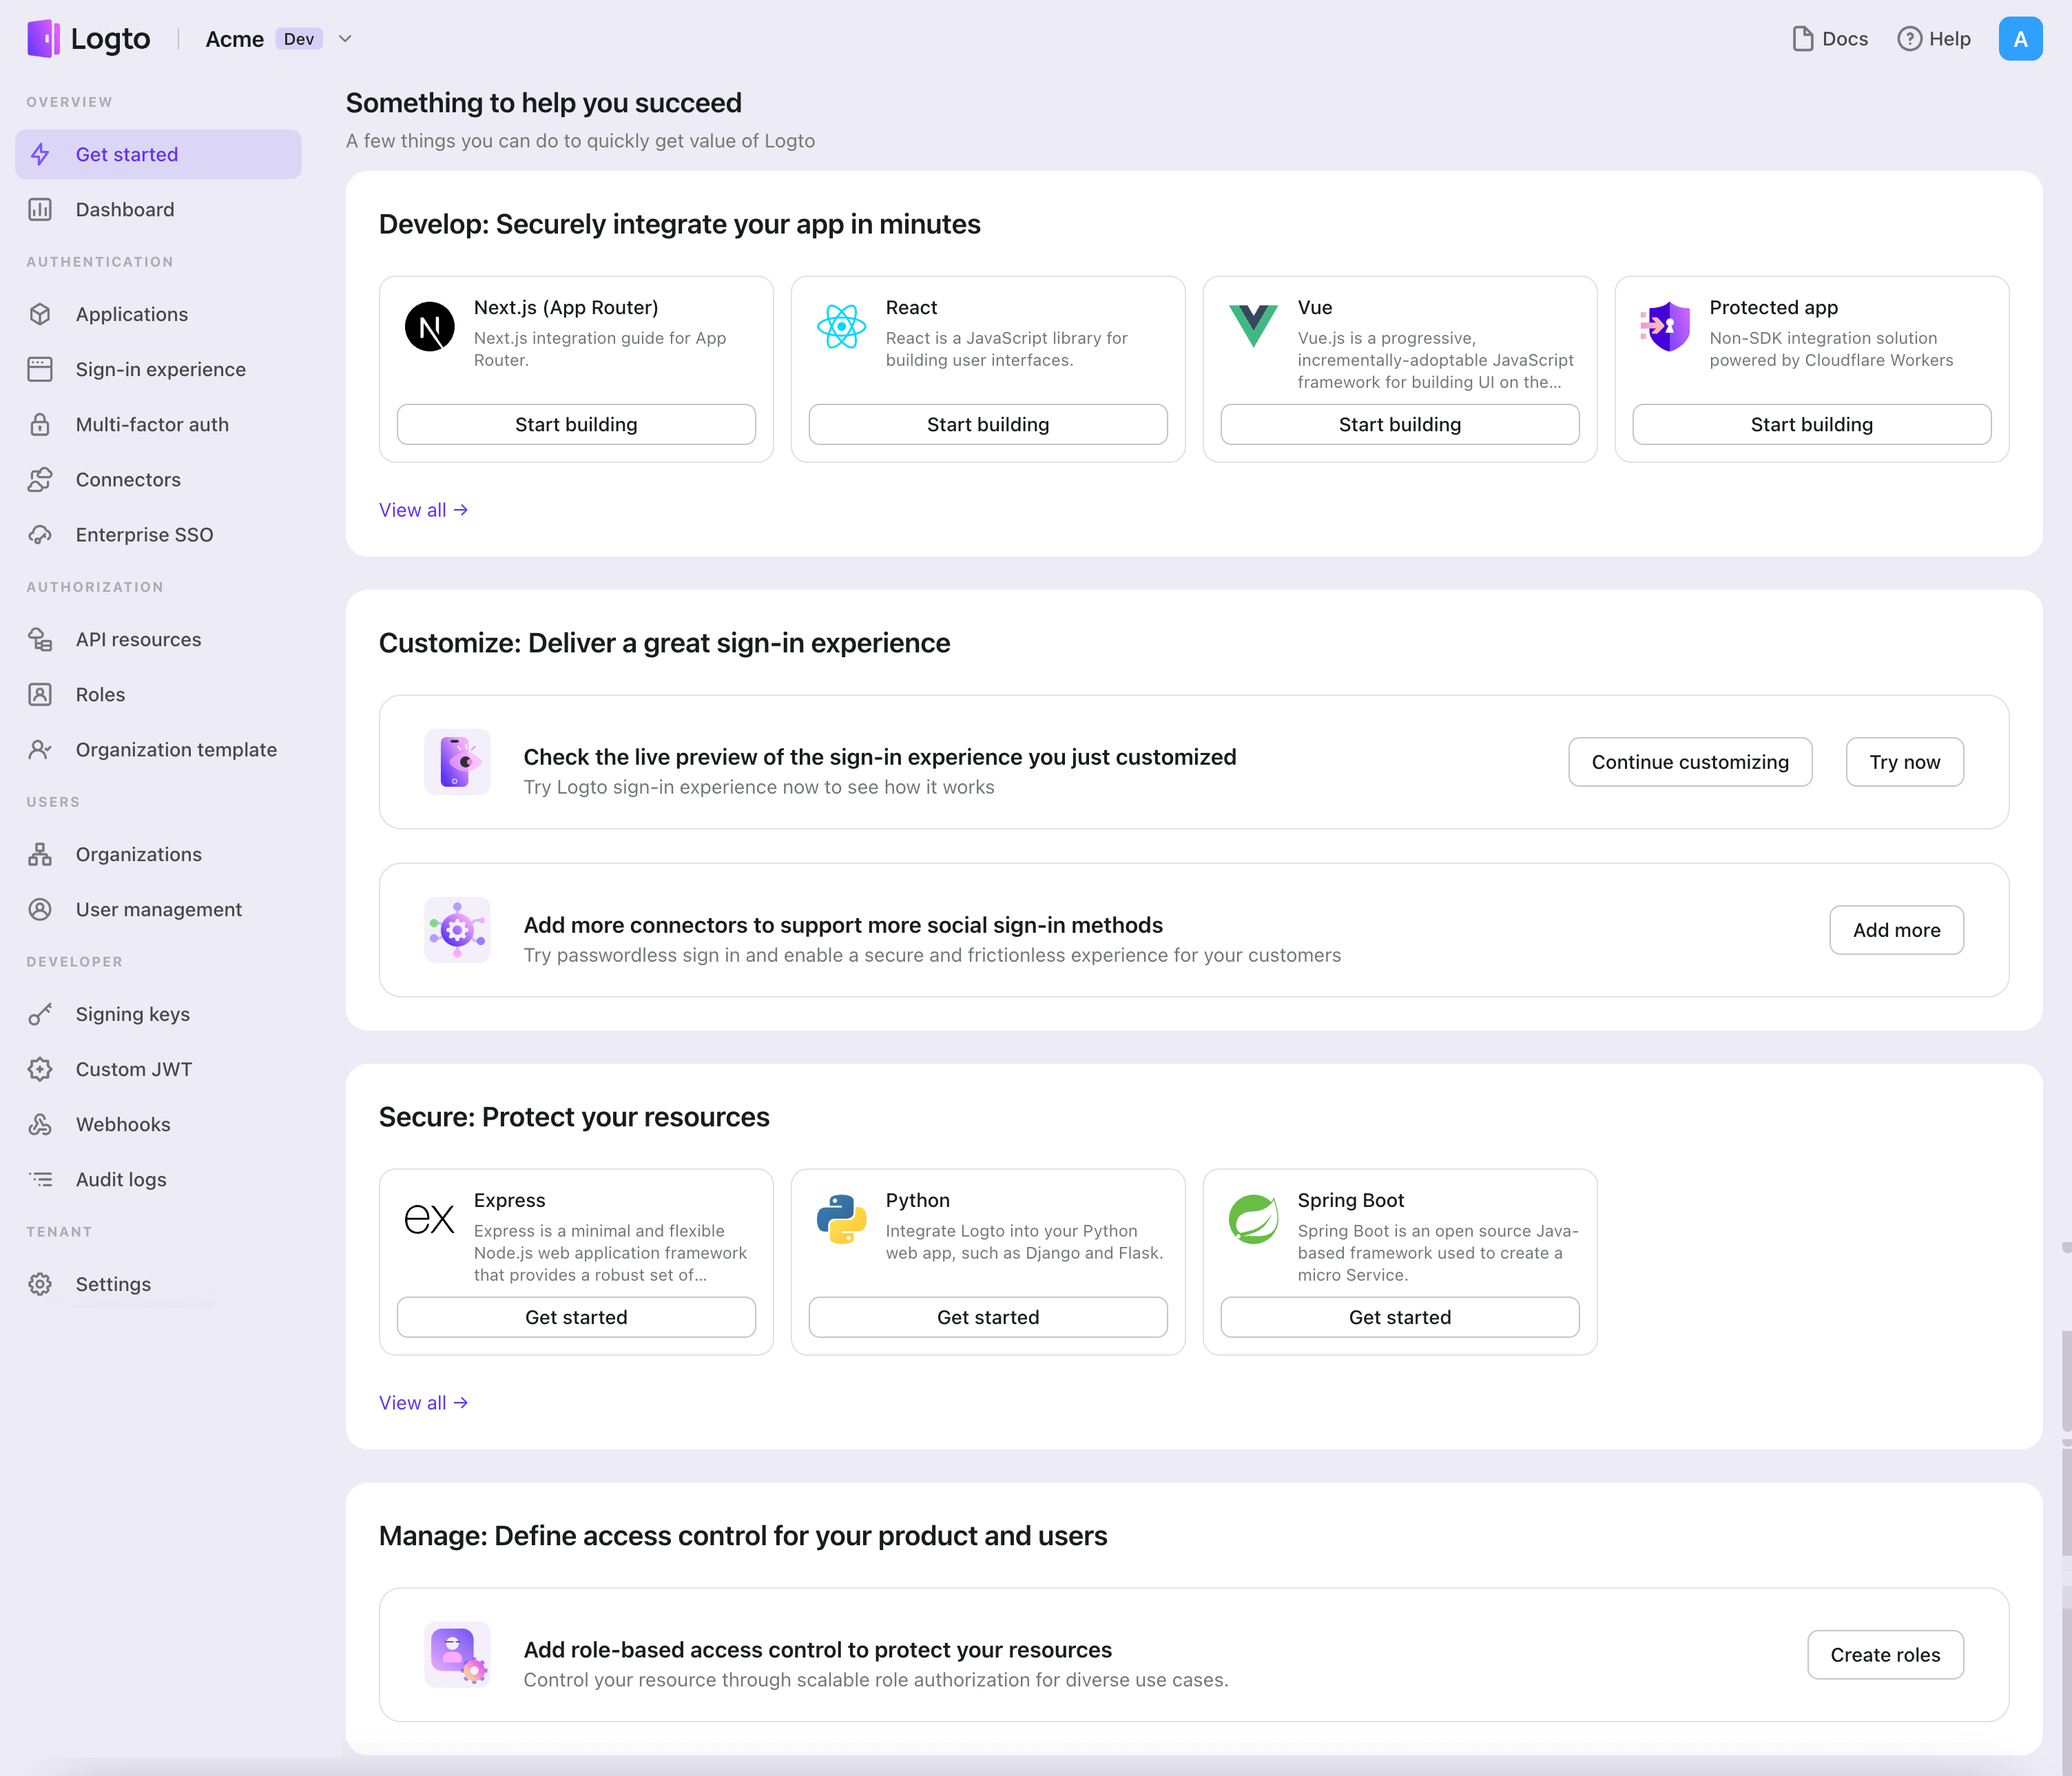
- In the opening modal, click the "Traditional web" section or filter all the available "Traditional web" frameworks using the quick filter checkboxes on the left. Click the "Next.js" framework card to start creating your application.
- Enter the application name, e.g., "Bookstore," and click "Create application".
🎉 Ta-da! You just created your first application in Logto. You'll see a congrats page which includes a detailed integration guide. Follow the guide to see what the experience will be in your application.
Integrate Next.js with Logto
- The sample project is available on our SDK repository.
- The example is based on Next.js Pages Router.
Installation
Install Logto SDK via your favorite package manager:
- npm
- pnpm
- yarn
npm i @logto/nextpnpm add @logto/nextyarn add @logto/nextIntegration
Init LogtoClient
Import and initialize LogtoClient:
import LogtoClient from '@logto/next';

export const logtoClient = new LogtoClient({
  appId: '<your-application-id>',
  appSecret: '<your-app-secret-copied-from-console>',
  endpoint: '<your-logto-endpoint>', // E.g. http://localhost:3001
  baseUrl: 'http://localhost:3000',
  cookieSecret: 'complex_password_at_least_32_characters_long',
  cookieSecure: process.env.NODE_ENV === 'production',
});
Configure Redirect URIs
Before we dive into the details, here's a quick overview of the end-user experience. The sign-in process can be simplified as follows:
- Your app invokes the sign-in method.
- The user is redirected to the Logto sign-in page. For native apps, the system browser is opened.
- The user signs in and is redirected back to your app (configured as the redirect URI).
Regarding redirect-based sign-in
- This authentication process follows the OpenID Connect (OIDC) protocol, and Logto enforces strict security measures to protect user sign-in.
- If you have multiple apps, you can use the same identity provider (Logto). Once the user signs in to one app, Logto will automatically complete the sign-in process when the user accesses another app.
To learn more about the rationale and benefits of redirect-based sign-in, see Logto sign-in experience explained.
In the following code snippets, we assume your app is running on http://localhost:3000/.
Configure redirect URIs
Switch to the application details page of Logto Console. Add a redirect URI http://localhost:3000/api/logto/sign-in-callback.
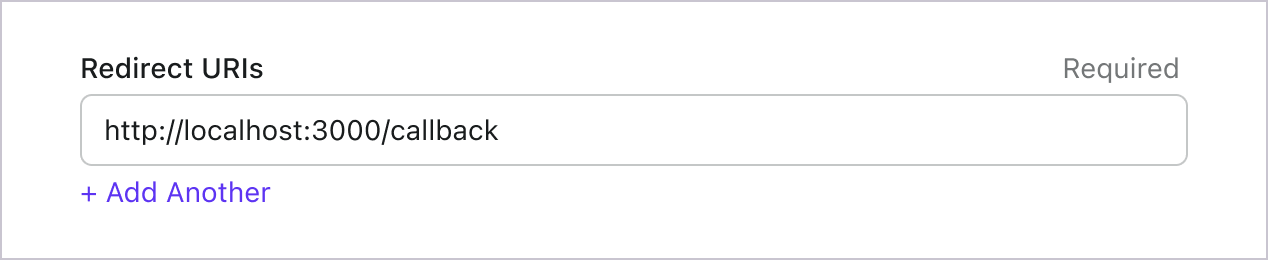
Just like signing in, users should be redirected to Logto for signing out of the shared session. Once finished, it would be great to redirect the user back to your website. For example, add http://localhost:3000/ as the post sign-out redirect URI section.
Then click "Save" to save the changes.
Prepare API routes
Prepare API routes to connect with Logto.
Go back to your IDE/editor, use the following code to implement the API routes first:
import { logtoClient } from '../../../libraries/logto';

export default logtoClient.handleAuthRoutes();
This will create 4 routes automatically:
/api/logto/sign-in: Sign in with Logto./api/logto/sign-in-callback: Handle sign-in callback./api/logto/sign-out: Sign out with Logto./api/logto/user: Check if user is authenticated with Logto, if yes, return user info.
Implement sign-in and sign-out
We have prepared the API routes, now let's implement the sign-in and sign-out buttons in your home page. We need to redirect the user to the sign-in or sign-out route when needed. To help with this, use useSWR to fetch authentication status from /api/logto/user.
Check this guide to learn more about useSWR.
import { type LogtoContext } from '@logto/next';
import useSWR from 'swr';

const Home = () => {
  const { data } = useSWR<LogtoContext>('/api/logto/user');

  return (
    <nav>
      {data?.isAuthenticated ? (
        <p>
          Hello, {data.claims?.sub},
          <button
            onClick={() => {
              window.location.assign('/api/logto/sign-out');
            }}
          >
            Sign Out
          </button>
        </p>
      ) : (
        <p>
          <button
            onClick={() => {
              window.location.assign('/api/logto/sign-in');
            }}
          >
            Sign In
          </button>
        </p>
      )}
    </nav>
  );
};

export default Home;
Checkpoint: Test your application
Now, you can test your application:
- Run your application, you will see the sign-in button.
- Click the sign-in button, the SDK will init the sign-in process and redirect you to the Logto sign-in page.
- After you signed in, you will be redirected back to your application and see the sign-out button.
- Click the sign-out button to clear token storage and sign out.
Add Discord connector
To enable quick sign-in and improve user conversion, connect with Next.js as an identity provider. The Logto social connector helps you establish this connection in minutes by allowing several parameter inputs.
To add a social connector, simply follow these steps:
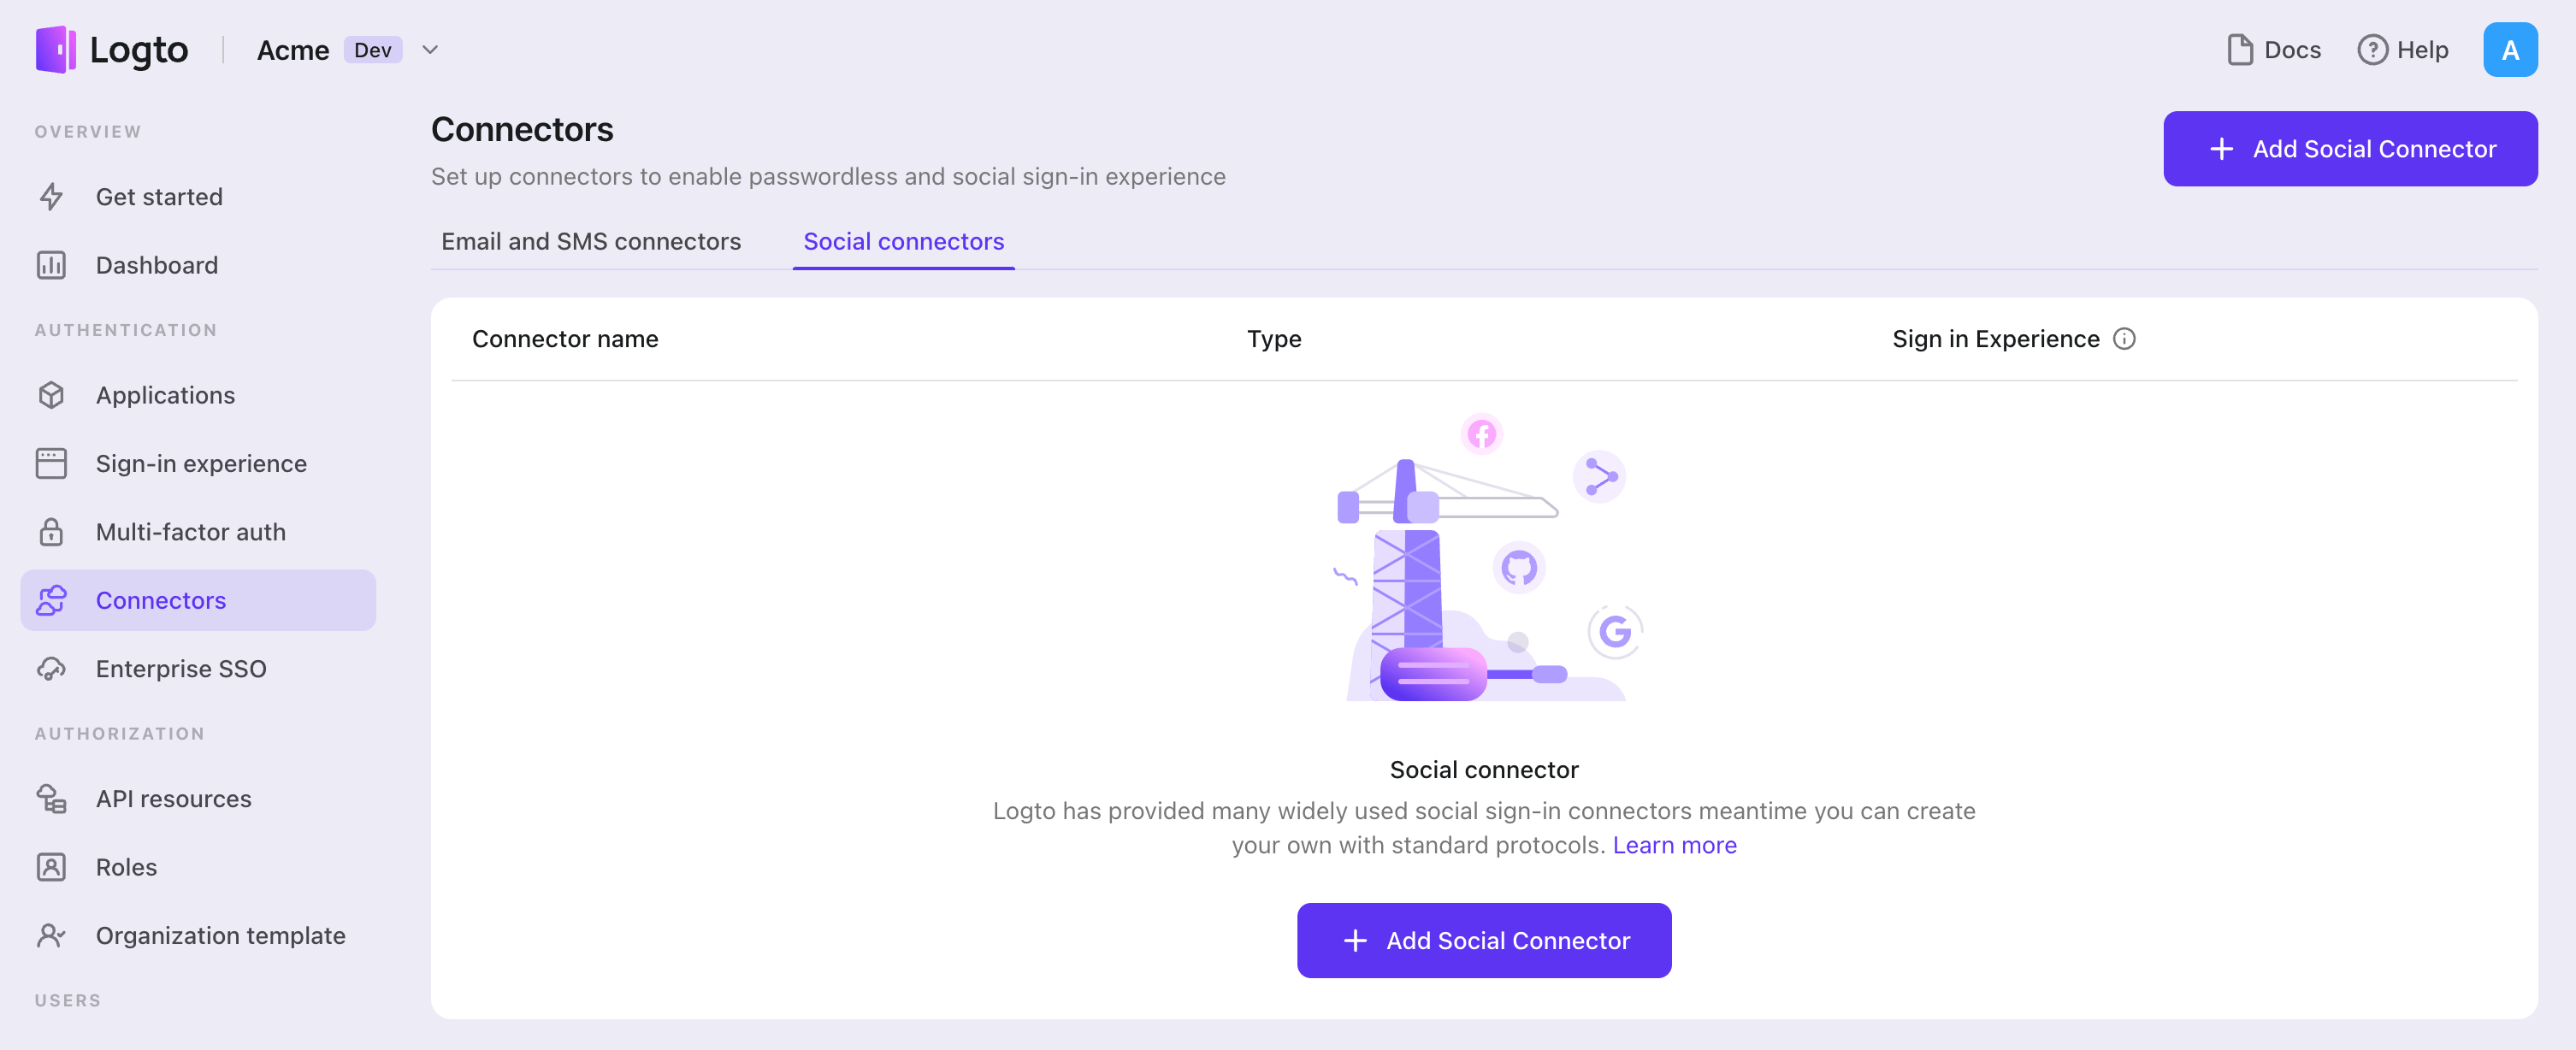
- Navigate to Console > Connectors > Social Connectors.
- Click "Add social connector" and select "Discord".
- Follow the README guide and complete required fields and customize settings.
If you are following the in-place Connector guide, you can skip the next section.
Set up Discord OAuth app
Register a developer application
- Visit Discord Developer Portal and sign in with your Discord account.
- Click the New Application button to create an application, choose a name for it (Ex: LogtoAuth), tick the box and click Create.
- Go to OAuth2 page and click Reset Secret
- Take note of the CLIENT ID and CLIENT SECRET fields
- Add the valid redirects (Ex:
http://auth.mycompany.io/callback/${connector_id}). Theconnector_idcan be found on the top bar of the Logto Admin Console connector details page.
Configure Logto
Config types
| Name | Type |
|---|---|
| clientId | string |
| clientSecret | string |
| scope | string |
clientId
clientId is the CLIENT ID field we saved earlier.
(You can find it in the Oauth2 Page in Discord Developer Portal.)
clientSecret
clientSecret is the CLIENT SECRET we saved earlier.
(If you've lost it you need to click Reset Secret.)
scope
scope is the permissions granted by the user's authorization. The default value is identify email.
You can see the full list of scopes here.
Save your configuration
Double check you have filled out necessary values in the Logto connector configuration area. Click "Save and Done" (or "Save changes") and the Discord connector should be available now.
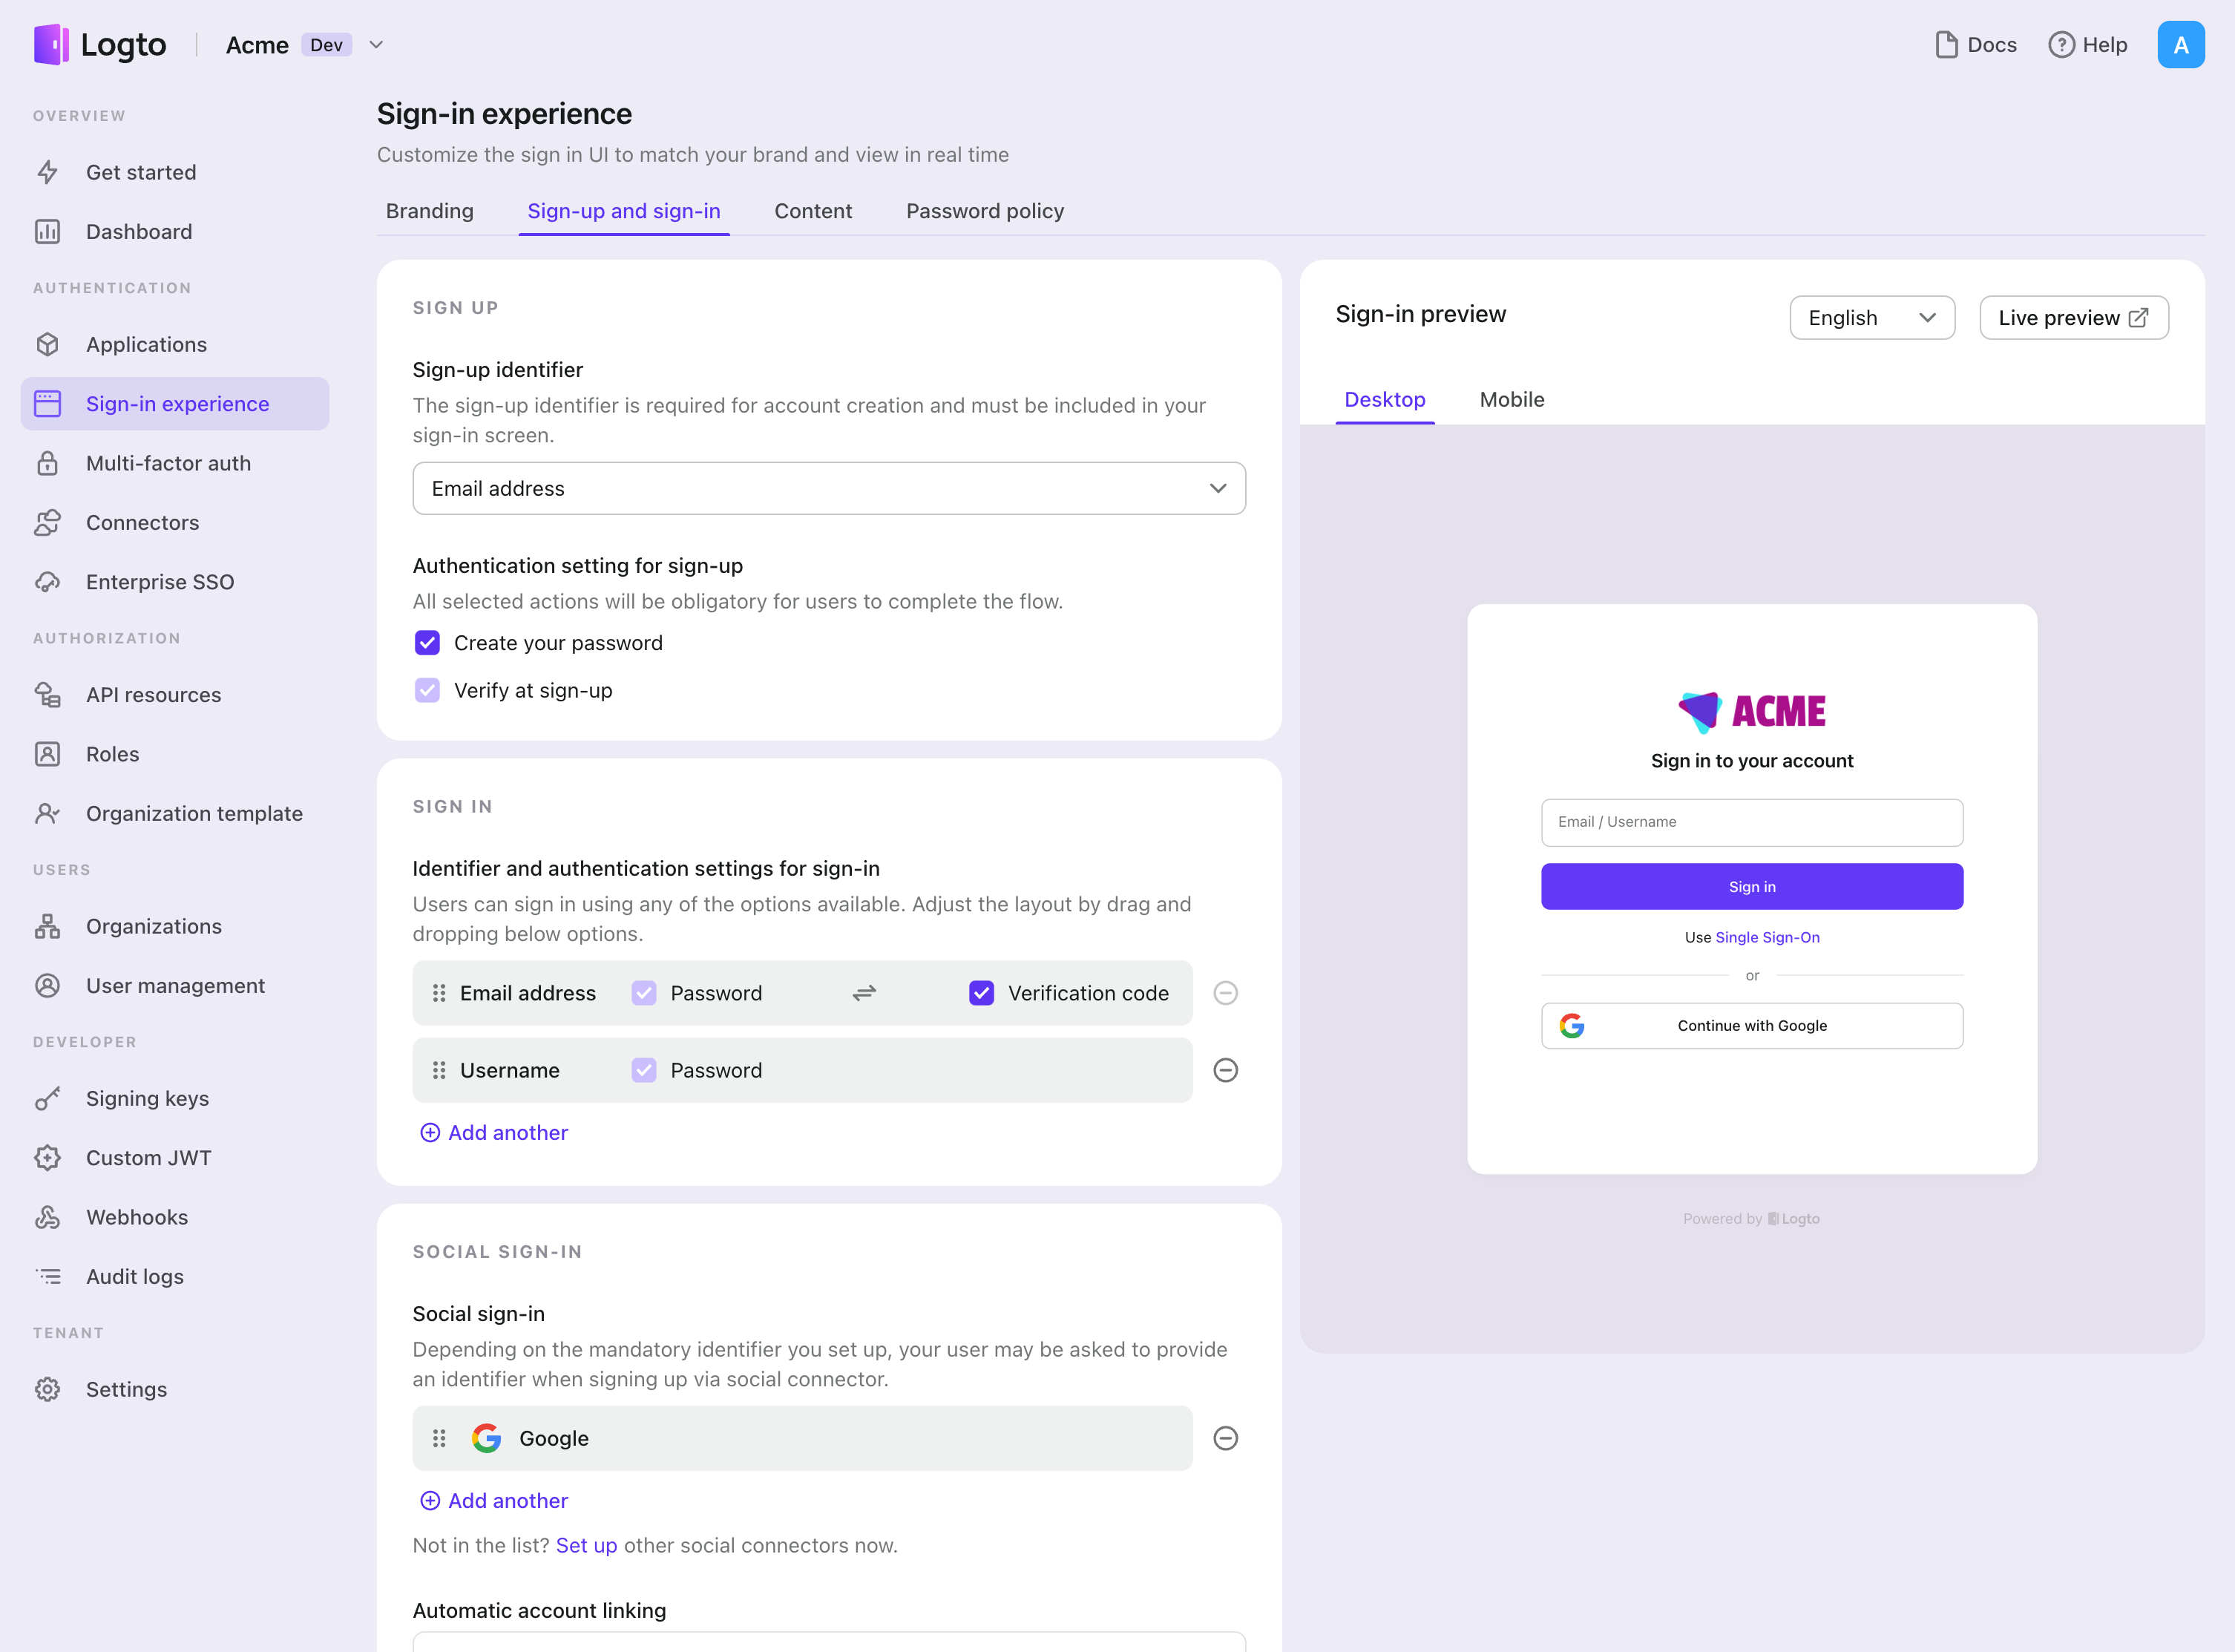
Enable Discord connector in Sign-in Experience
Once you create a social connector successfully, you can enable it as a "Continue with Discord" button in Sign-in Experience.
- Navigate to Console > Sign-in experience > Sign-up and sign-in.
- (Optional) Choose "Not applicable" for sign-up identifier if you need social login only.
- Add configured Discord connector to the "Social sign-in" section.
Testing and Validation
Return to your Next.js (Pages Router) app. You should now be able to sign in with Discord. Enjoy!
Further readings
End-user flows: Logto provides a out-of-the-box authentication flows including MFA and enterprise SSO, along with powerful APIs for flexible implementation of account settings, security verification, and multi-tenant experience.
Authorization: Authorization defines the actions a user can do or resources they can access after being authenticated. Explore how to protect your API for native and single-page applications and implement Role-based Access Control (RBAC).
Organizations: Particularly effective in multi-tenant SaaS and B2B apps, the organization feature enable tenant creation, member management, organization-level RBAC, and just-in-time-provisioning.
Customer IAM series Our serial blog posts about Customer (or Consumer) Identity and Access Management, from 101 to advanced topics and beyond.