
Every app needs authentication and authorization. Logto is an Auth0 alternative designed for modern apps and SaaS products.
In this article, we will go through the steps to quickly build the Apple sign-in experience (user authentication) with Expo (React Native) and Logto.
Prerequisites
- A running Logto instance. Check out the get started page if you don't have one.
- Basic knowledge of Expo (React Native).
- A usable Apple account.
Create an application in Logto
In you browser, open a new tab and enter the link of Logto Admin Console.
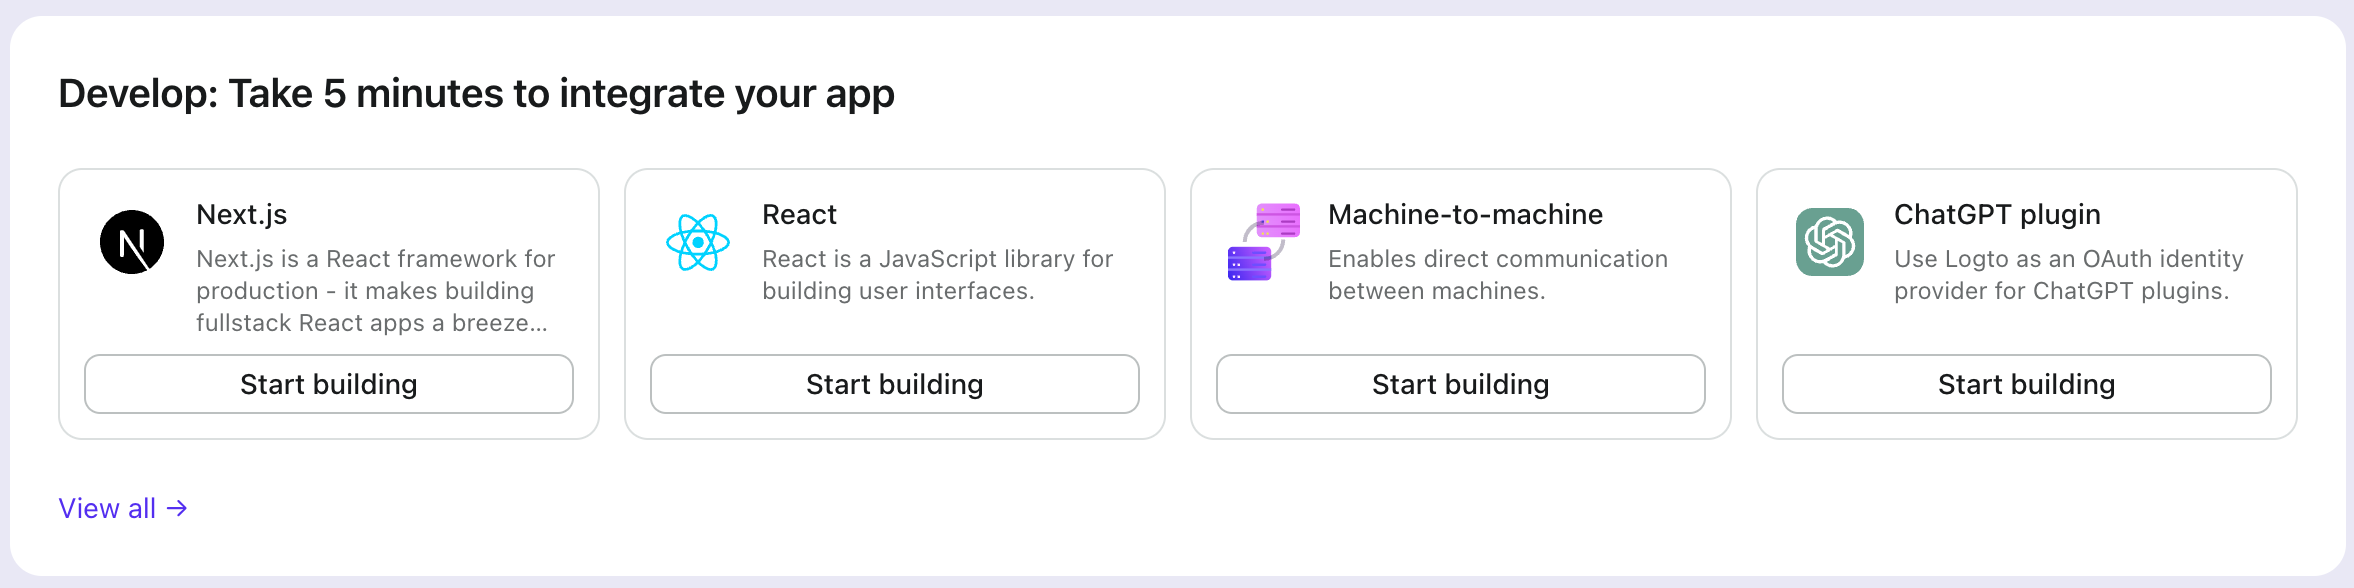
Once the page is loaded, in the "Get Started" section click the View all link to open the application framework list page.
Choose your application type
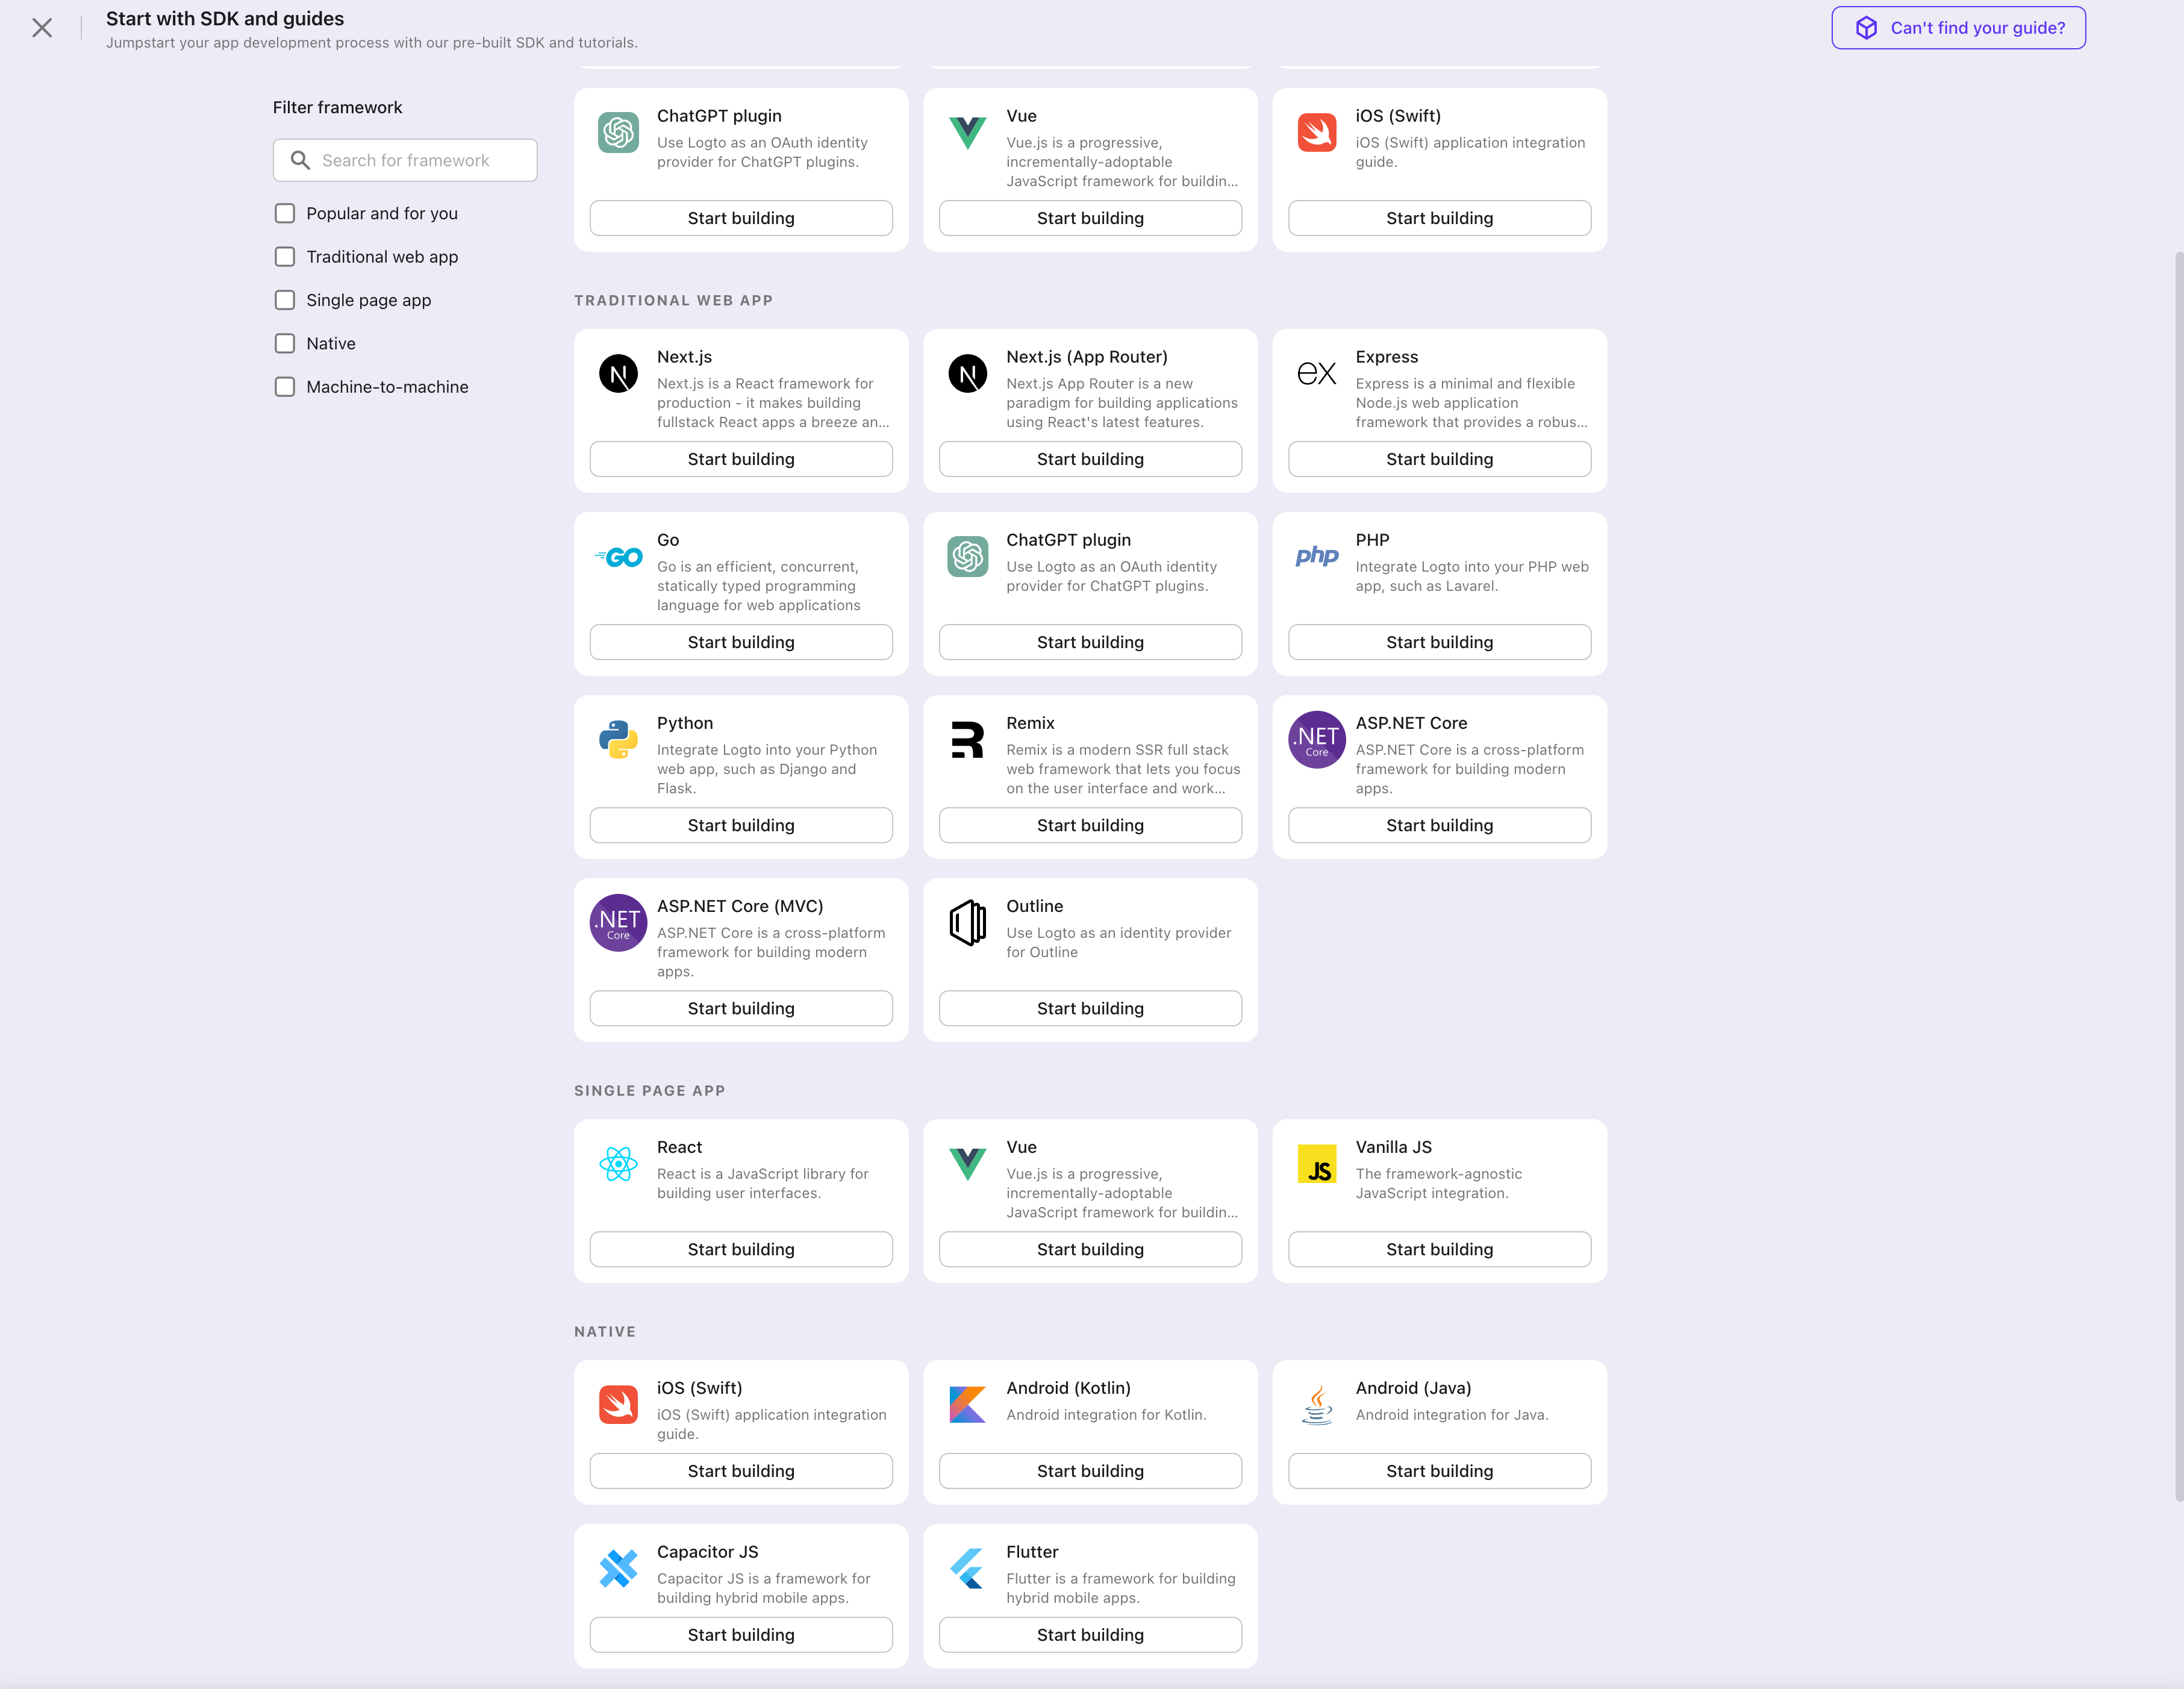
In the opening modal, scroll to the "Native app" section or filter all the available " Native app" frameworks using the quick filter checkboxes on the left.
Click the "Expo" framework card to start creating your application.
Enter application name
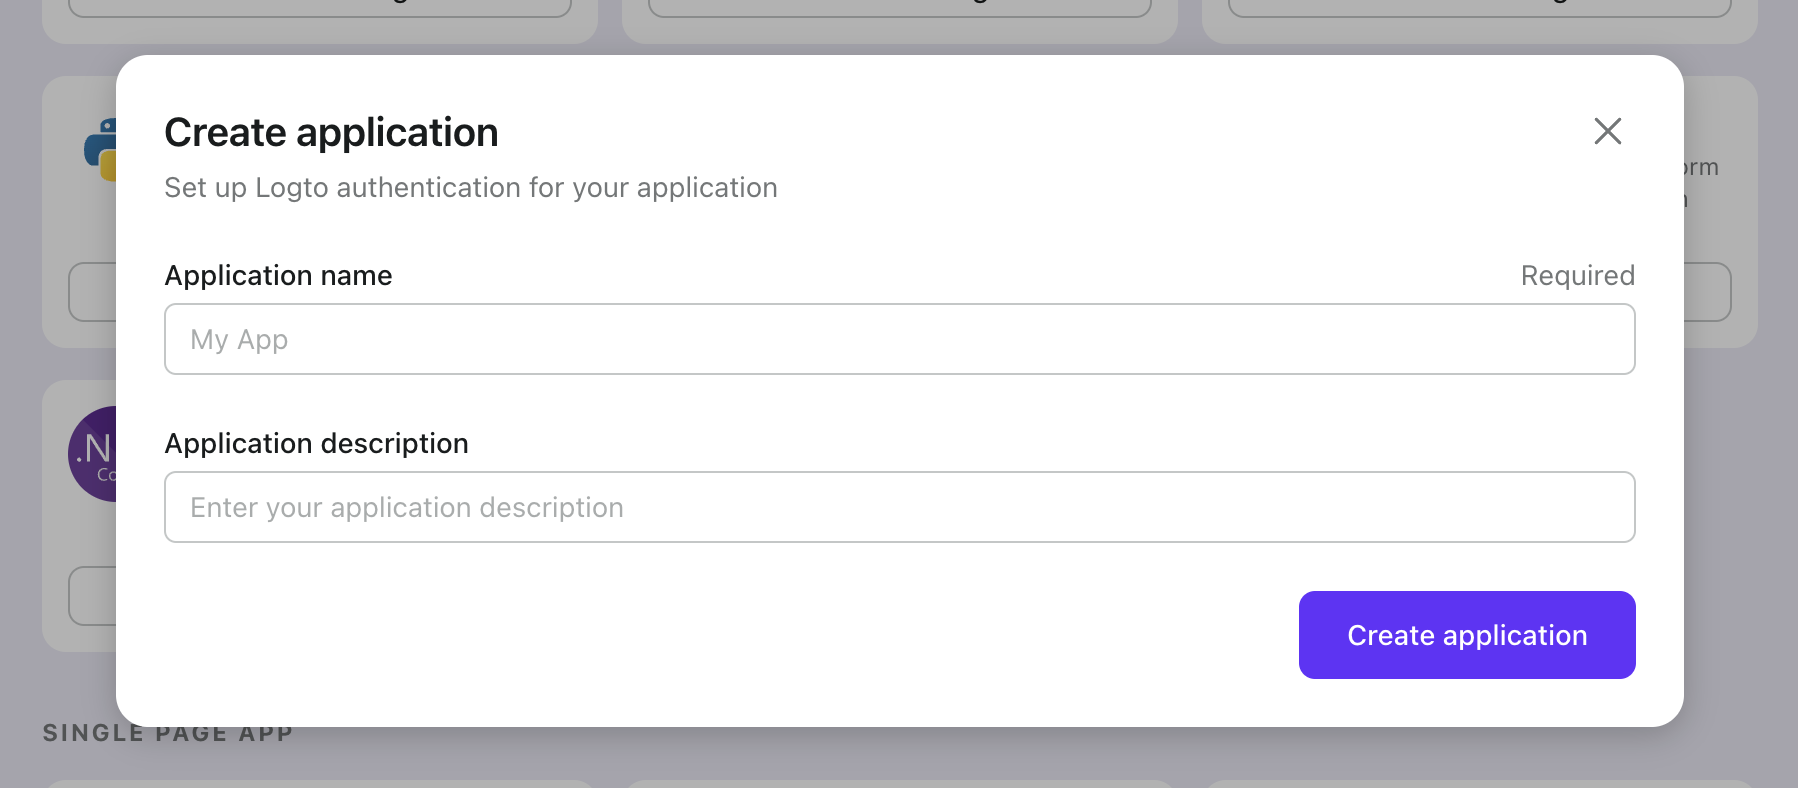
Enter the application name, e.g., "Bookstore," and click "Create Application."
🎉 Ta-da! You just created your first application in Logto. You'll see a congrats page which includes a detailed integration guide. Follow the guide to see what the experience will be in your application.
Integrate Logto SDK
- The following demonstration is built on Expo ~50.0.6.
- The sample project is available on our SDK repository.
Installation
Install Logto SDK and peer dependencies via your favorite package manager:
- npm
- Yarn
- pnpm
npm i @logto/rn
npm i expo-crypto expo-secure-store expo-web-browser @react-native-async-storage/async-storage
yarn add @logto/rn
yarn add expo-crypto expo-secure-store expo-web-browser @react-native-async-storage/async-storage
pnpm add @logto/rn
pnpm add expo-crypto expo-secure-store expo-web-browser @react-native-async-storage/async-storage
The @logto/rn package is the SDK for Logto. The remaining packages are its peer dependencies. They couldn't be listed as direct dependencies because the Expo CLI requires that all dependencies for native modules be installed directly within the root project's package.json.
If you're installing this in a bare React Native app, you should also follow these additional installation instructions.
Init Logto provider
Import and use LogtoProvider to provide a Logto context:
import { LogtoProvider, LogtoConfig } from '@logto/rn';

const config: LogtoConfig = {
  endpoint: '<your-logto-endpoint>',
  appId: '<your-application-id>',
};

const App = () => (
  <LogtoProvider config={config}>
    <YourAppContent />
  </LogtoProvider>
);
Implement sign-in and sign-out
The sign-in flow can be simplified as:

Switch to the application details page of Logto Console. Add a native redirect URI (for example, io.logto://callback), then click "Save".
-
For iOS, the redirect URI scheme does not really matter since the
ASWebAuthenticationSessionclass will listen to the redirect URI regardless of if it's registered. -
For Android, the redirect URI scheme must be filled in Expo's
app.jsonfile, for example:{
"expo": {
"scheme": "io.logto"
}
}
Now back to your app, you can use useLogto hook to sign in and sign out:
import { useLogto } from '@logto/rn';
import { Button } from 'react-native';

const Content = () => {
  const { signIn, signOut, isAuthenticated } = useLogto();

  return (
    <div>
      {isAuthenticated ? (
        <Button title="Sign out" onPress={async () => signOut()} />
      ) : (
        // Replace the redirect URI with your own
        <Button title="Sign in" onPress={async () => signIn('io.logto://callback')} />
      )}
    </div>
  );
};
Display user information
To display the user's information, you can use the getIdTokenClaims() method:
import { useLogto } from '@logto/rn';
import { Button, Text } from 'react-native';

const Content = () => {
  const { getIdTokenClaims, isAuthenticated } = useLogto();
  const [user, setUser] = useState(null);

  useEffect(() => {
    if (isAuthenticated) {
      getIdTokenClaims().then((claims) => {
        setUser(claims);
      });
    }
  }, [isAuthenticated]);

  return (
    <div>
      {isAuthenticated ? (
        <>
          <Text>{user?.name}</Text>
          <Text>{user?.email}</Text>
          <Button title="Sign out" onPress={async () => signOut()} />
        </>
      ) : (
        <Button title="Sign in" onPress={async () => signIn('io.logto://callback')} />
      )}
    </div>
  );
};
Checkpoint: Test your application
Now, you can test your application:
- Run your application, you will see the sign-in button.
- Click the sign-in button, the SDK will init the sign-in process and redirect you to the Logto sign-in page.
- After you signed in, you will be redirected back to your application and see the user data with sign-out button.
- Click the sign-out button to clear local storage and sign out.
Open your Expo (React Native) app to test if the integration works. When you click the "Sign In" button, the page should be redirected to a Logto sign-in page, and you should be able to create a new account by entering username and password and complete the sign-in process.
Add Apple connector
To add a social connector, go to the "Connector" tab in the Admin Console, then click on "Social Connectors". From there, click "Add Social Connector".
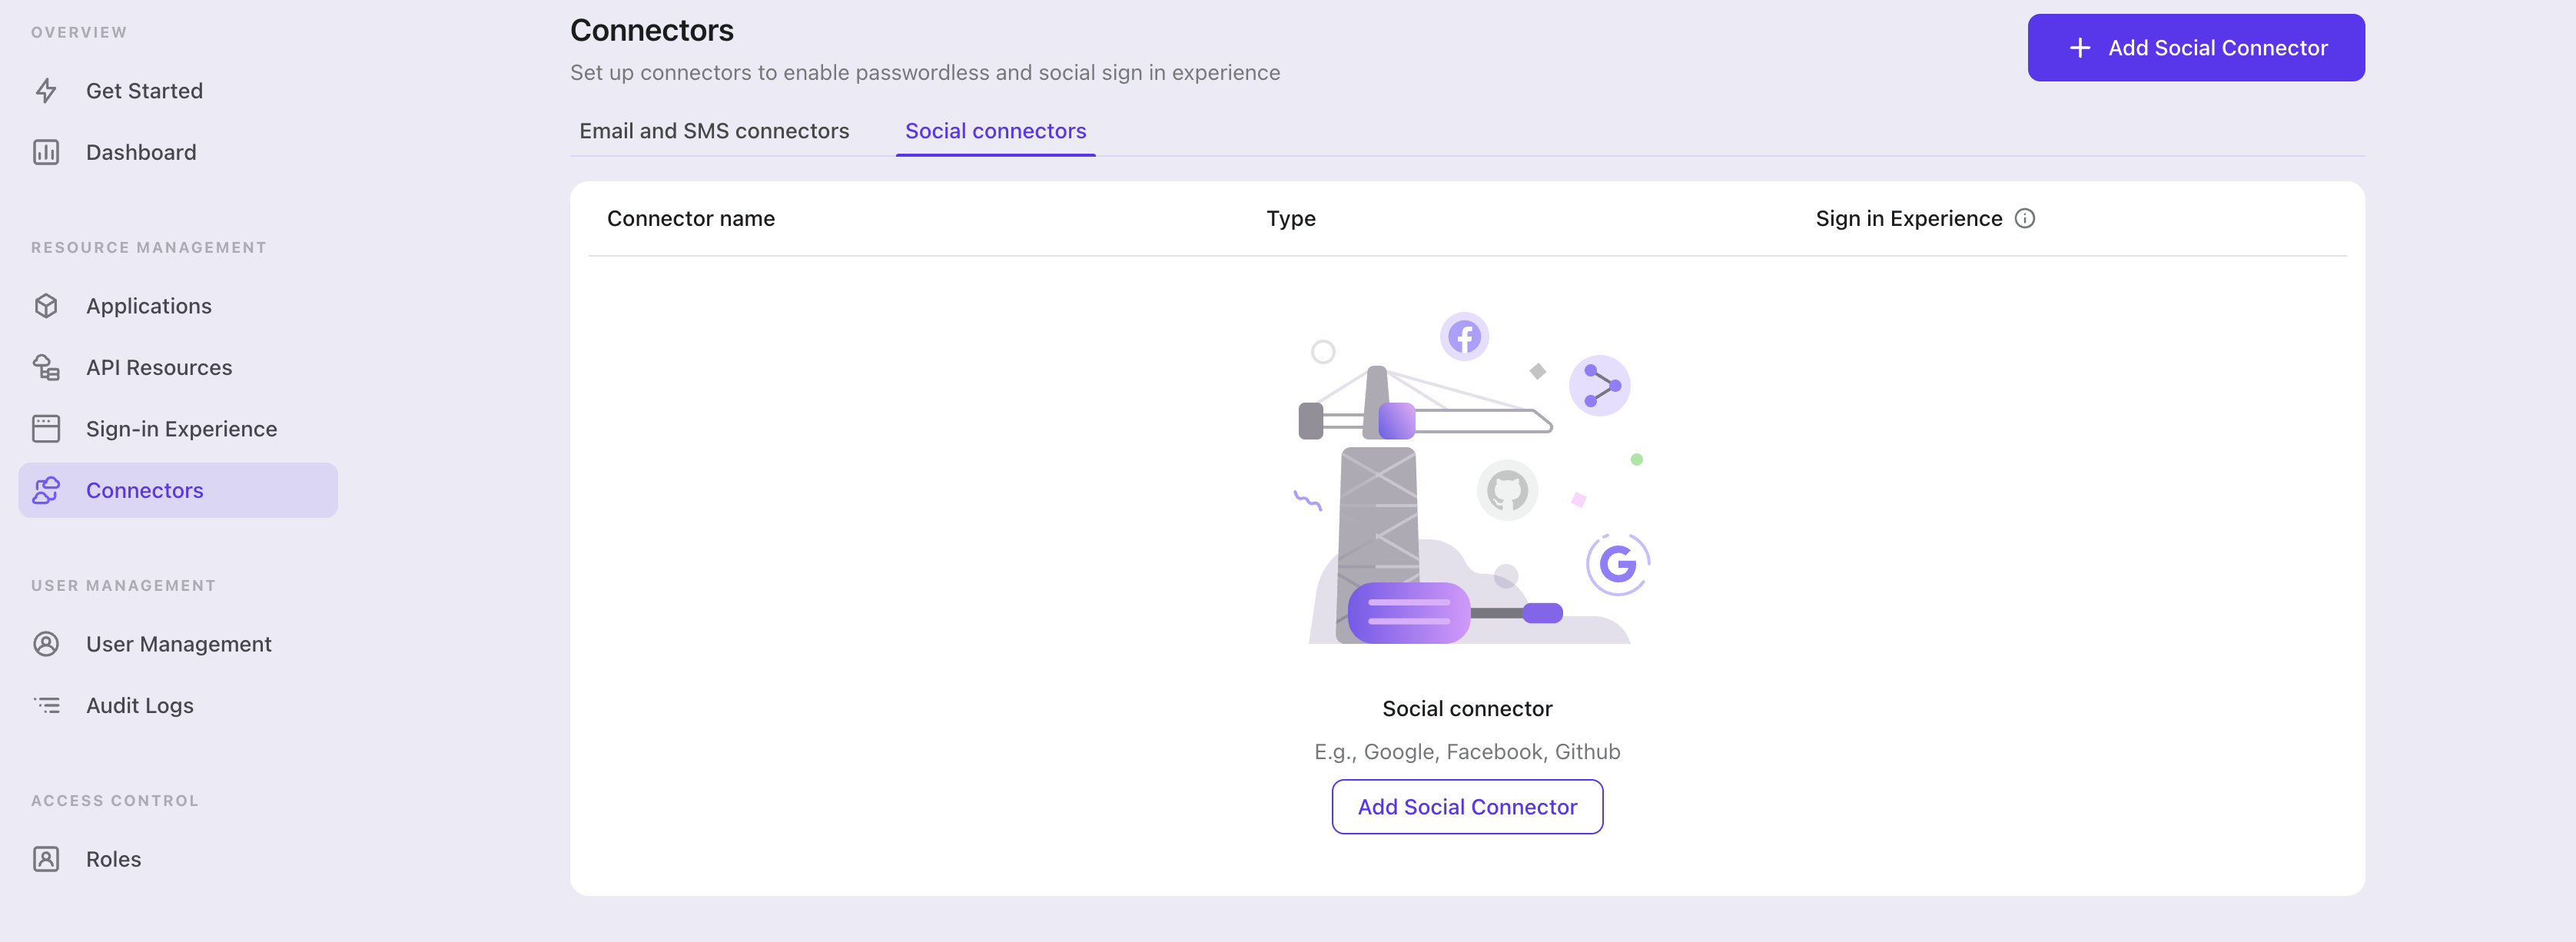
In the openning modal, select "Apple" and click "Next".
On the next page, you will see a two-column layout with the README content on the left and configuration on the right.
Feel free to follow the README file in place or read the following section to complete the configuration process. If you follow the in-place guide, you can skip the next section.
Set up Apple Sign-in
ℹ️ Note
Apple sign-in is required for AppStore if you have other social sign-in methods in your app. Having Apple sign-in on Android devices is great if you also provide an Android app.
You need to enroll Apple Developer Program before continuing.
Enable Sign in with Apple for your app
⚠️ Caution
Even if you want to implement Sign in with Apple on a web app only, you still need to have an existing app that embraces the AppStore ecosystem (i.e., have a valid App ID).
You can do it via Xcode -> Project settings -> Signing & Capabilities, or visit Certificates, Identifiers & Profiles.

See the "Enable an App ID" section in Apple official docs for more info.
Create an identifier
- Visit Certificates, Identifiers & Profiles, then click the "+" button next to "Identifier".
- In the "Register a new identifier" page, choose "Services IDs" and click "Continue".
- Fill out "Description" and "Identifier" (E.g.,
Logto Testandio.logto.test), then click "Continue". - Double-check the info and click "Register".
Enable Sign in with Apple for your identifier
Click the identifier you just created. Check "Sign in with Apple" on the details page and click "Configure".

In the opening modal, select the App ID you just enabled Sign in with Apple.
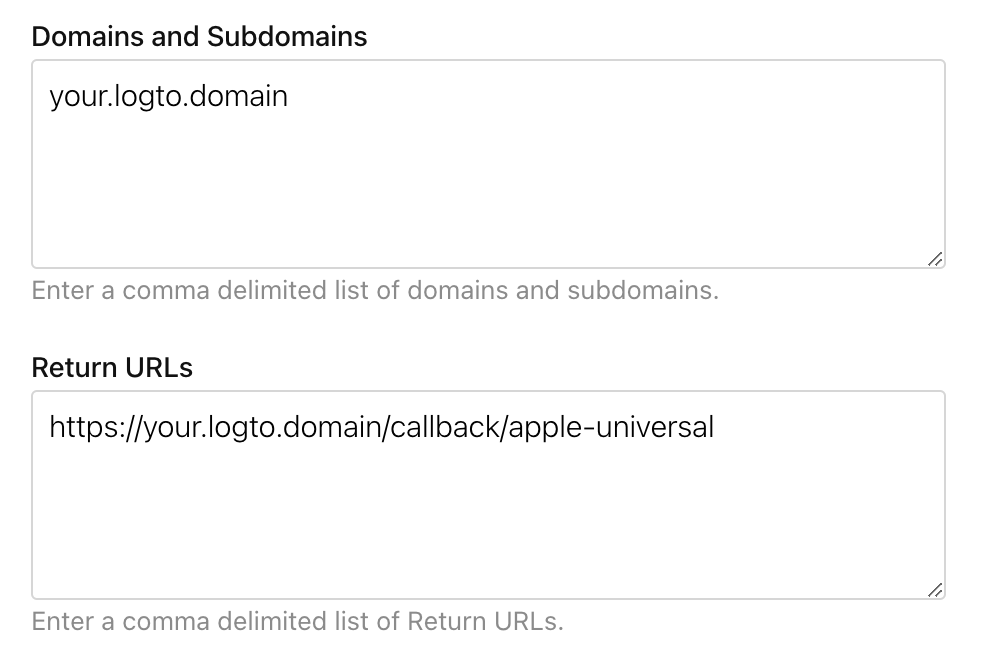
Enter the domain of your Logto instance without protocol and port, e.g., your.logto.domain; then enter the "Return URL" (i.e., Redirect URI), which is the Logto URL with /callback/${connector_id}, e.g., https://your.logto.domain/callback/apple-universal. You can get the randomly generated connector_id after creating Apple connector in Admin Console.
Click "Next" then "Done" to close the modal. Click "Continue" on the top-right corner, then click "Save" to save your configuration.
⚠️ Caution
Apple does NOT allow Return URLs with HTTP protocol and
localhostdomain.If you want to test locally, you need to edit
/etc/hostsfile to map localhost to a custom domain and set up a local HTTPS environment. mkcert can help you for setting up local HTTPS.
Compose the connector JSON
You need to use the identifier that fills in the Create an identifier section to compose the JSON:
{
  "clientId": "io.logto.test"
}
ℹ️ Note
This connector doesn't support customizing
scope(e.g., name, email) yet since Apple requiresform_postresponse mode whenscopeis not empty, which is incompatible with the current connector design.We'll figure out this later.
Save your configuration
Double check you have filled out necessary values in the Logto connector configuration area. Click "Save and Done" (or "Save Changes") and the Apple connector should be available now.
Enable Apple connector in Sign-in Experience
Switch to the "Sign-in Experience" tab, then click the "Sign-up and Sign-in" tab.
If it's the first time you enter the tab, you will see a quick introduction about Sign-in Experience and its basic configuration.
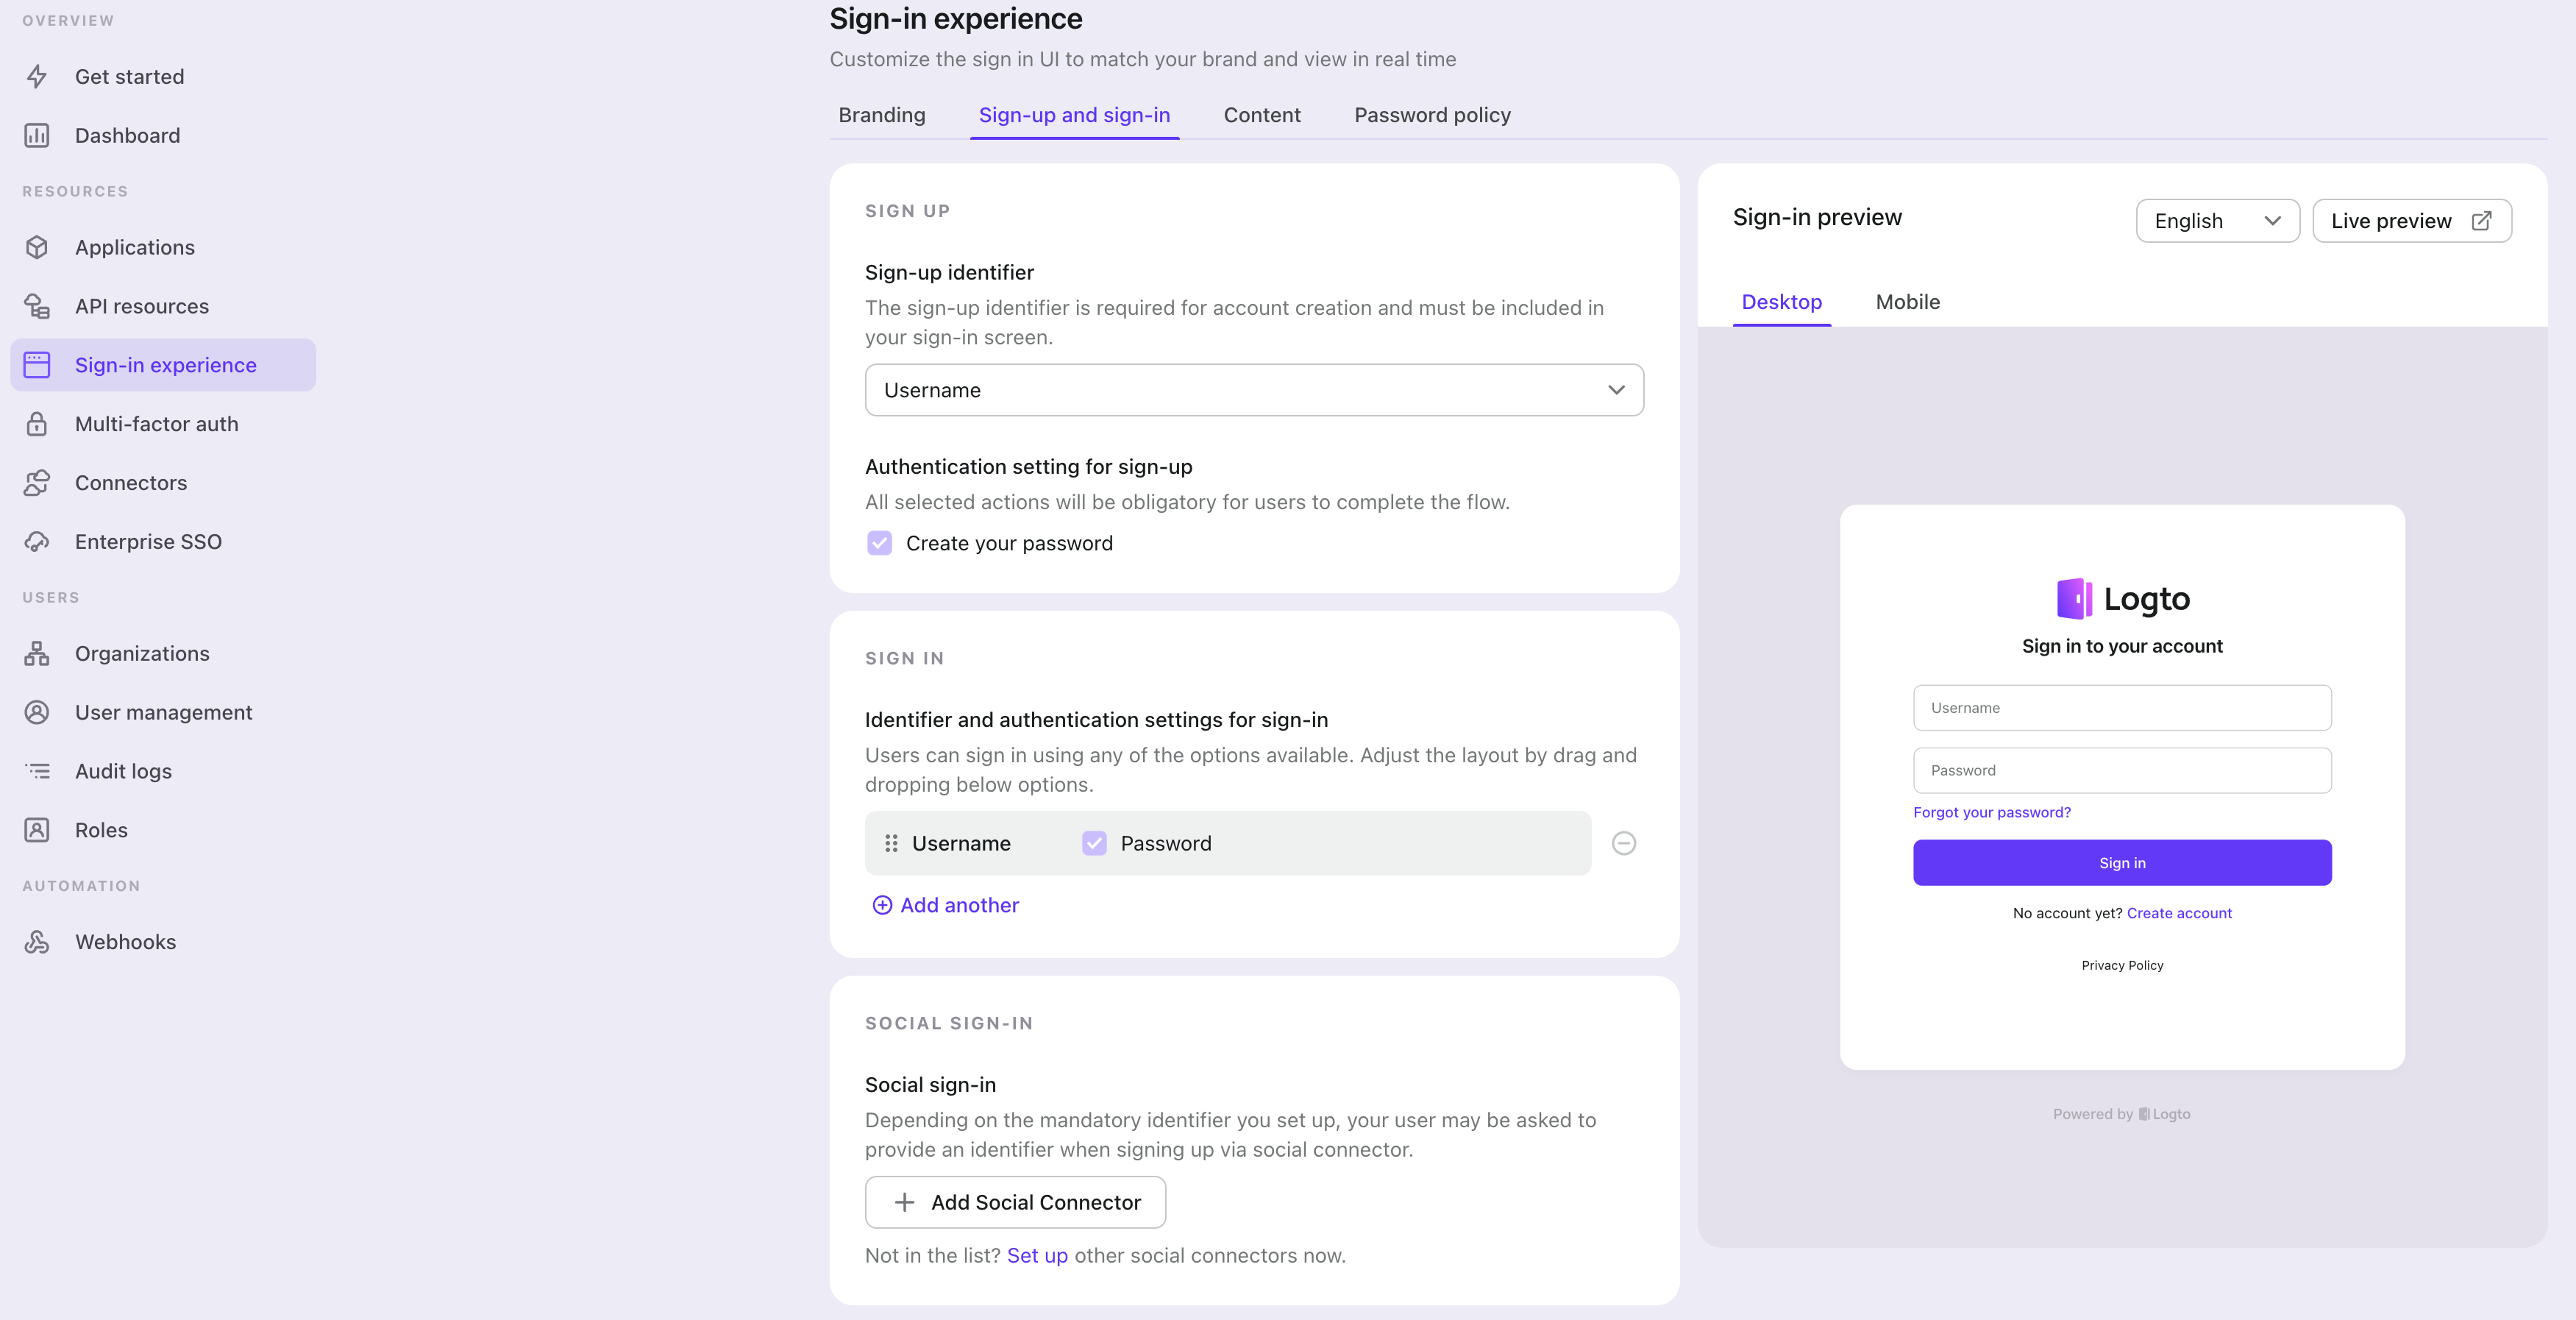
Select "None" for the "Sign-up identifier" to provide minimum sign-up effort for Apple sign-in, which may increase your conversion rate.
In the "Social sign-in" section, add "Add Social Connector" and choose "Apple". Then you should be able to see a button with text "Continue with Apple" in the preview section.

Finally, click "Save Changes" on the bottom right corner.
Testing and Validation
Return to your Expo (React Native) app. You should now be able to sign in with Apple. Enjoy!
Further readings
⚔️ Protect your API For native and single page apps, you'll need to call one or more API endpoints to retrieve and update data.
Learn more about identifying who's who and keeping your API secure.
🧑🚀 Manage users We know you care about user management and activities, as we also do.
Learn more about how to know your users and see the figures like DAU and MAU graphically.
🌐 Localization From one regional business to a global corporate, the willingness to offer the best user experience won't change.
You can change current language phrases or add a new language without friction.
🧑🎓 Customer IAM series Our serial blog posts about Customer (or Consumer) Identity and Access Management, from 101 to advanced topics and beyond.