
Every app needs authentication and authorization. Logto is an Auth0 alternative designed for modern apps and SaaS products.
In this article, we will go through the steps to quickly build the Twilio sign-in experience (user authentication) with Android and Logto.
Prerequisites
- A running Logto instance. Check out the get started page if you don't have one.
- Basic knowledge of Android.
- A usable Twilio account.
Create an application in Logto
In you browser, open a new tab and enter the link of Logto Admin Console.
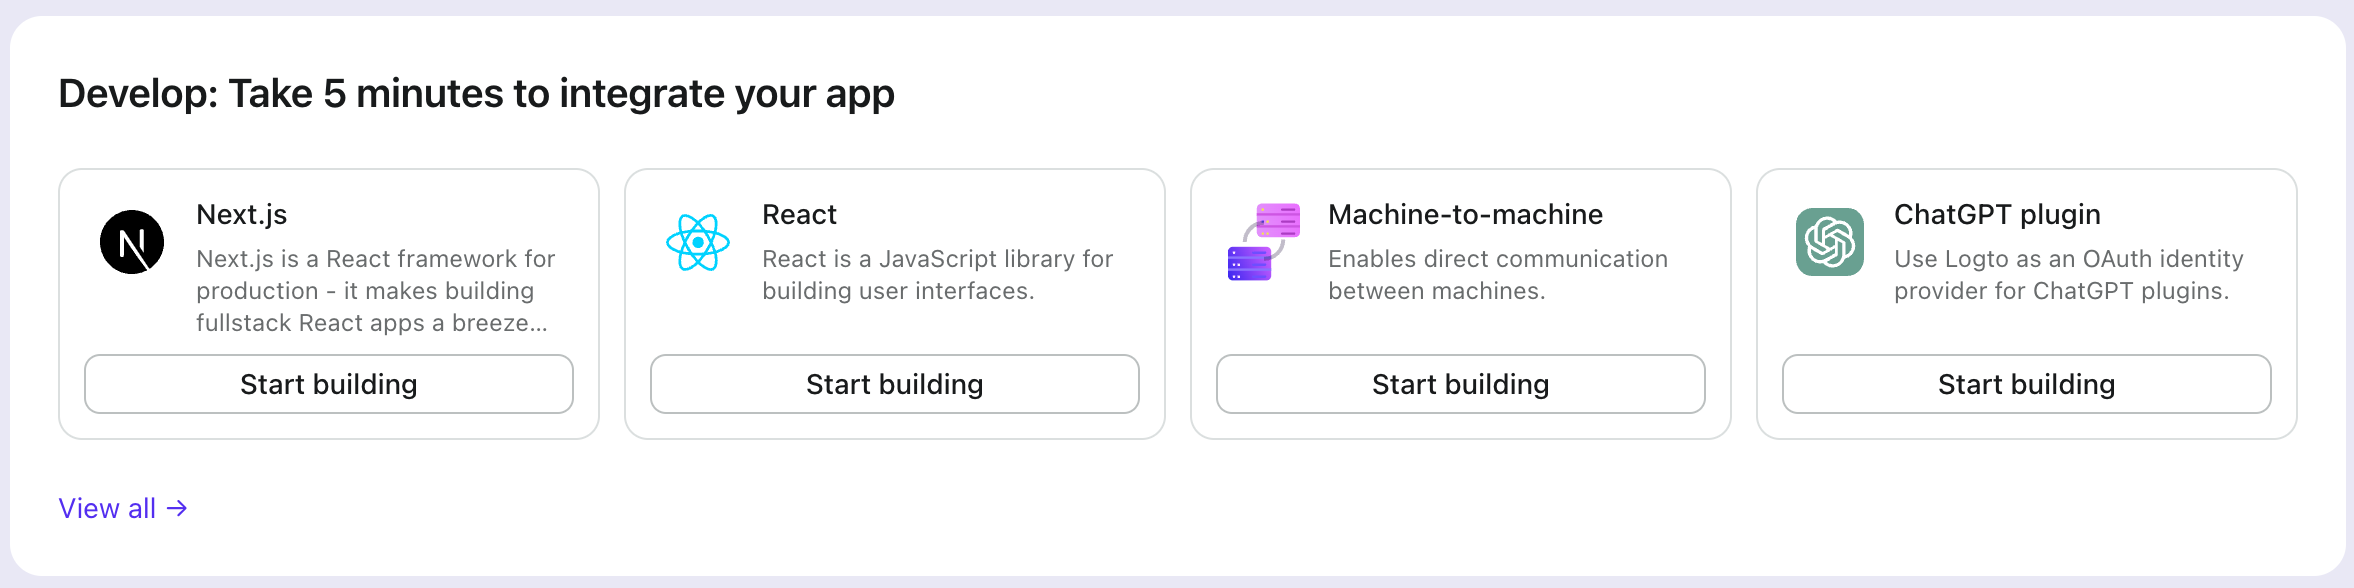
Once the page is loaded, in the "Get Started" section click the View all link to open the application framework list page.
Choose your application type
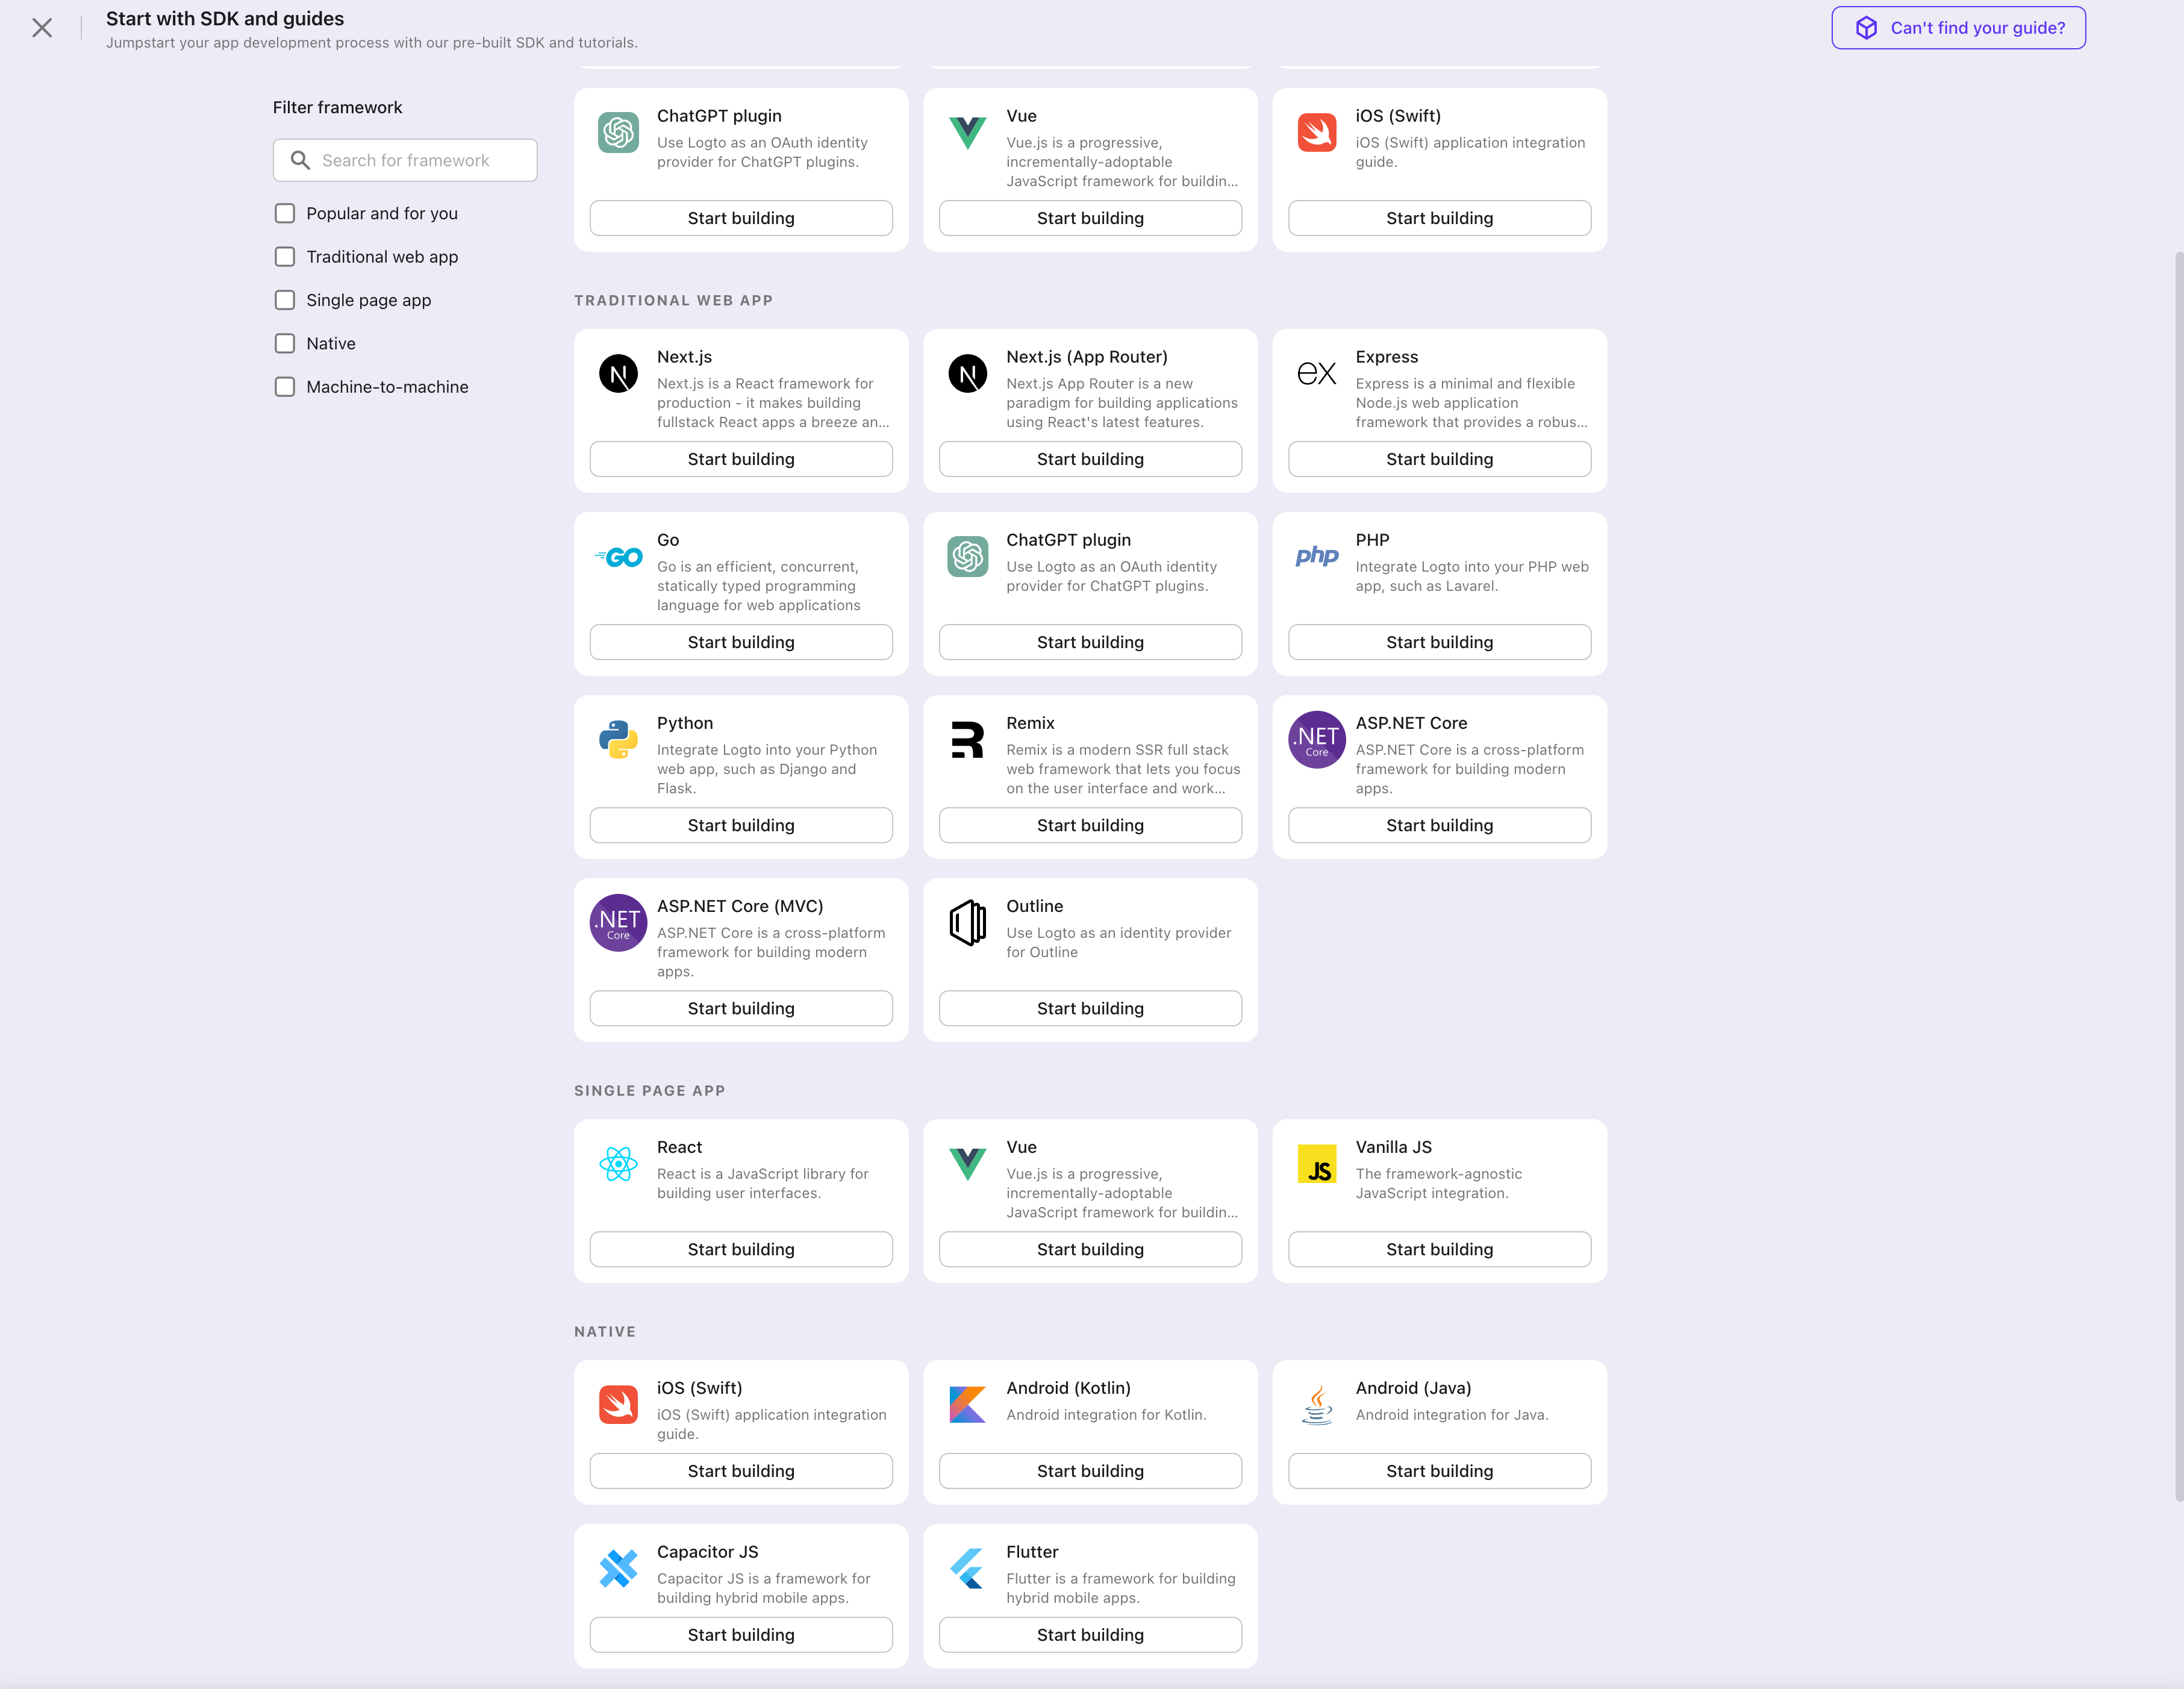
In the opening modal, scroll to the "Native app" section or filter all the available " Native app" frameworks using the quick filter checkboxes on the left.
Click the "Android (Kotlin)" / "Android (Java)" framework card to start creating your application.
Enter application name
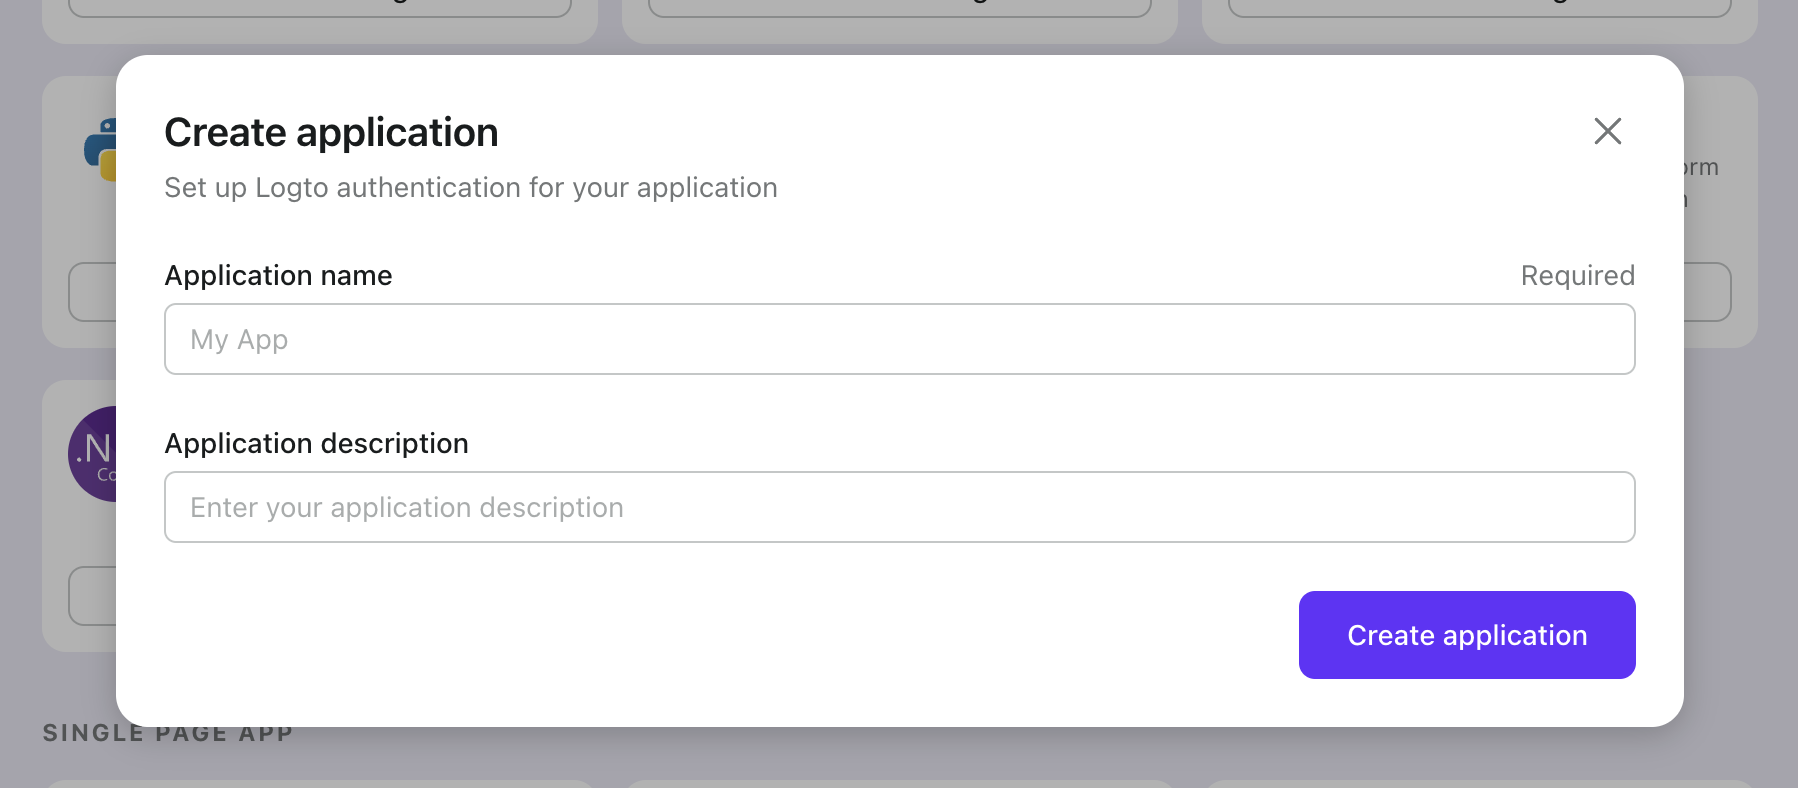
Enter the application name, e.g., "Bookstore," and click "Create Application."
🎉 Ta-da! You just created your first application in Logto. You'll see a congrats page which includes a detailed integration guide. Follow the guide to see what the experience will be in your application.
Integrate Logto SDK
- The example is based on View system and View Model, but the concepts are the same when using Jetpack Compose.
- The example is written in Kotlin, but the concepts are the same for Java.
- Both Kotlin and Java sample projects are available on our SDK repository.
- The tutorial video is available on our YouTube channel.
Installation
The minimum supported Android API level of Logto Android SDK is level 24.
Before you install Logto Android SDK, ensure mavenCentral() is added to your repository configuration in the Gradle project build file:
dependencyResolutionManagement {
  repositories {
    mavenCentral()
  }
}
Add Logto Android SDK to your dependencies:
- Kotlin
- Groovy
dependencies {
  implementation("io.logto.sdk:android:1.1.3")
}
dependencies {
  implementation 'io.logto.sdk:android:1.1.3'
}
Since the SDK needs internet access, you need to add the following permission to your AndroidManifest.xml file:
<?xml version="1.0" encoding="utf-8"?>
<manifest xmlns:android="http://schemas.android.com/apk/res/android"
  xmlns:tools="http://schemas.android.com/tools">

  <!-- add internet permission -->
  <uses-permission android:name="android.permission.INTERNET" />

  <!-- other configurations... -->
</manifest>
Init LogtoClient
Create a LogtoViewModel.kt and init LogtoClient in this view model:
//...with other imports
import io.logto.sdk.android.LogtoClient
import io.logto.sdk.android.type.LogtoConfig

class LogtoViewModel(application: Application) : AndroidViewModel(application) {
    private val logtoConfig = LogtoConfig(
          endpoint = "<your-logto-endpoint>",  // E.g. http://localhost:3001
          appId = "<your-app-id>",
          scopes = null,
          resources = null,
          usingPersistStorage = true,
    )

    private val logtoClient = LogtoClient(logtoConfig, application)

    companion object {
        val Factory: ViewModelProvider.Factory = object : ViewModelProvider.Factory {
            @Suppress("UNCHECKED_CAST")
            override fun <T : ViewModel> create(
                modelClass: Class<T>,
                extras: CreationExtras
            ): T {
                // Get the Application object from extras
                val application = checkNotNull(extras[APPLICATION_KEY])
                return LogtoViewModel(application) as T
            }
        }
    }
}
then, create a LogtoViewModel for your MainActivity.kt:
//...with other imports
class MainActivity : AppCompatActivity() {
    private val logtoViewModel: LogtoViewModel by viewModels { LogtoViewModel.Factory }
    //...other codes
}
Implement sign-in
Before starting, you need to add a redirect URI in the Admin Console for your application.
In Android, the redirect URI follows the pattern: $(LOGTO_REDIRECT_SCHEME)://$(YOUR_APP_PACKAGE)/callback:
- The
LOGTO_REDIRECT_SCHEMEshould be a custom scheme in the reverse domain format. - The
YOUR_APP_PACKAGEis your app package name.
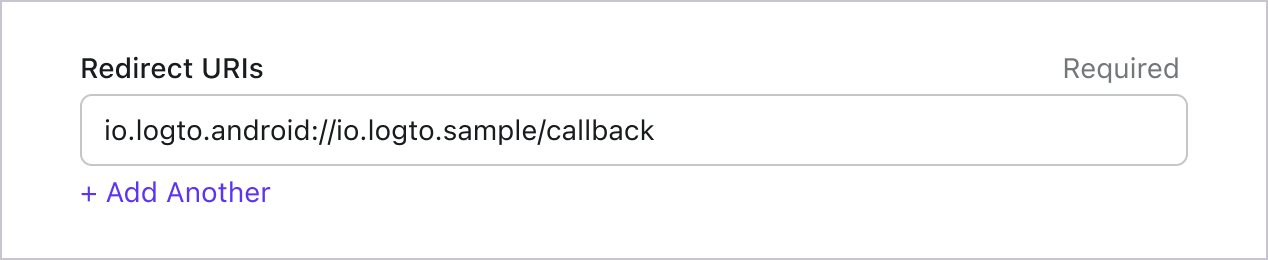
Assuming you treat io.logto.android as the custom LOGTO_REDIRECT_SCHEME, and io.logto.sample is your app package name, the Redirect URI should be io.logto.android://io.logto.sample/callback.
Let's switch to the Application details page of Logto Console. Add a Redirect URI
io.logto.android://io.logto.sample/callback and click "Save Changes".
Redirect URI is an OAuth 2.0 concept which implies the location should redirect after authentication.
After the redirect URI is configured, we add a signIn method to your LogtoViewModel.kt, which will call logtoClient.signIn API to invoke the Logto sign-in page:
//...with other imports
class LogtoViewModel(application: Application) : AndroidViewModel(application) {
    // ...other codes
    fun signIn(context: Activity) {
        logtoClient.signIn(context, "io.logto.android://io.logto.sample/callback") { logtoException ->
            logtoException?.let { println(it) }
        }
    }
}
Now setup on-click listener for the sign-in button in your MainActivity.kt to call the signIn method:
//...with other imports
class MainActivity : AppCompatActivity() {
    override fun onCreate(savedInstanceState: Bundle?) {
        //...other codes

        // Assume you have a button with id `sign_in_button` in your layout
        val signInButton = findViewById<Button>(R.id.sign_in_button)
        signInButton.setOnClickListener {
            logtoViewModel.signIn(this)
        }
    }
}
When you click the button, the Logto SDK will navigate to the Logto sign-in page.
Implement sign-out
Similar to sign-in, we add a signOut method to LogtoViewModel.kt to call logtoClient.signOut API:
//...with other imports
class LogtoViewModel(application: Application) : AndroidViewModel(application) {
    // ...other codes
    fun signOut() {
        logtoClient.signOut { logtoException ->
            logtoException?.let { println(it) }
        }
    }
}
After you signed out, the Logto SDK will clear all local credentials even though Logto exceptions occurred when calling logtoClient.signOut API.
Then, we can add a button to call the signOut method in MainActivity.kt:
//...with other imports
class MainActivity : AppCompatActivity() {
    //...other codes
    override fun onCreate(savedInstanceState: Bundle?) {
        //...other codes
        //...sign-in button codes

        // Assume you have a button with id `sign_out_button` in your layout
        val signOutButton = findViewById<Button>(R.id.sign_out_button)
        signOutButton.setOnClickListener {
            logtoViewModel.signOut()
        }
    }
}
Handle authentication status
In Logto SDK, we can use logtoClient.isAuthenticated to check the authentication status, if the user is signed in, the value will be true, otherwise, the value will be false.
Now, let's add a live data to LogtoViewModel.kt to observe the authentication status, and update the status when the user signed in or signed out:
//...with other imports
class LogtoViewModel(application: Application) : AndroidViewModel(application) {
    // ...other codes

    // Add a live data to observe the authentication status
    private val _authenticated = MutableLiveData(logtoClient.isAuthenticated)
    val authenticated: LiveData<Boolean>
        get() = _authenticated

    fun signIn(context: Activity) {
        logtoClient.signIn(context, "io.logto.android://io.logto.sample/callback") { logtoException ->
            logtoException?.let { println(it) }
            // Update the live data
            _authenticated.postValue(logtoClient.isAuthenticated)
        }
    }

    fun signOut() {
        logtoClient.signOut { logtoException ->
            logtoException?.let { println(it) }
            // Update the live data
            _authenticated.postValue(logtoClient.isAuthenticated)
        }
    }
}
Then, we observe the authenticated live data in MainActivity.kt, when the user is signed in, we hide the sign-in button and show the sign-out button and vice versa:
//...with other imports
class MainActivity : AppCompatActivity() {
    //...other codes
    override fun onCreate(savedInstanceState: Bundle?) {
        //...other codes
        val signInButton = findViewById<Button>(R.id.sign_in_button)
        val signOutButton = findViewById<Button>(R.id.sign_out_button)
        // ...handle button click codes

        // Observe the authentication status
        logtoViewModel.authenticated.observe(this) { authenticated ->
            if (authenticated) {
                // The user is authenticated
                signInButton.visibility = View.GONE
                signOutButton.visibility = View.VISIBLE
            } else {
                // The user is not authenticated
                signInButton.visibility = View.VISIBLE
                signOutButton.visibility = View.GONE
            }
        }
    }
}
Open your Android app to test if the integration works. When you click the "Sign In" button, the page should be redirected to a Logto sign-in page, and you should be able to create a new account by entering username and password and complete the sign-in process.
Add Twilio connector
To add or change SMS connector, go to the "Connector" tab in the Admin Console, then click on "Email and SMS connectors". From there, click "Set up" or go to detail page and click "Change SMS connector".
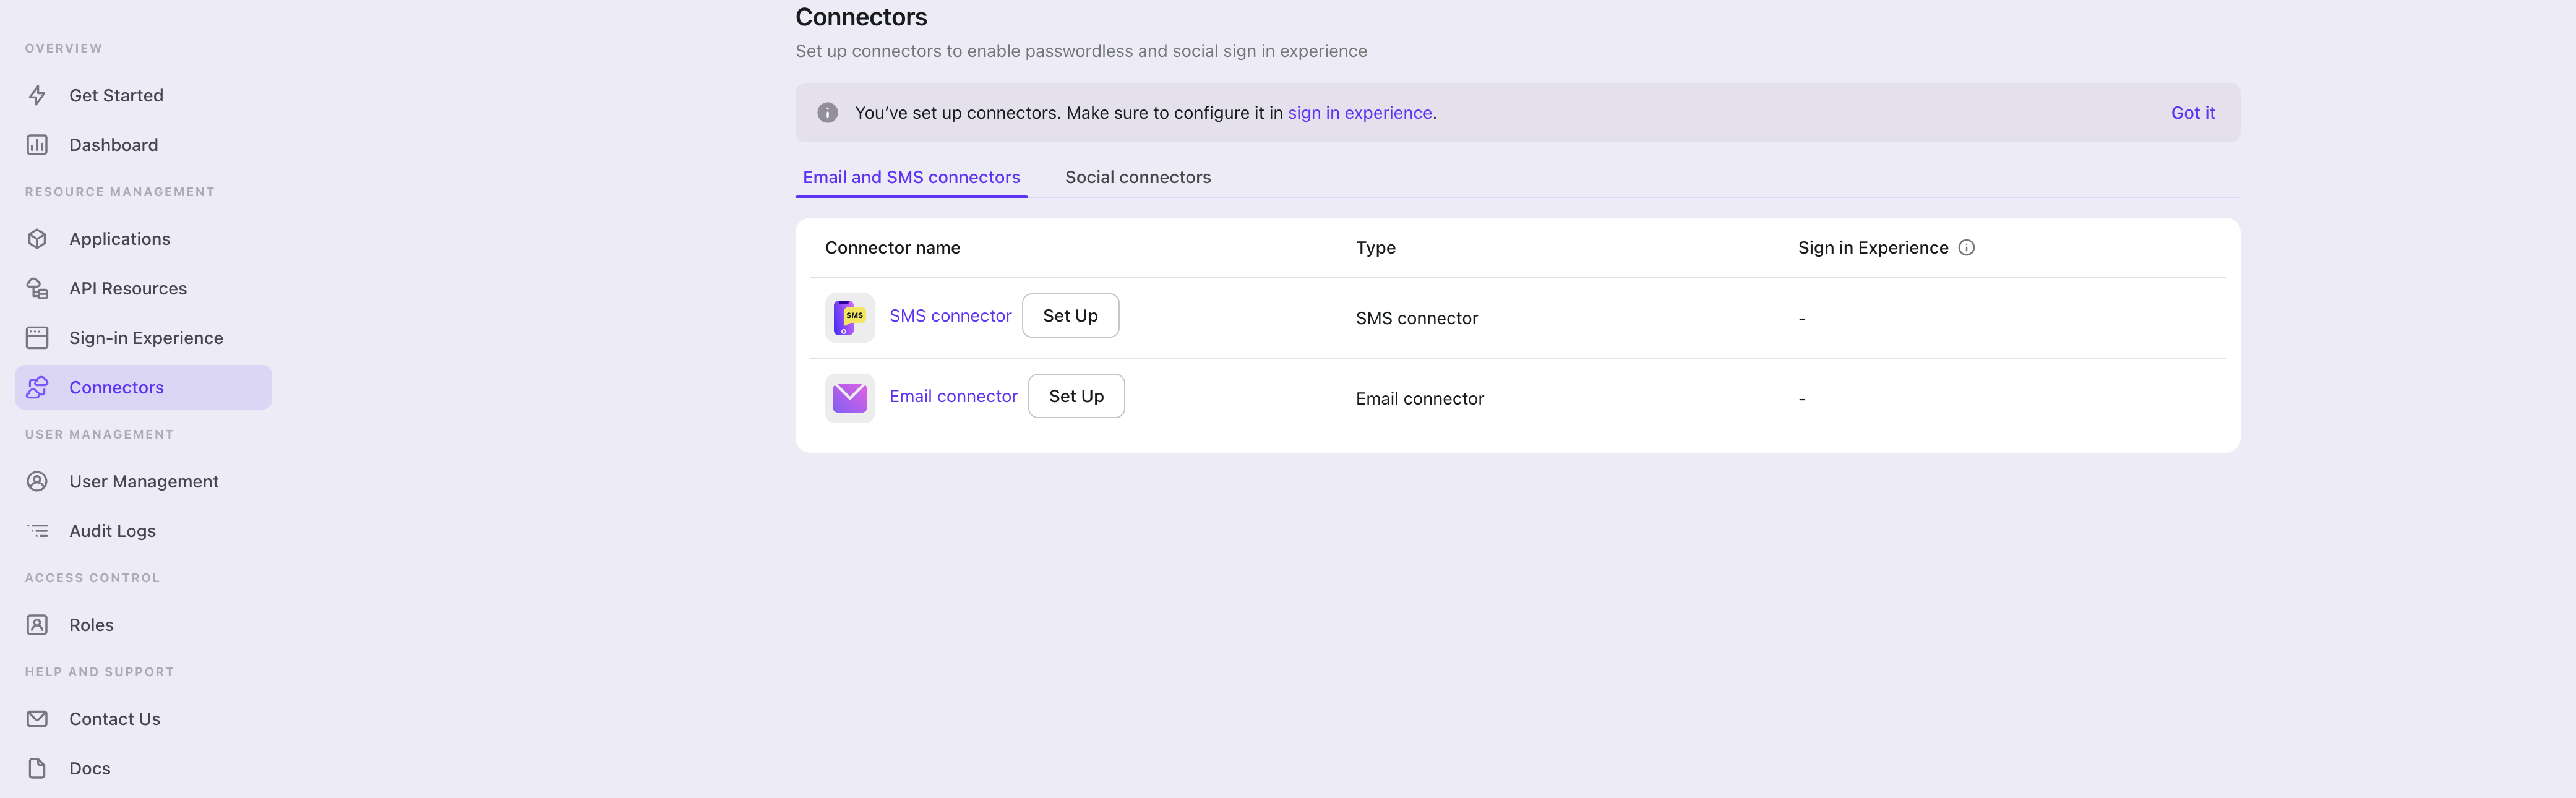
In the openning modal, select "Twilio" and click "Next".
On the next page, you will see a two-column layout with the README content on the left and configuration on the right.
Feel free to follow the README file in place or read the following section to complete the configuration process. If you follow the in-place guide, you can skip the next section.
Set up Twilio SMS connector
Register Twilio account
Create a new account on Twilio. (Jump to the next step if you already have one.)
Set up senders' phone numbers
Go to the Twilio console page and sign in with your Twilio account.
Purchase a phone number under "Phone Numbers" -> "Manage" -> "Buy a number".
ℹ️ Tip
Sometimes you may encounter the situation that SMS service is not supported in specific countries or areas. Pick a number from other regions to bypass.
Once we have a valid number claimed, navigate to the "Messaging" -> "Services". Create a new Message Service by clicking on the button.
Give a friendly service name and choose Notify my users as our service purpose.
Following the next step, choose Phone Number as Sender Type, and add the phone number we just claimed to this service as a sender.
ℹ️ Note
Each phone number can only be linked with one messaging service.
Get account credentials
We will need the API credentials to make the connector work. Let's begin with the Twilio console page.
Click on the "Account" menu in the top-right corner, then go to the "API keys & tokens" page to get your Account SID and Auth token.
Back to "Messaging" -> "Services" settings page starting from the sidebar, and find the Sid of your service.
Compose the connector JSON
Fill out the accountSID, authToken and fromMessagingServiceSID fields with Account SID, Auth token and Sid of the corresponding messaging service.
You can add multiple SMS connector templates for different cases. Here is an example of adding a single template:
- Fill out the
contentfield with arbitrary string-typed contents. Do not forget to leave{{code}}placeholder for random verification code. - Fill out the
usageTypefield with eitherRegister,SignIn,ForgotPassword,Genericfor different use cases. In order to enable full user flows, templates with usageTypeRegister,SignIn,ForgotPasswordandGenericare required.
Test Twilio SMS connector
You can enter a phone number and click on "Send" to see whether the settings can work before "Save and Done".
That's it. Don't forget to enable connector in sign-in experience.
Config types
| Name | Type |
|---|---|
| accountSID | string |
| authToken | string |
| fromMessagingServiceSID | string |
| templates | Templates[] |
| Template Properties | Type | Enum values |
|---|---|---|
| content | string | N/A |
| usageType | enum string | 'Register' | 'SignIn' | 'ForgotPassword' | 'Generic' |
Reference
Save your configuration
Double check you have filled out necessary values in the Logto connector configuration area. Click "Save and Done" (or "Save Changes") and the Twilio connector should be available now.
Enable Twilio connector in Sign-in Experience
Switch to the "Sign-in Experience" tab, then click the "Sign-up and Sign-in" tab.
If it's the first time you enter the tab, you will see a quick introduction about Sign-in Experience and its basic configuration.
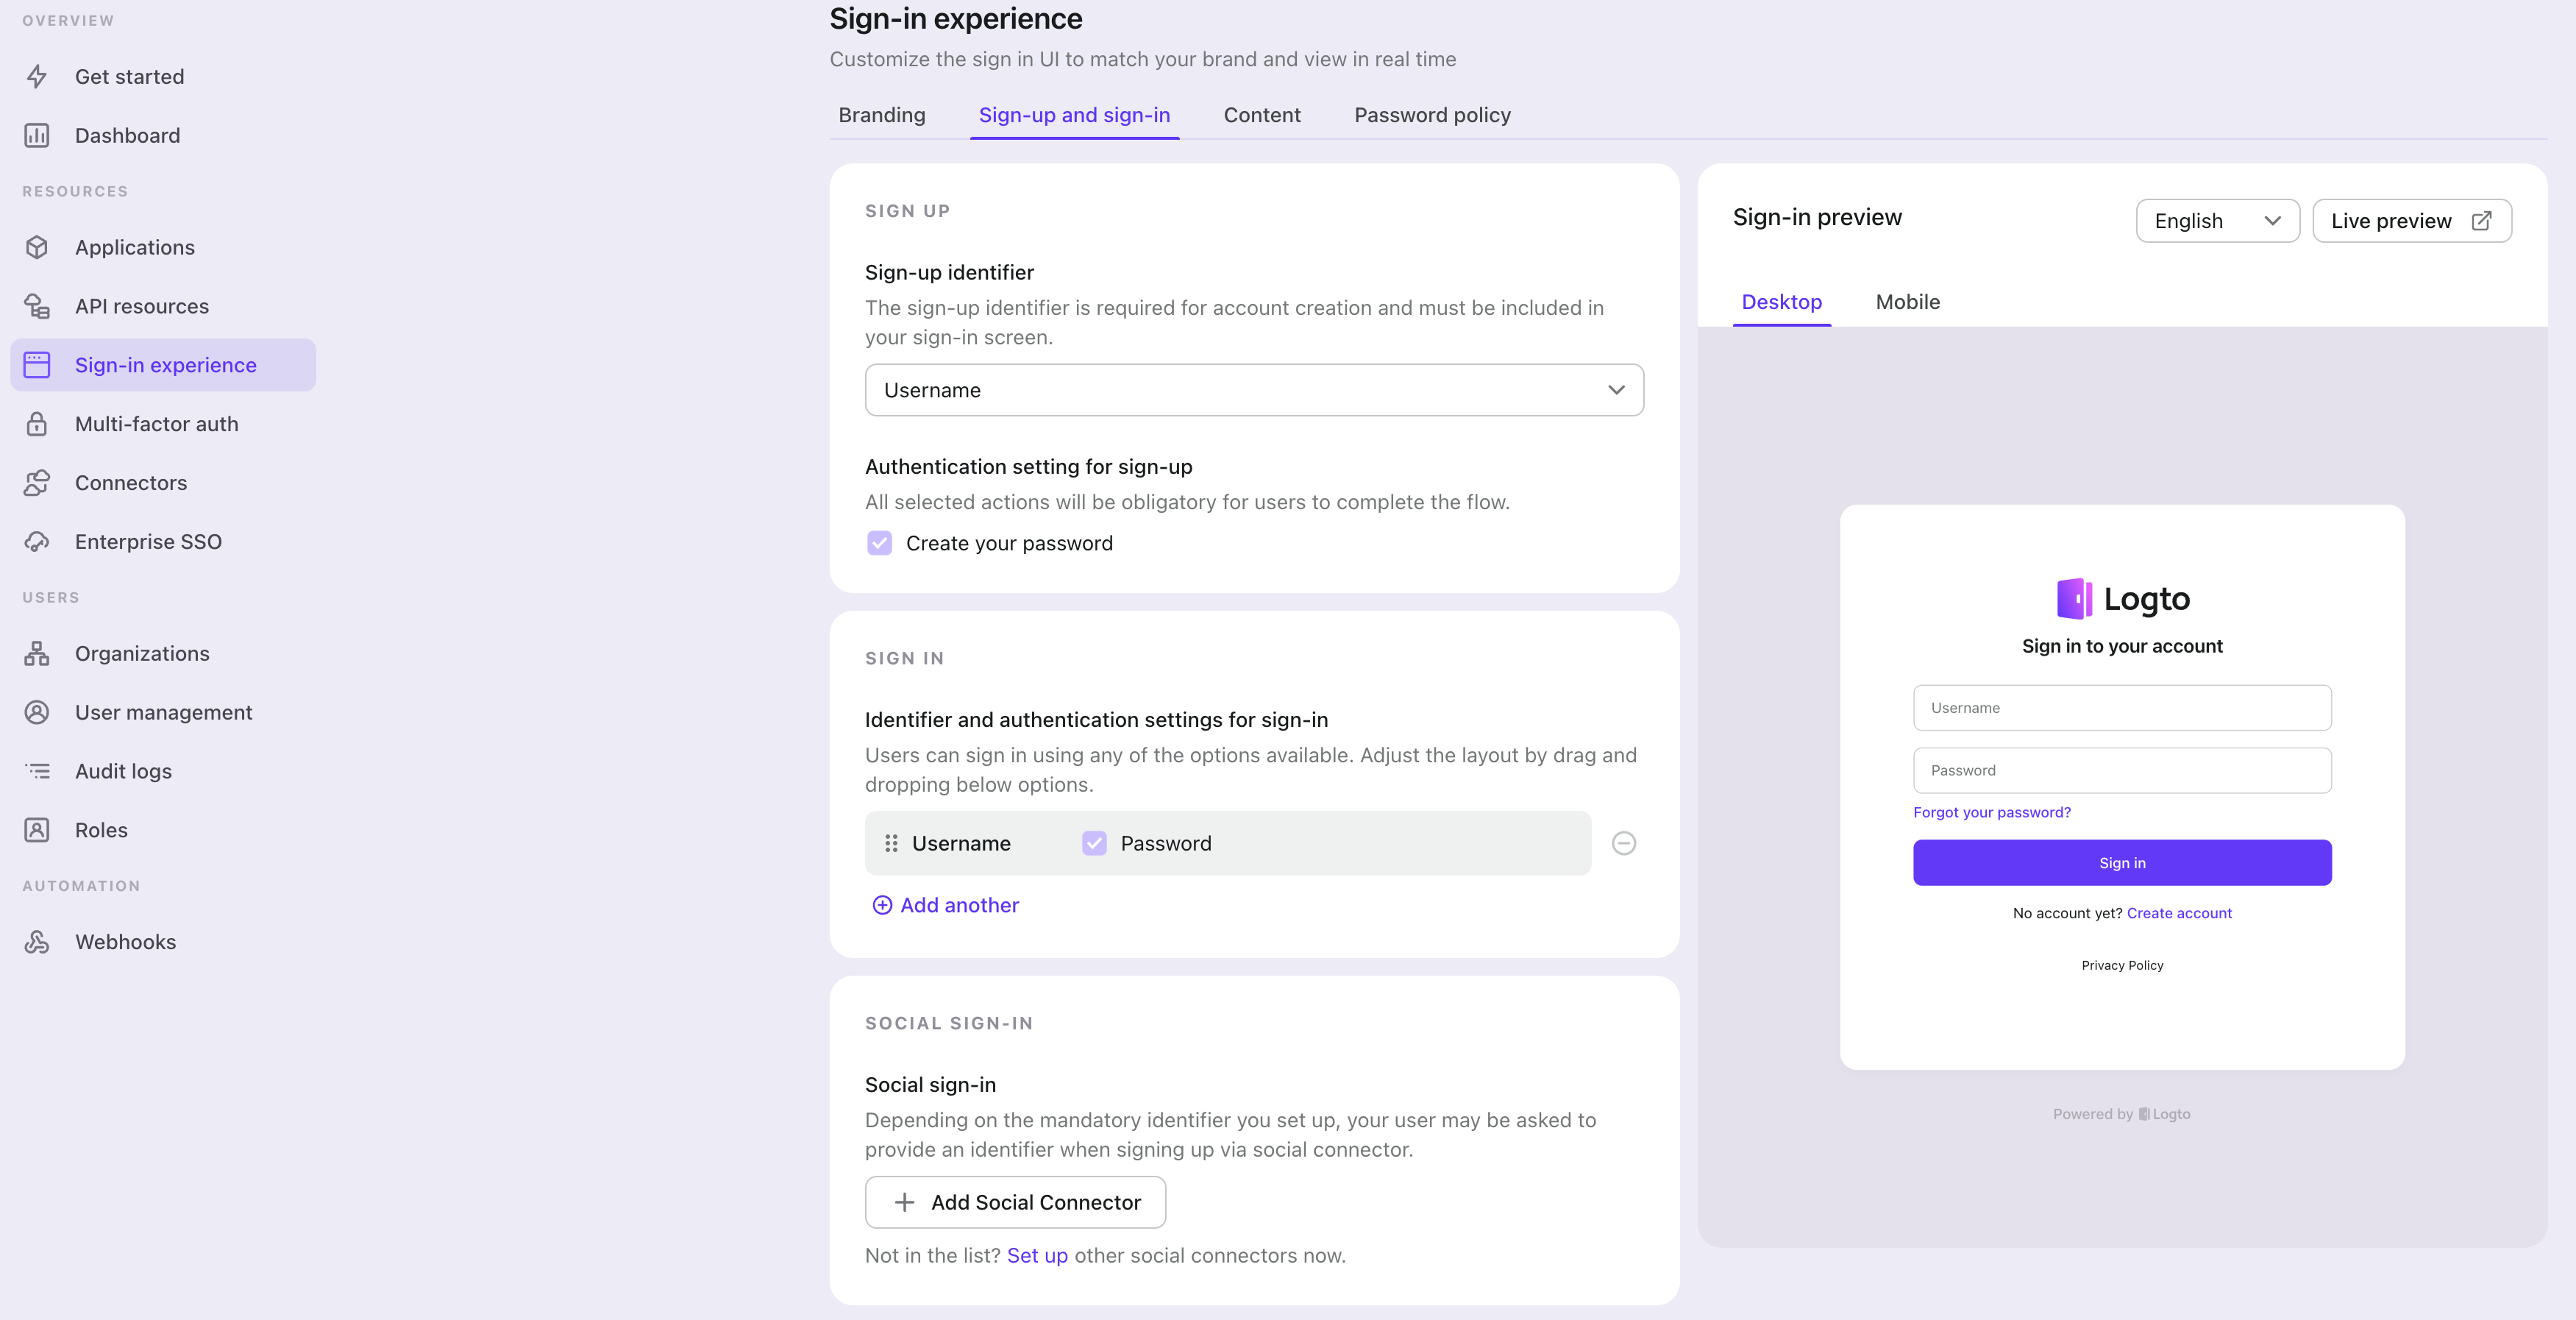
Select "Phone number" or "Email address or phone number" for the "Sign-up identifier" to provide sign-up for SMS passwordless sign-in, which may increase your conversion rate.

Finally, click "Save Changes" on the bottom right corner.
Testing and Validation
Return to your Android app. You should now be able to sign in with Twilio. Enjoy!
Further readings
⚔️ Protect your API For native and single page apps, you'll need to call one or more API endpoints to retrieve and update data.
Learn more about identifying who's who and keeping your API secure.
🧑🚀 Manage users We know you care about user management and activities, as we also do.
Learn more about how to know your users and see the figures like DAU and MAU graphically.
🌐 Localization From one regional business to a global corporate, the willingness to offer the best user experience won't change.
You can change current language phrases or add a new language without friction.
🧑🎓 Customer IAM series Our serial blog posts about Customer (or Consumer) Identity and Access Management, from 101 to advanced topics and beyond.